A Simple Way to Implement Usage-Based API Billing is Finally Here
Metered Billing has finally arrived in Moesif and we are super excited to be rolling out this latest feature. We have worked hard to deliver a smooth and simple way to monetize your APIs by allowing usage that is tracked in Moesif to be metered and billed by your favorite billing providers. Moesif can calculate and send usage data to a billing provider so your customers can be billed accurately, based on their usage.

Metered Billing in Moesif is the easiest way to track customer usage of your API and applications and charge for it. The solution requires no-code and with a few lines of configuration, you’ll be up and running. Let’s explore more about our latest feature and why you’ll want to utilize it!
What is Metered Billing?
Metered Billing is a feature that allows Moesif users to meter their API or web usage and bill users based on that usage. An example may be a pay-as-you-go approach where users are charged a specific amount per API call. Users may also choose to implement a tiered billing approach which allows for specific usage tiers and for users to be charged based on which tier their usage aligns with.
You can also implement custom actions to track any arbitrary metric like “gigabytes received” or “minutes processed”.
At the end of the billing period, the usage is added up and sent to a billing provider so that users can be charged for their usage. Metered Billing is how companies can monetize their APIs in a post-paid fashion. Any API that is being tracked by Moesif can be easily monetized using Metered Billing.
Moesif actually sends usage data to the billing provider hourly. The billing provider will then sum up the usage data and bill for it.
Why use Metered Billing in Moesif?
Metered Billing is not a new concept and is used quite widely. However, creating a metered billing solution is usually quite complex and includes the need for accurate analytics, data pipelines, and integration with a billing provider. This entire setup may require quite a few applications, data feeds, infrastructure, not to mention engineering and support time.
Luckily, Moesif contains all of the data needed to power a metered-billing system and supports direct integration with billing providers. This allows for a seamless “one-stop-shop” for all your metered billing needs. Moesif collects all of your API usage data and keeps track of it by user and by company. With this, Moesif can then easily tally up usage for a given interval and pass the data to a supported billing provider to calculate and charge for the usage.
Moesif also allows users to create highly unique filters so that users can be billed for specific endpoints and how they are used, such as billing based on body or header contents, route, or any other filter criteria that is supported within Moesif. Moesif enables a highly-customizable and flexible approach to bill customers for API usage.
Where can I find it in Moesif?
Metered Billing in Moesif can be accessed through the left-side navigation menu under the Billing Meters tab. Clicking the menu item will bring users to a screen where you can add your first billing meter or show meters that are currently created.
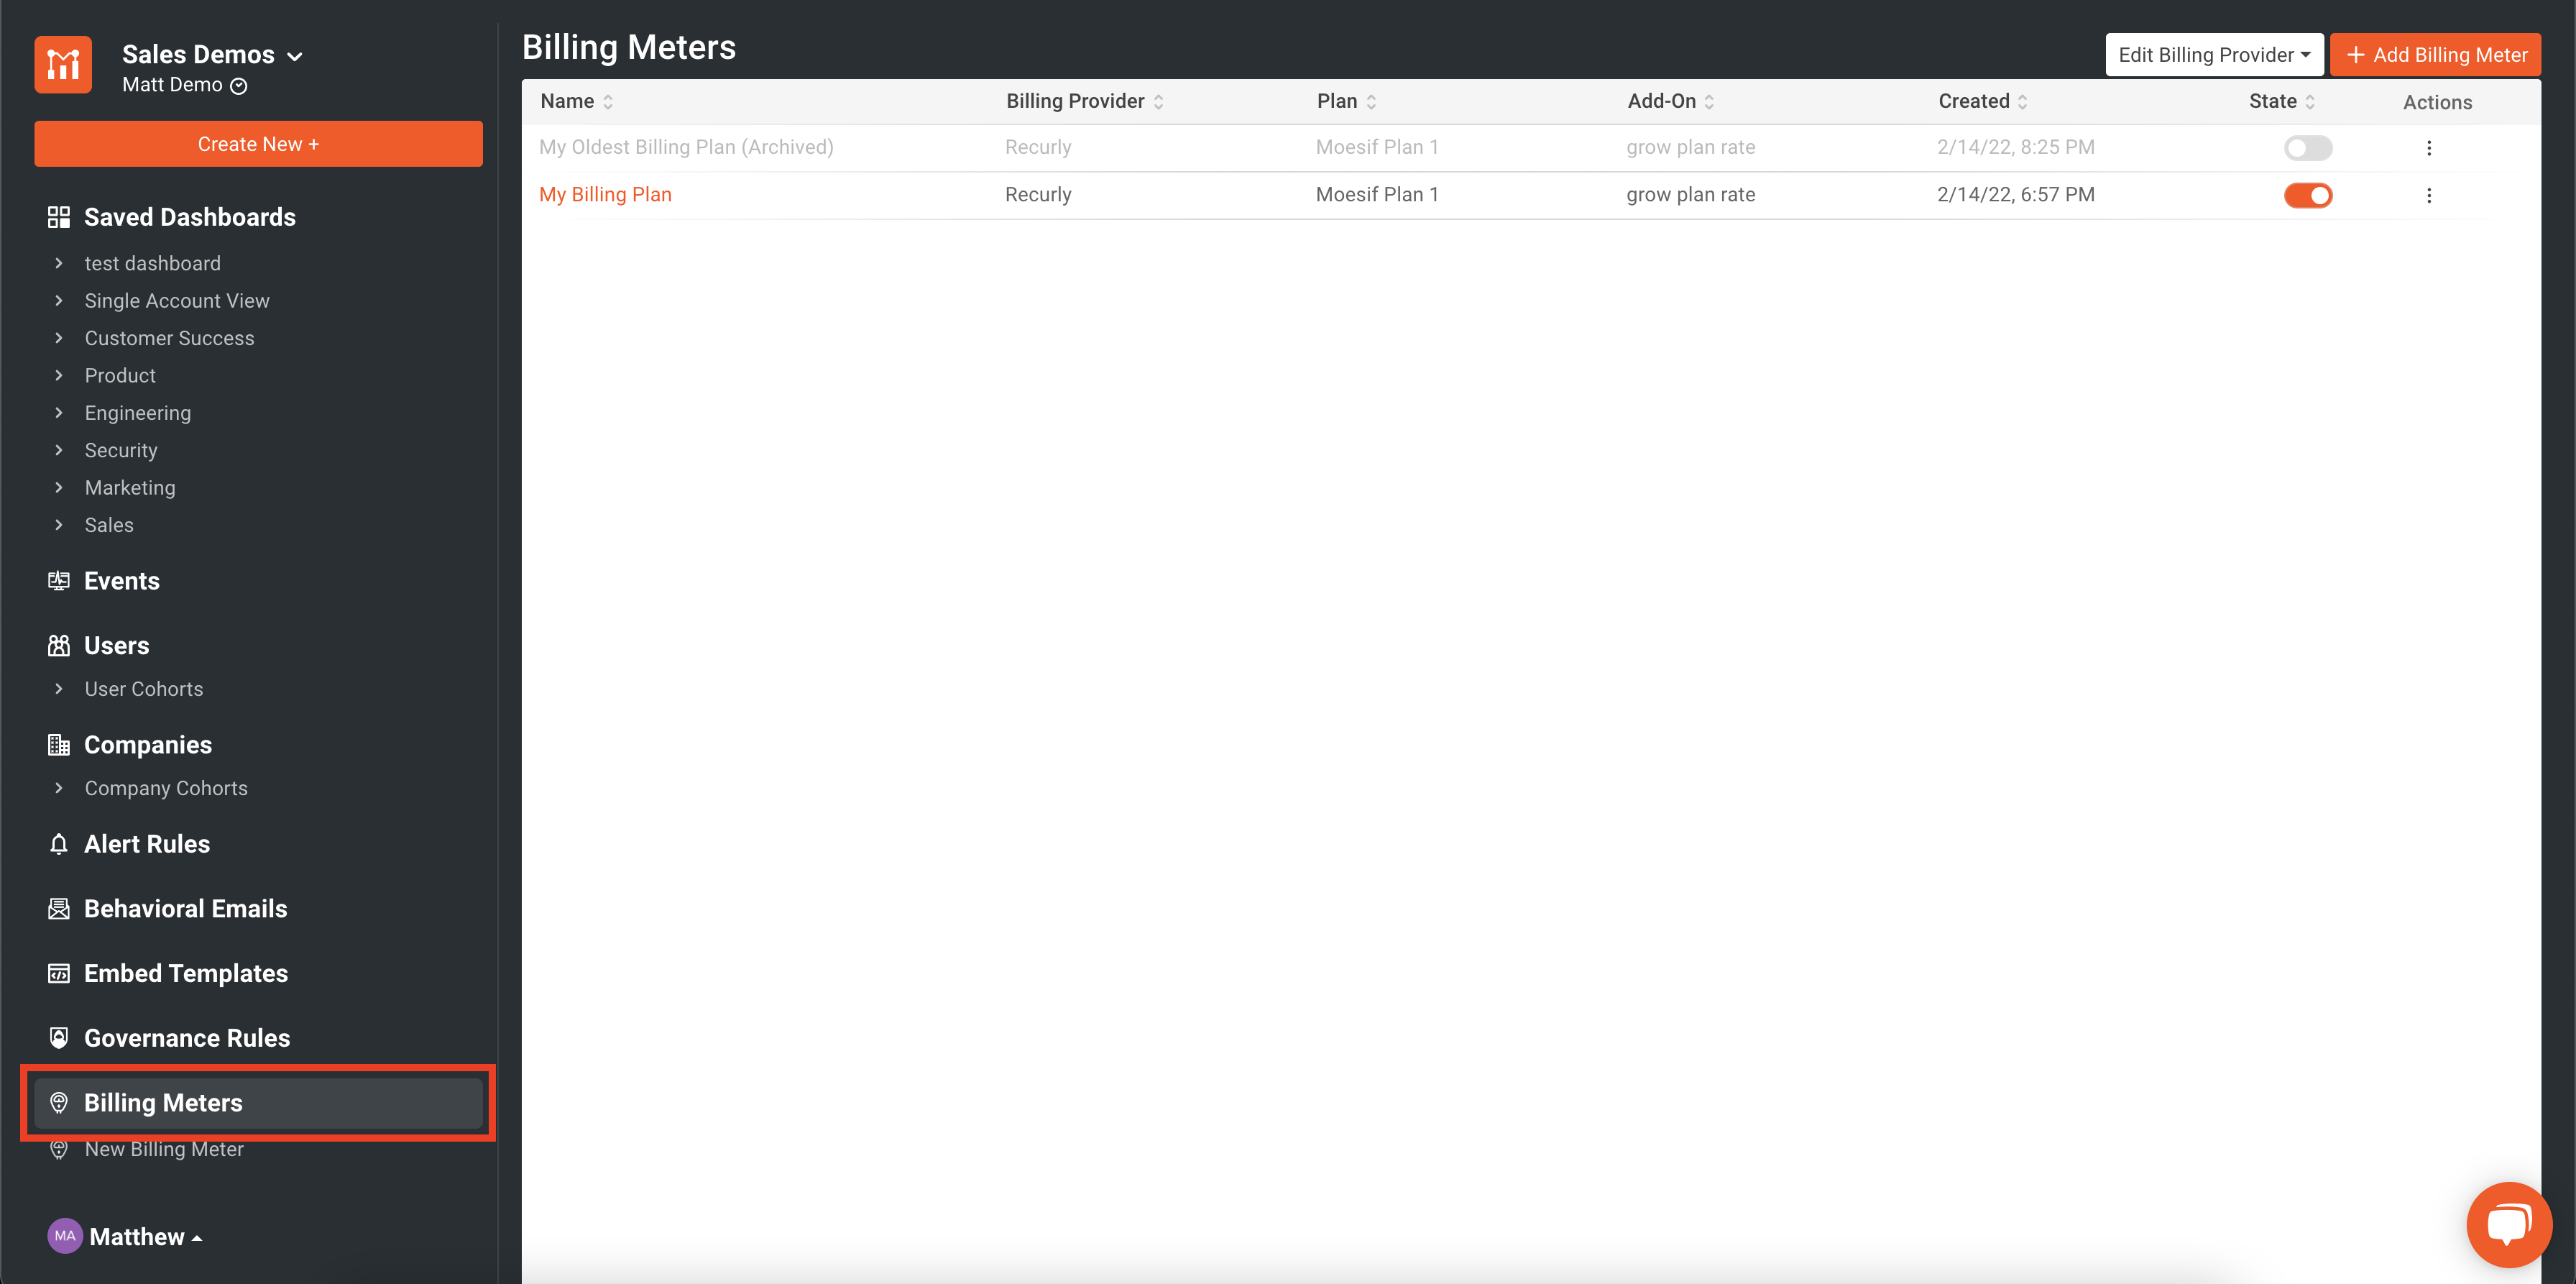
You can create a new billing meter by using the Create New button and selecting Billing Meter. This will bring you to the new billing meter creation screen.
How does it work?
Getting up and running with Metered Billing in Moesif can be done in a matter of minutes. Here is a high-level overview of the steps required to get it working:
Configure the billing provider
Your first step will be to configure your billing provider. You will need to have your plans and add-ons set up within your account already. These will then be pulled into Moesif so that you can assign them to a billing meter when you connect your account to Moesif.
Part of this also requires that you set any webhooks or other connectivity that the billing provider and Moesif require to make sure the system is ready to handle communication between the platforms. This will be outlined when you add the billing provider to Moesif.
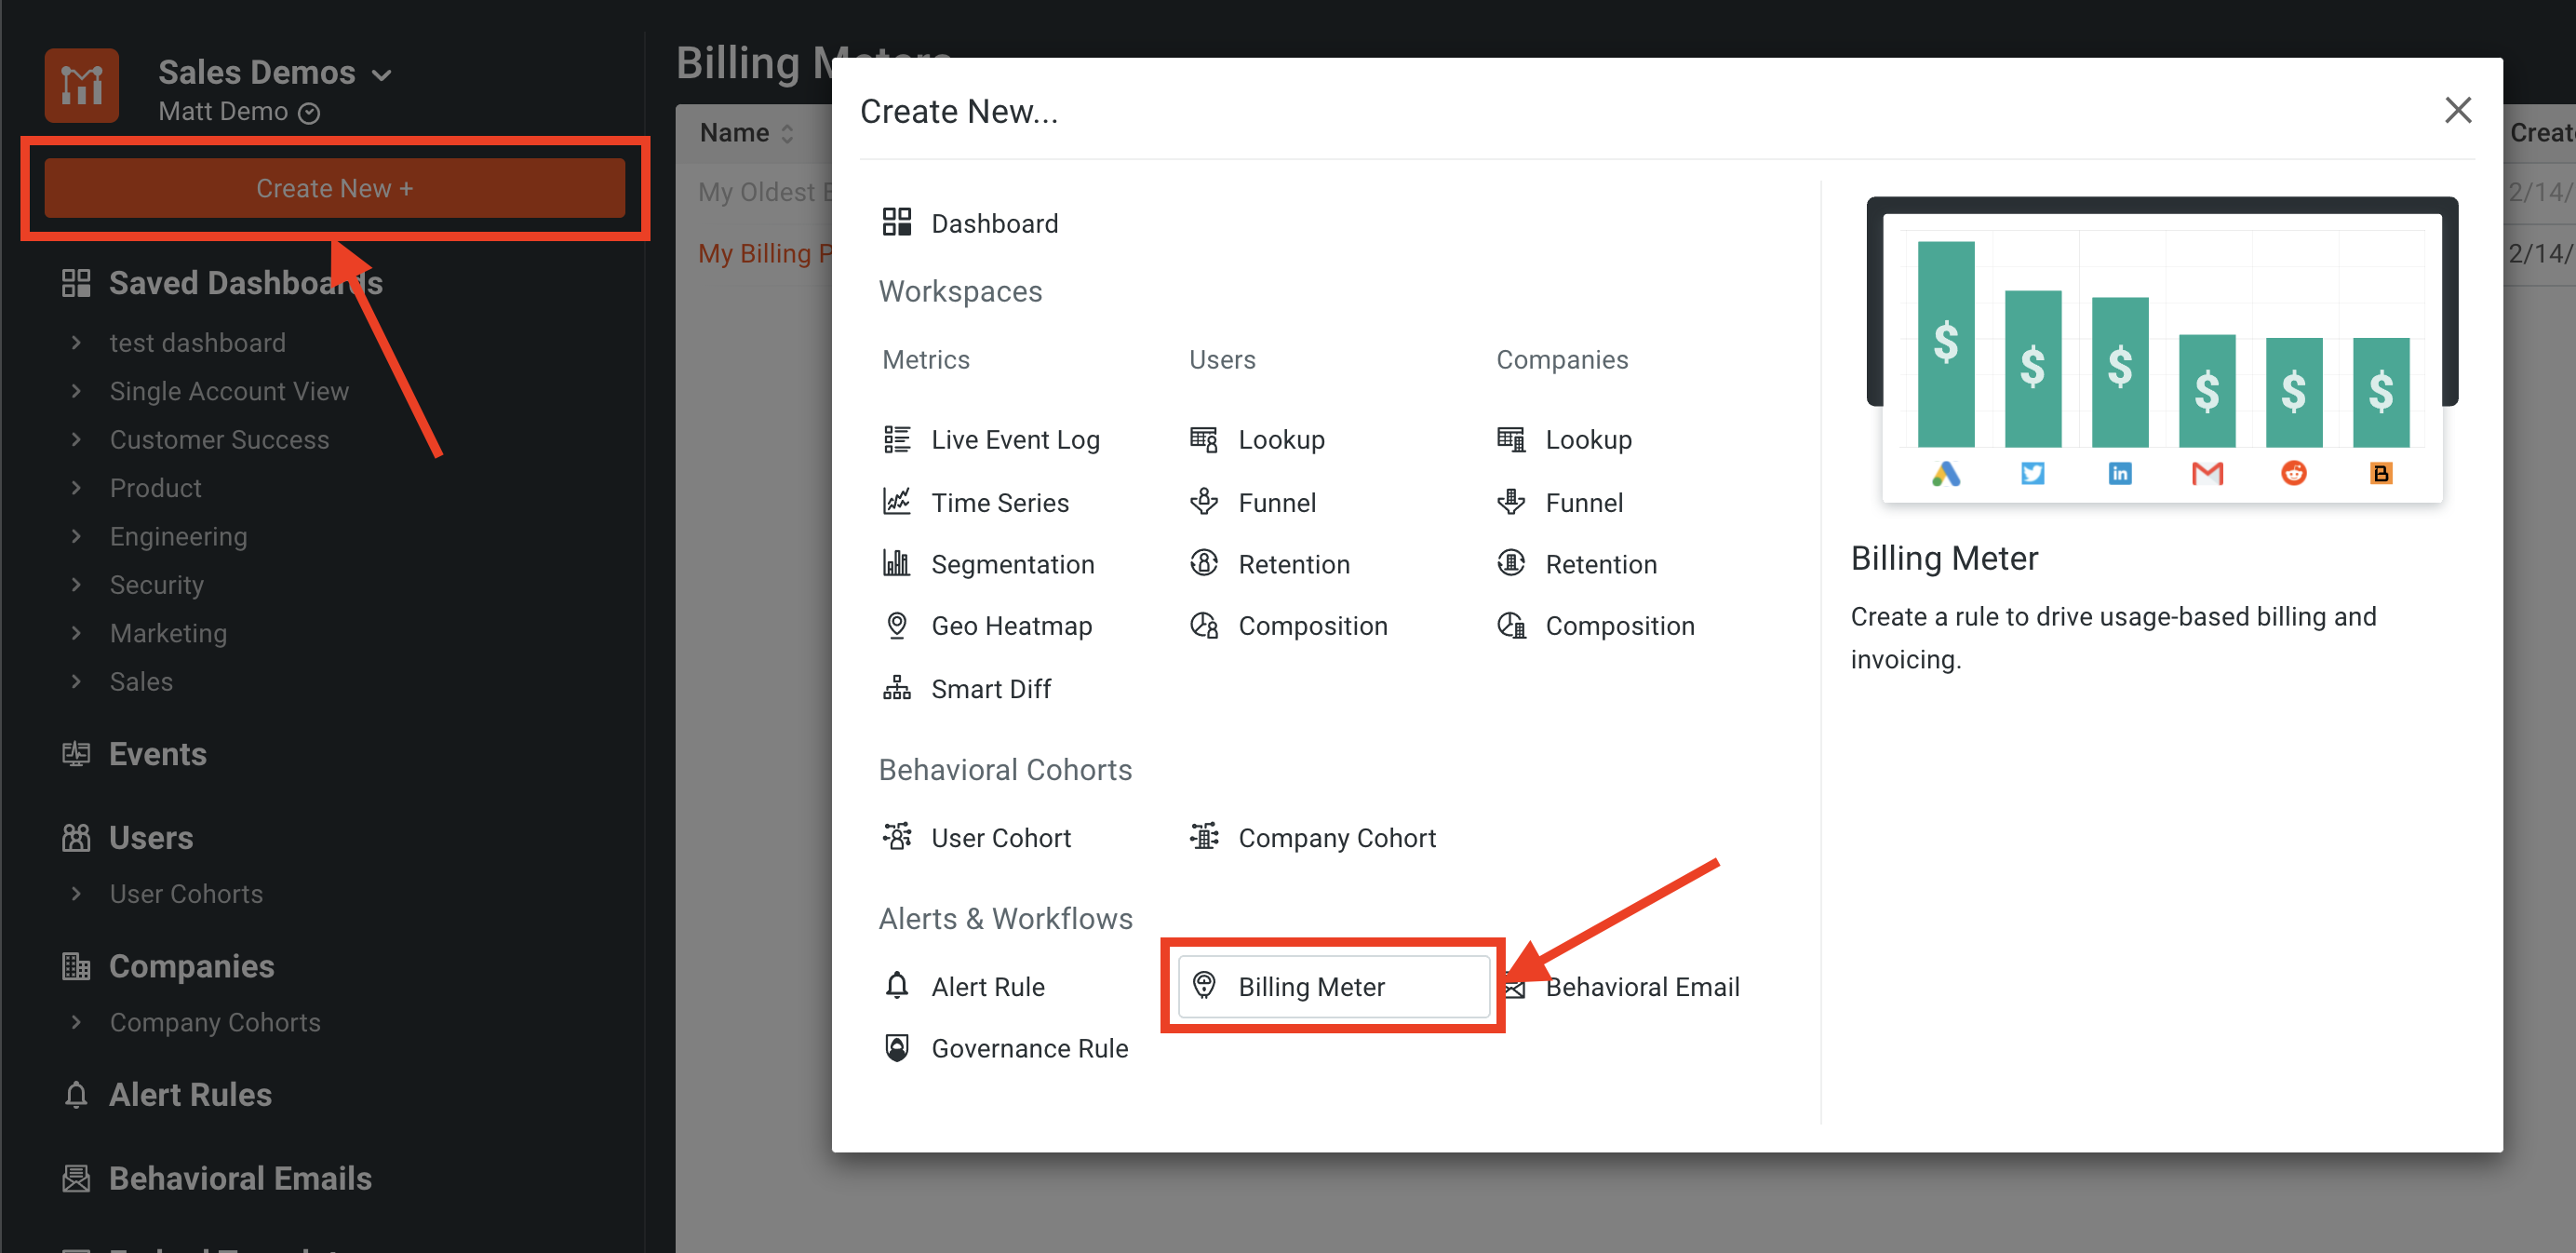
Create a new billing meter
As mentioned above, creating a billing meter can be initiated in a few ways (including using the Create New button in the left-side navigation menu). You will need to name your billing meter and then can proceed to add your billing provider details.
If you have already added your billing provider into Moesif it will show up in the Billing Provider details section on the Create New Billing Meter screen. If not, you’ll be prompted to add your provider from the Billing Provider dropdown on the same screen.
In this example, I have set up a billing meter and added billing provider details for the plan this usage should be linked to.

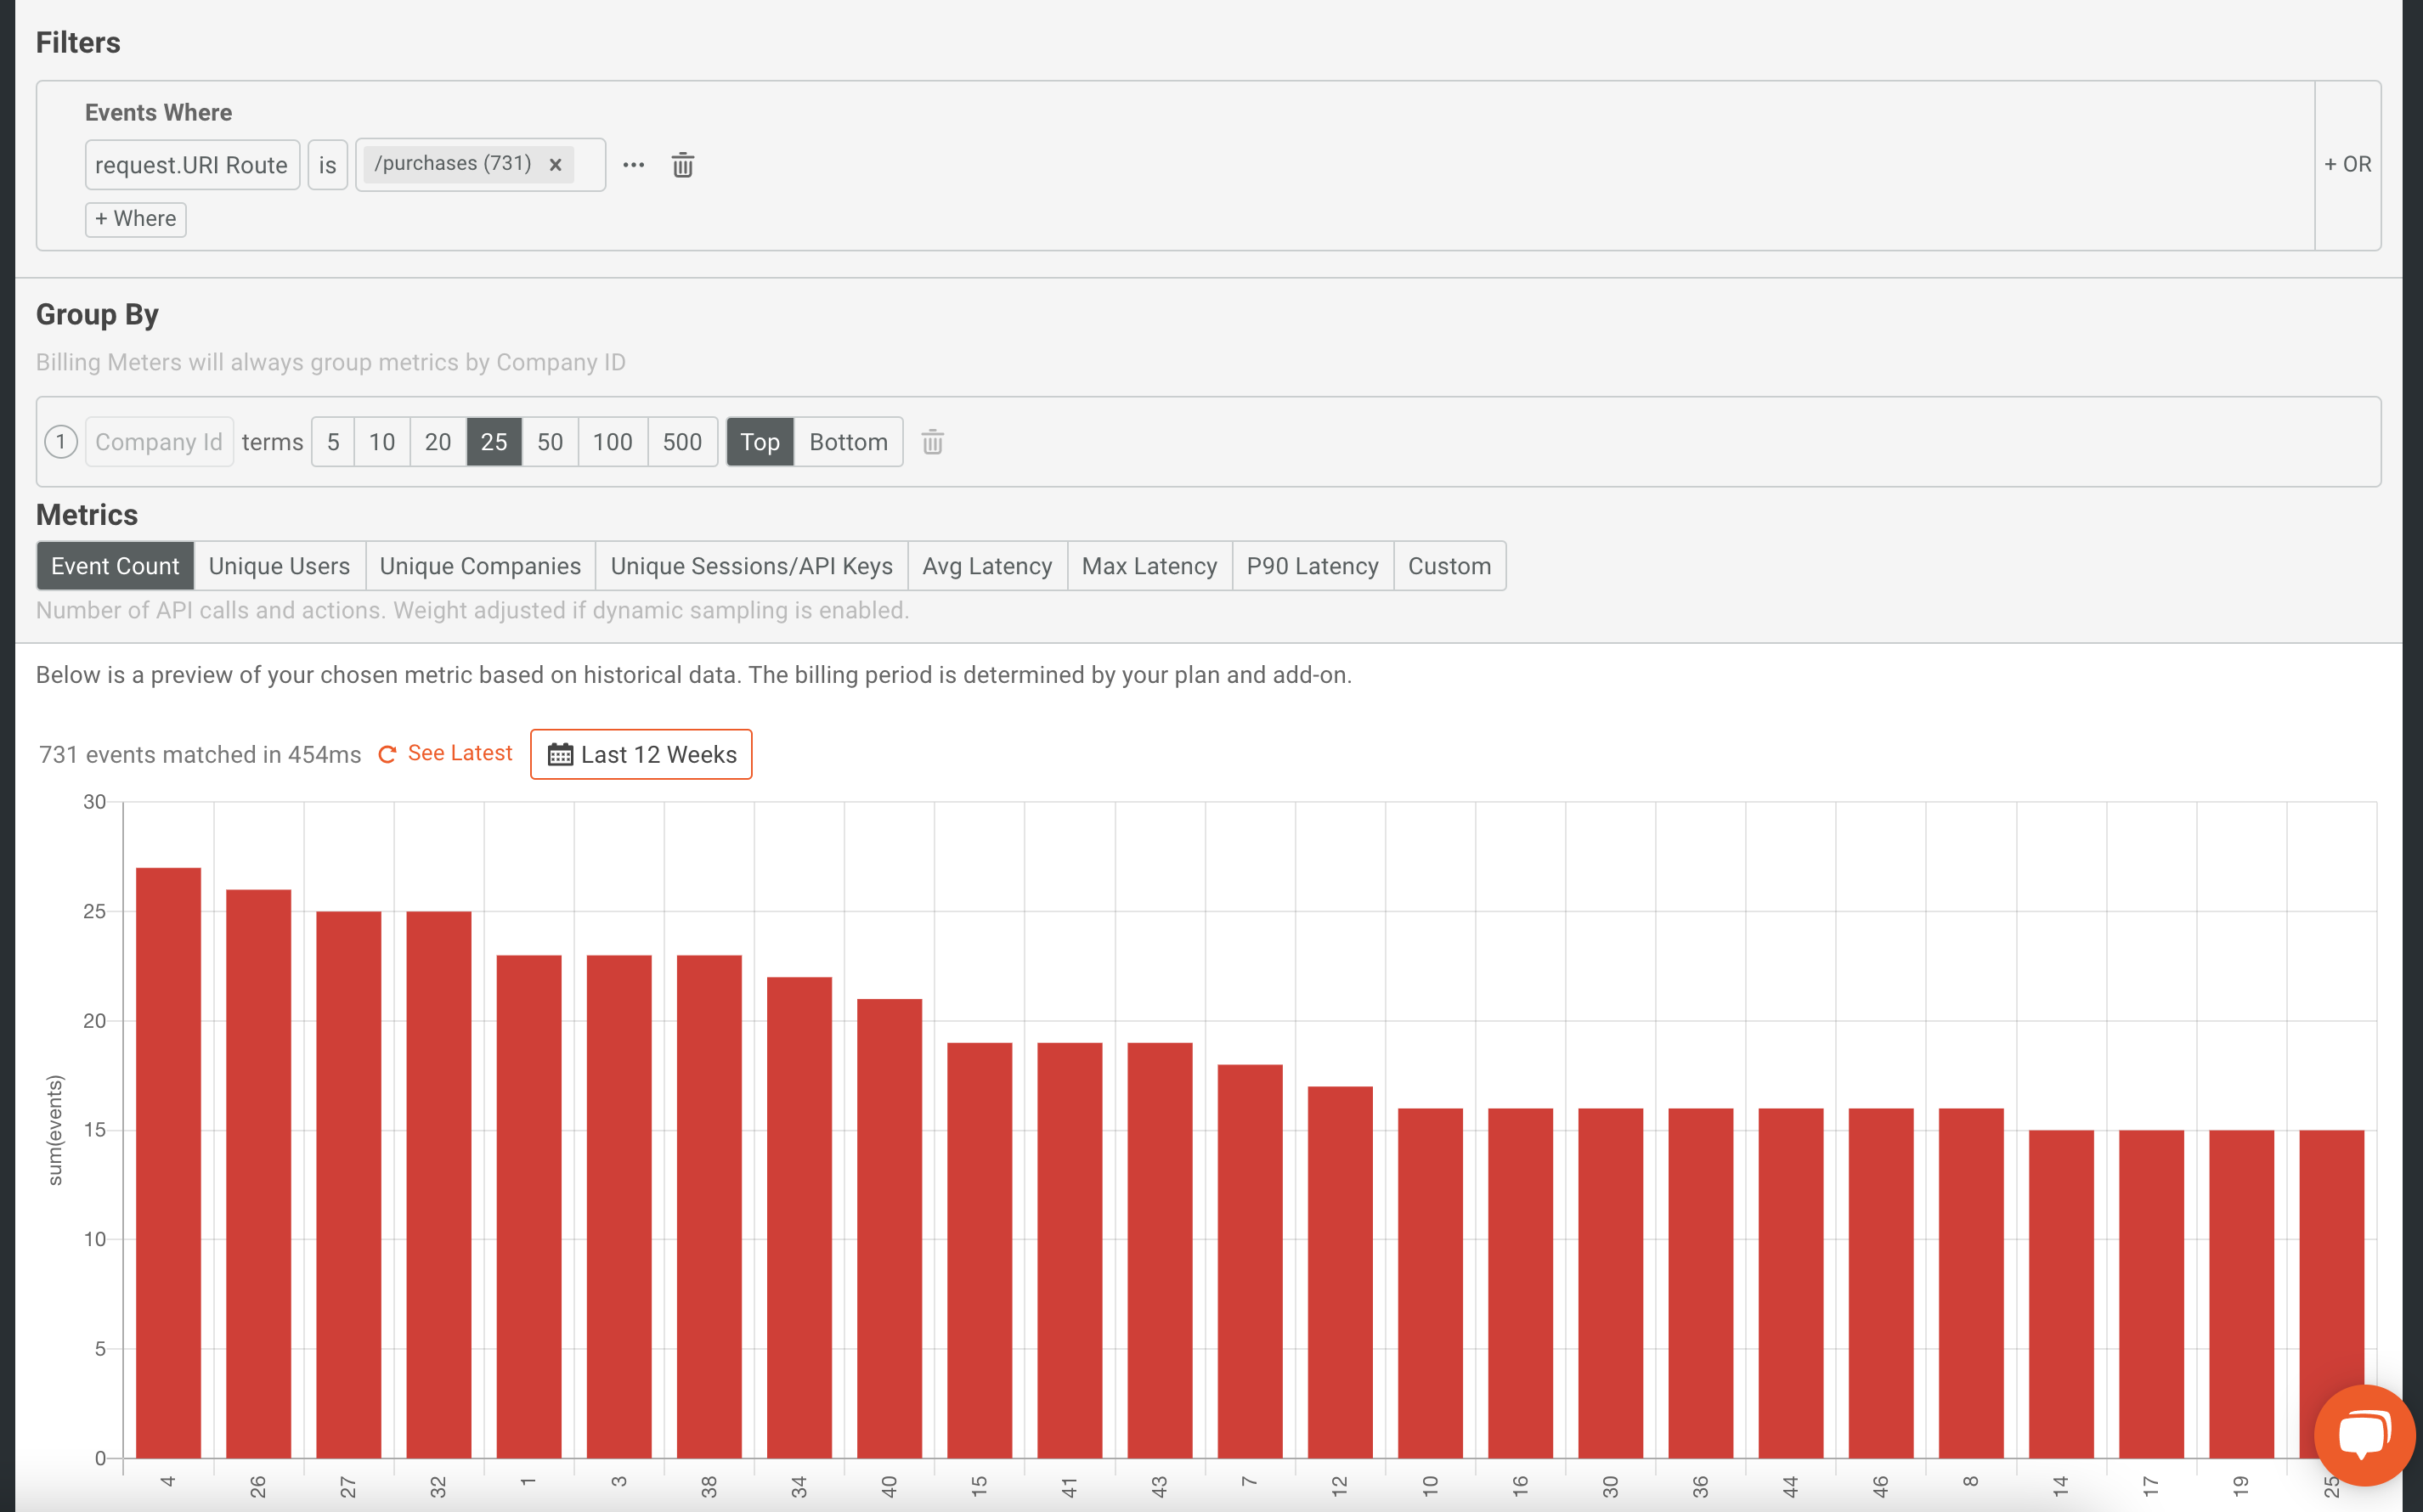
Configure your filter and metrics to bill on
Next, you’ll configure what usage will be counted towards your billing meter. The first step is to create your filter in the same way you would when creating a chart in Moesif. For instance, you may want to filter on only counting API calls that are sent to a specific API route.
The last step is to specify the metric that you want to track. This is the metric that you charge customers on. Generally, Event Count is common to choose from, but other options exist including Unique Users, Unique Companies. You can also formulate your own metric using custom metadata fields such as to track bandwidth consumed or other metrics.
Below I have set up a filter and metric to track event count for calls to the /purchase API endpoint.
Save your billing meter
With our billing meter set up, we will now have usage based on our filter be linked to our specified billing plan. At the end of the billing cycle, Moesif will tally up the usage and pass this data to the billing provider for them to charge upon.
Our final step is to save the billing meter to make it active. After it is saved, usage data will be automatically passed over to the billing system from the usage metrics gathered in Moesif.
Give it a go!
To try it out, simply sign into Moesif and navigate to the Billing Meters tab to set up your first one. As we expand our capabilities, expect all of your favorite billing providers to be added to Moesif so that you can quickly and easily begin to monetize your APIs. Don’t have an account yet? Simply sign up to get started in a matter of minutes. For more information on Metered Billing and possible configurations, you can also check out our docs pages!


Related Articles

API Analytics and Monitoring
Monitoring MCP Security and Agent Behavior with Moesif
Monitor MCP server security and agent behavior with Moesif. Detect misuse, set alerts, and gain visibility into Model Context Protocol traffic.

API Strategy
Monetizing MCP (Model Context Protocol) Servers with Moesif
Learn how to monetize MCP server usage with Moesif. Track tool calls, enforce usage-based pricing, and meter agent access with full visibility.

API Development
Using Moesif for API Observability and Analytics in NGINX One
Enable API observability in NGINX One with Moesif to track latency, errors, and usage patterns through powerful API analytics and user-aware monitoring.

Podcasts
APIs Over IPAs 19: API Product Management with Emmanuel Paraskakis, Level 250
In this episode, Emmanuel Paraskakis of Level 250 joins to discuss the role and responsibilities of API product managers.
