Using Event Tags in Moesif
Sometimes you may have related events that you want to group together or want to give a friendly name to events. This could be especially true if you have a group of API calls you want to combine into a single API product. Fortunately with Moesif you can do exactly that, so that groups of events can be looked at as a single unit, like a SKU. In Moesif, this can be done by using the Event Tag feature.
Creating An Event Tag
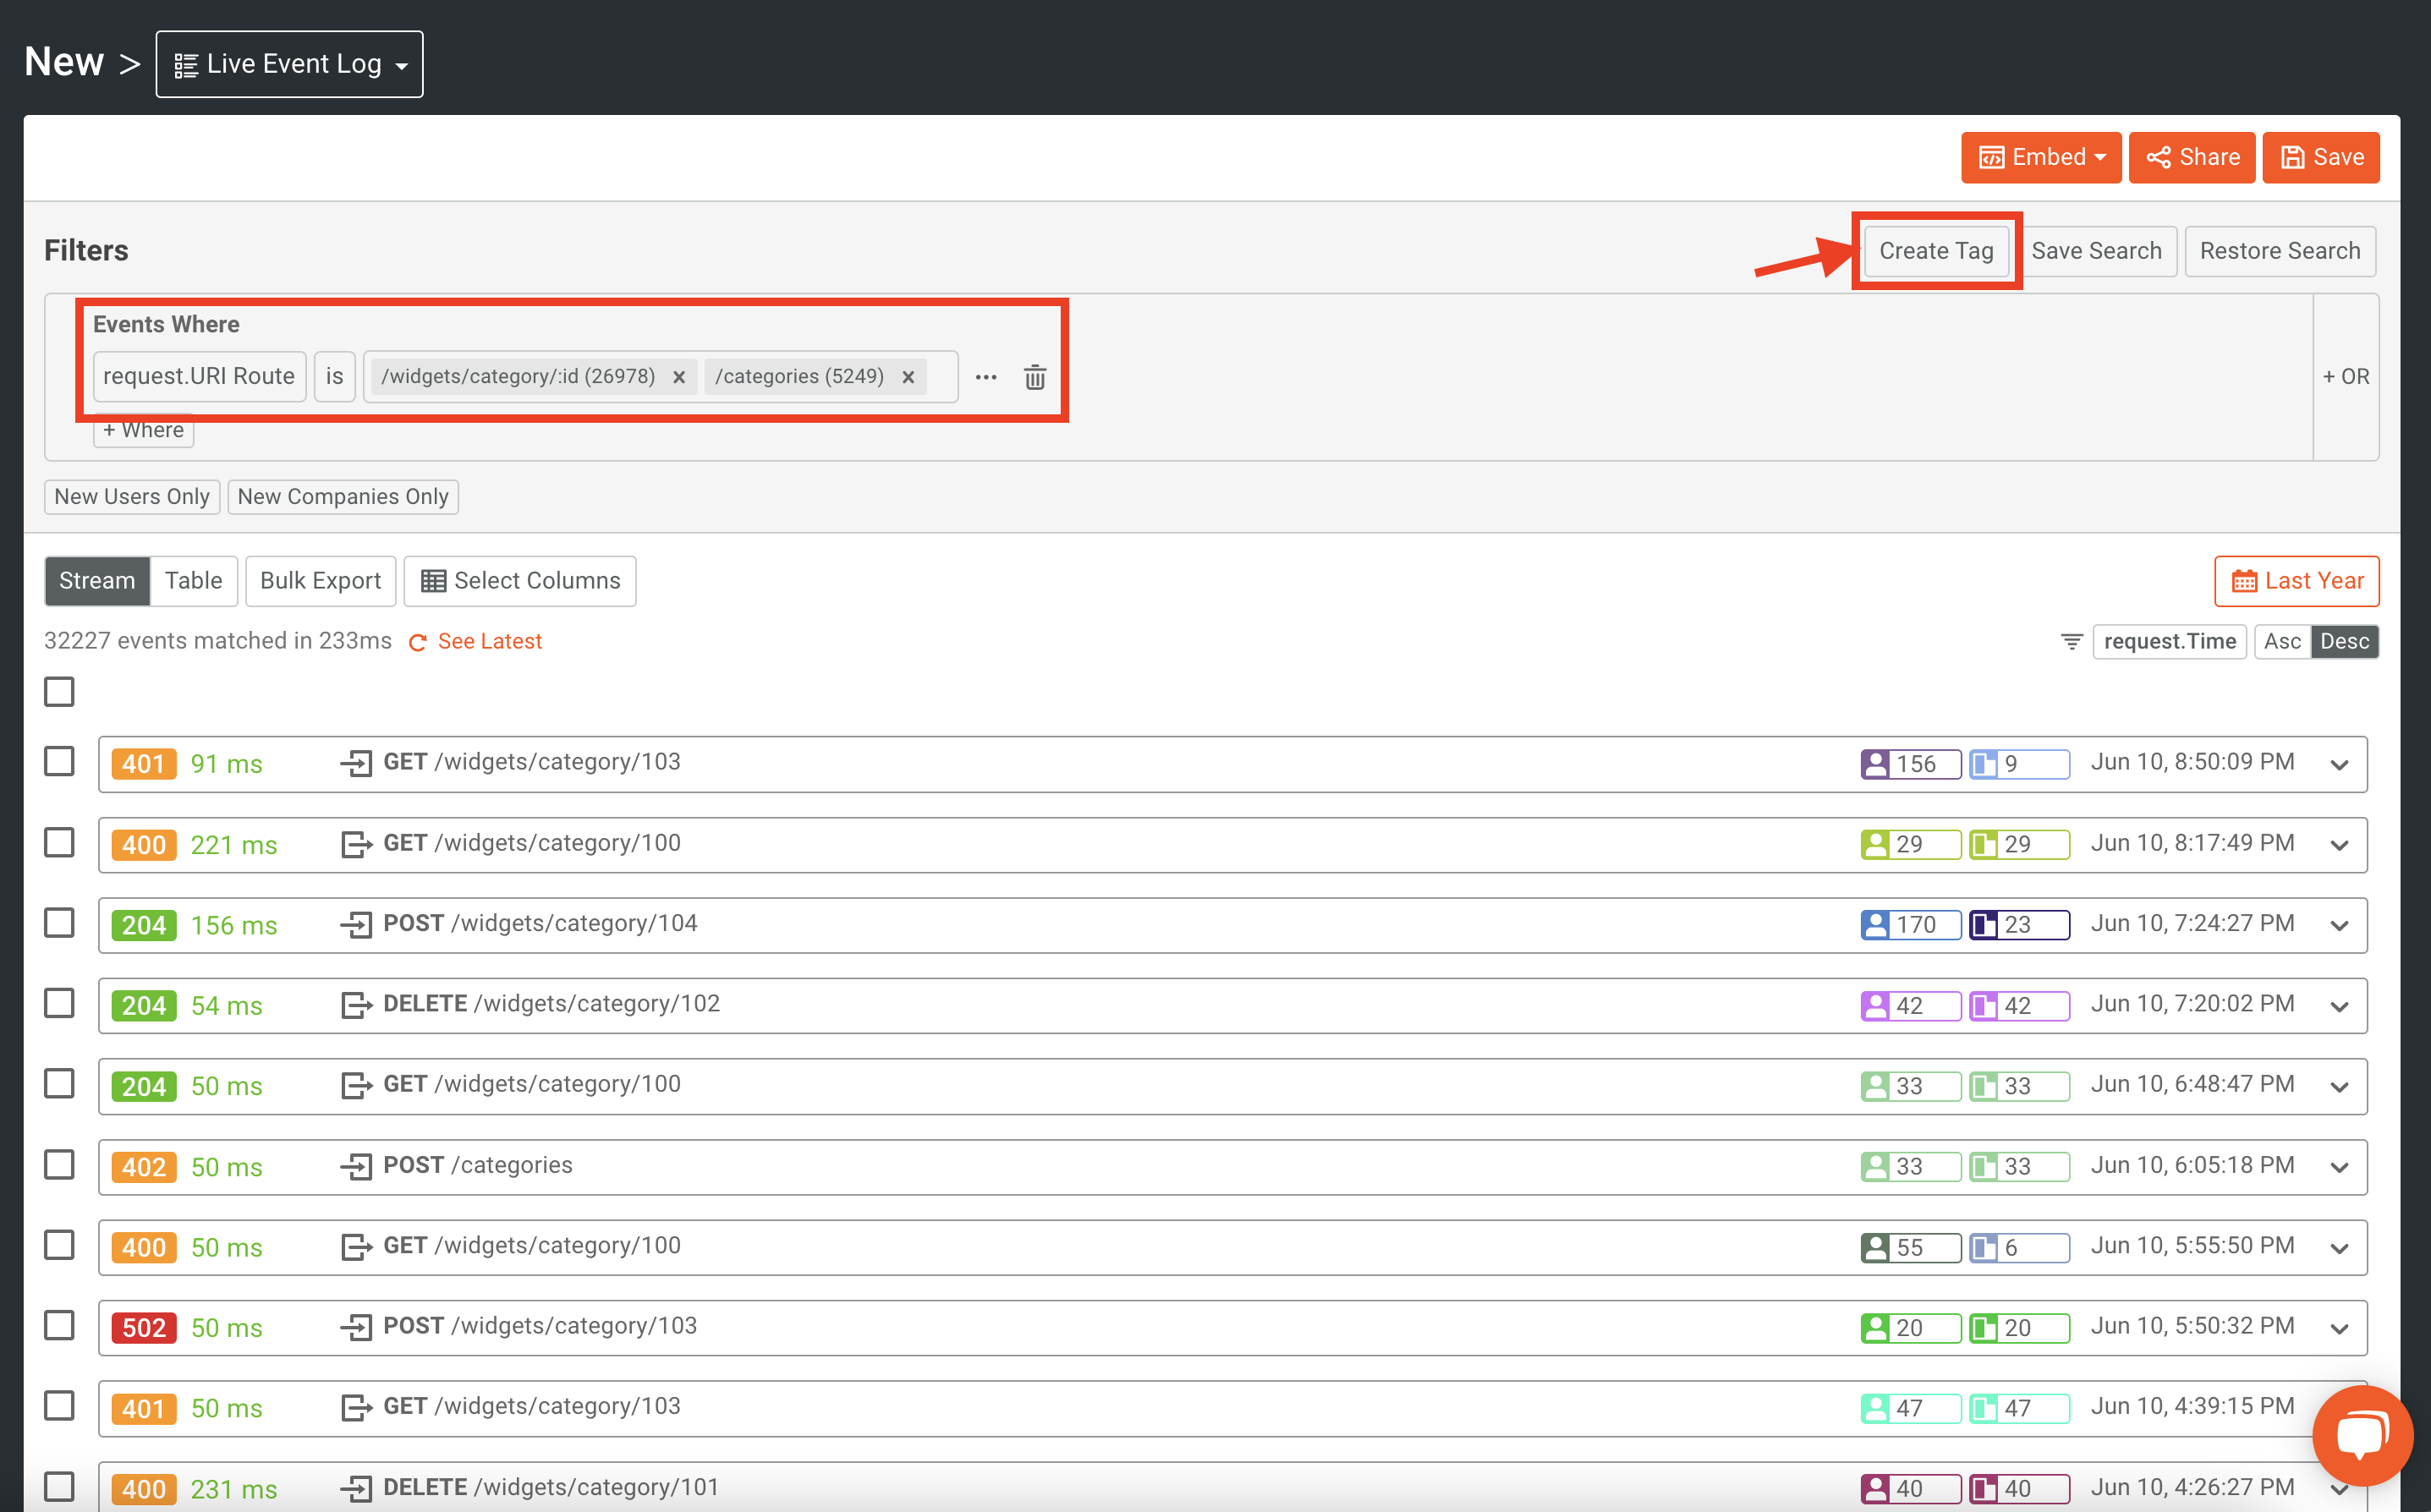
The first step in creating an event tag is to navigate to the Live Event Log screen. This can be done by going to the + New button and selecting Live Event Log.
Once on the Live Event Log screen, we can determine our tag’s filter. In this example, we will filter upon two endpoints that are related. With the 2 routes added to the filter, we can now create the tag. Click on the Create Tag button.
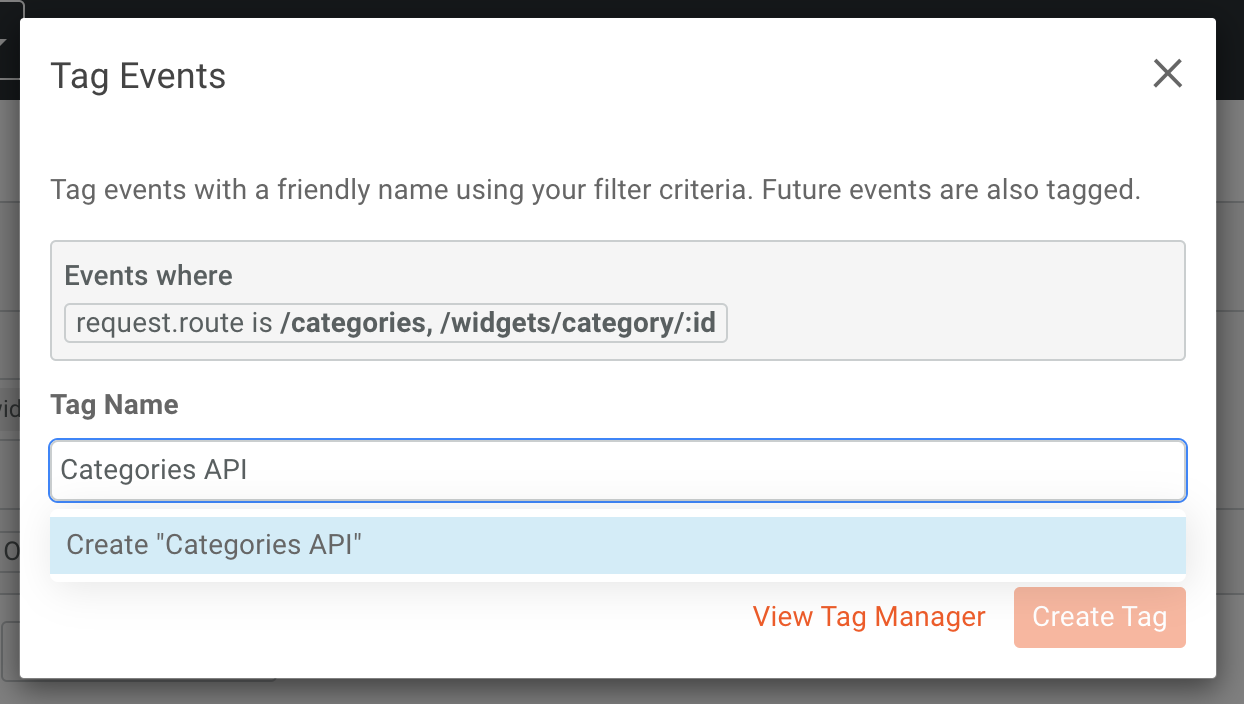
A modal will then appear which shows the filter for the tag. We will type in a name, Categories API, for the tag and then click Create “Categories API”.
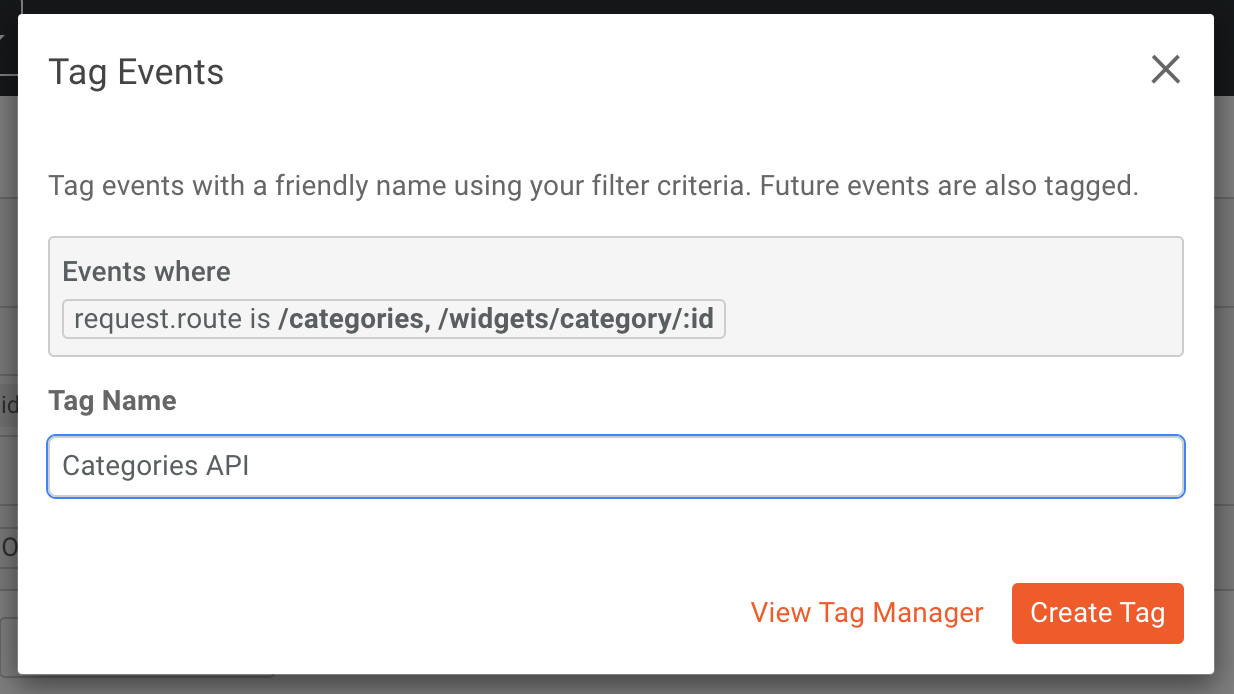
Lastly, you will click the Create Tag button.
Now, the tag is created and can be used in Moesif so that events can be viewed using a single criterion.
Updating a tag will also update old events. However, this may take a few minutes. You can view the processing status of tags from the Tag manager.
Using An Event Tag
Using an event tag can be used just as any other attribute. A good example of this would be using the tag in a live event log query. Instead of having to specify the endpoints, you can then just specify to include events that match the tags. Below is a quick demonstration of what that filter would look like and the output.
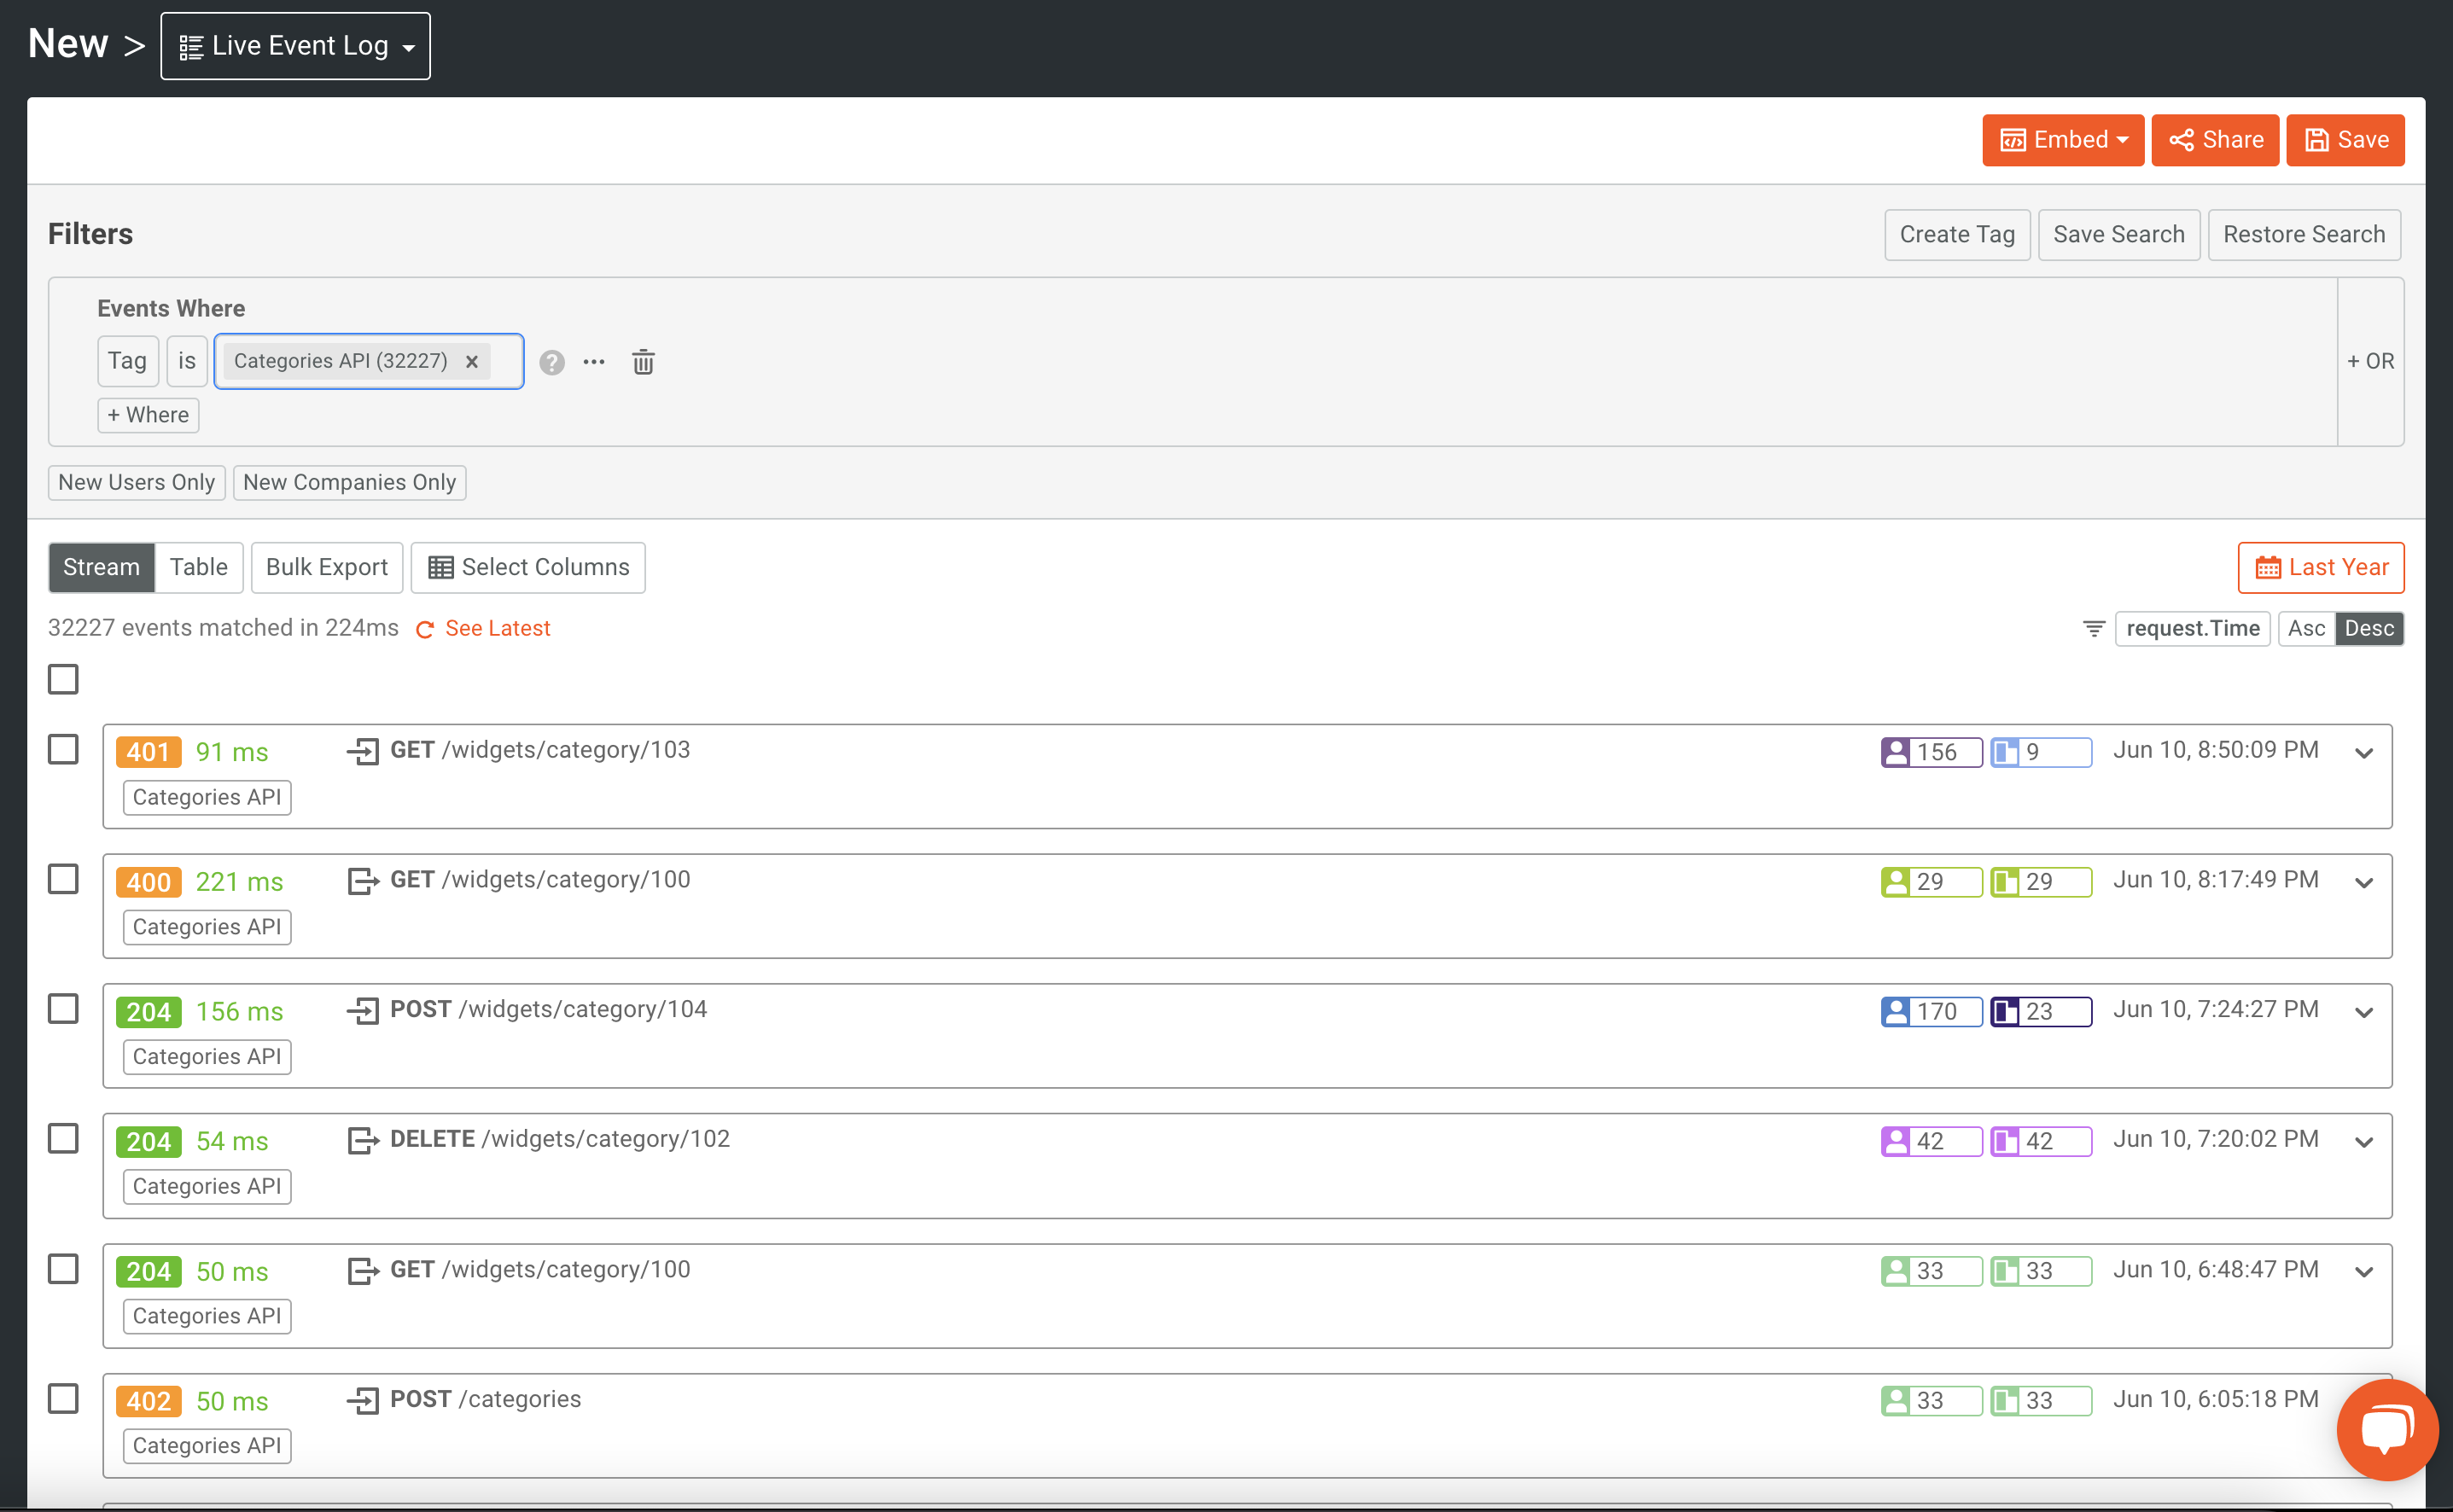
You’ll also notice that entries also show the tags that they are part of. Each of the entries shows the Categories API tag.
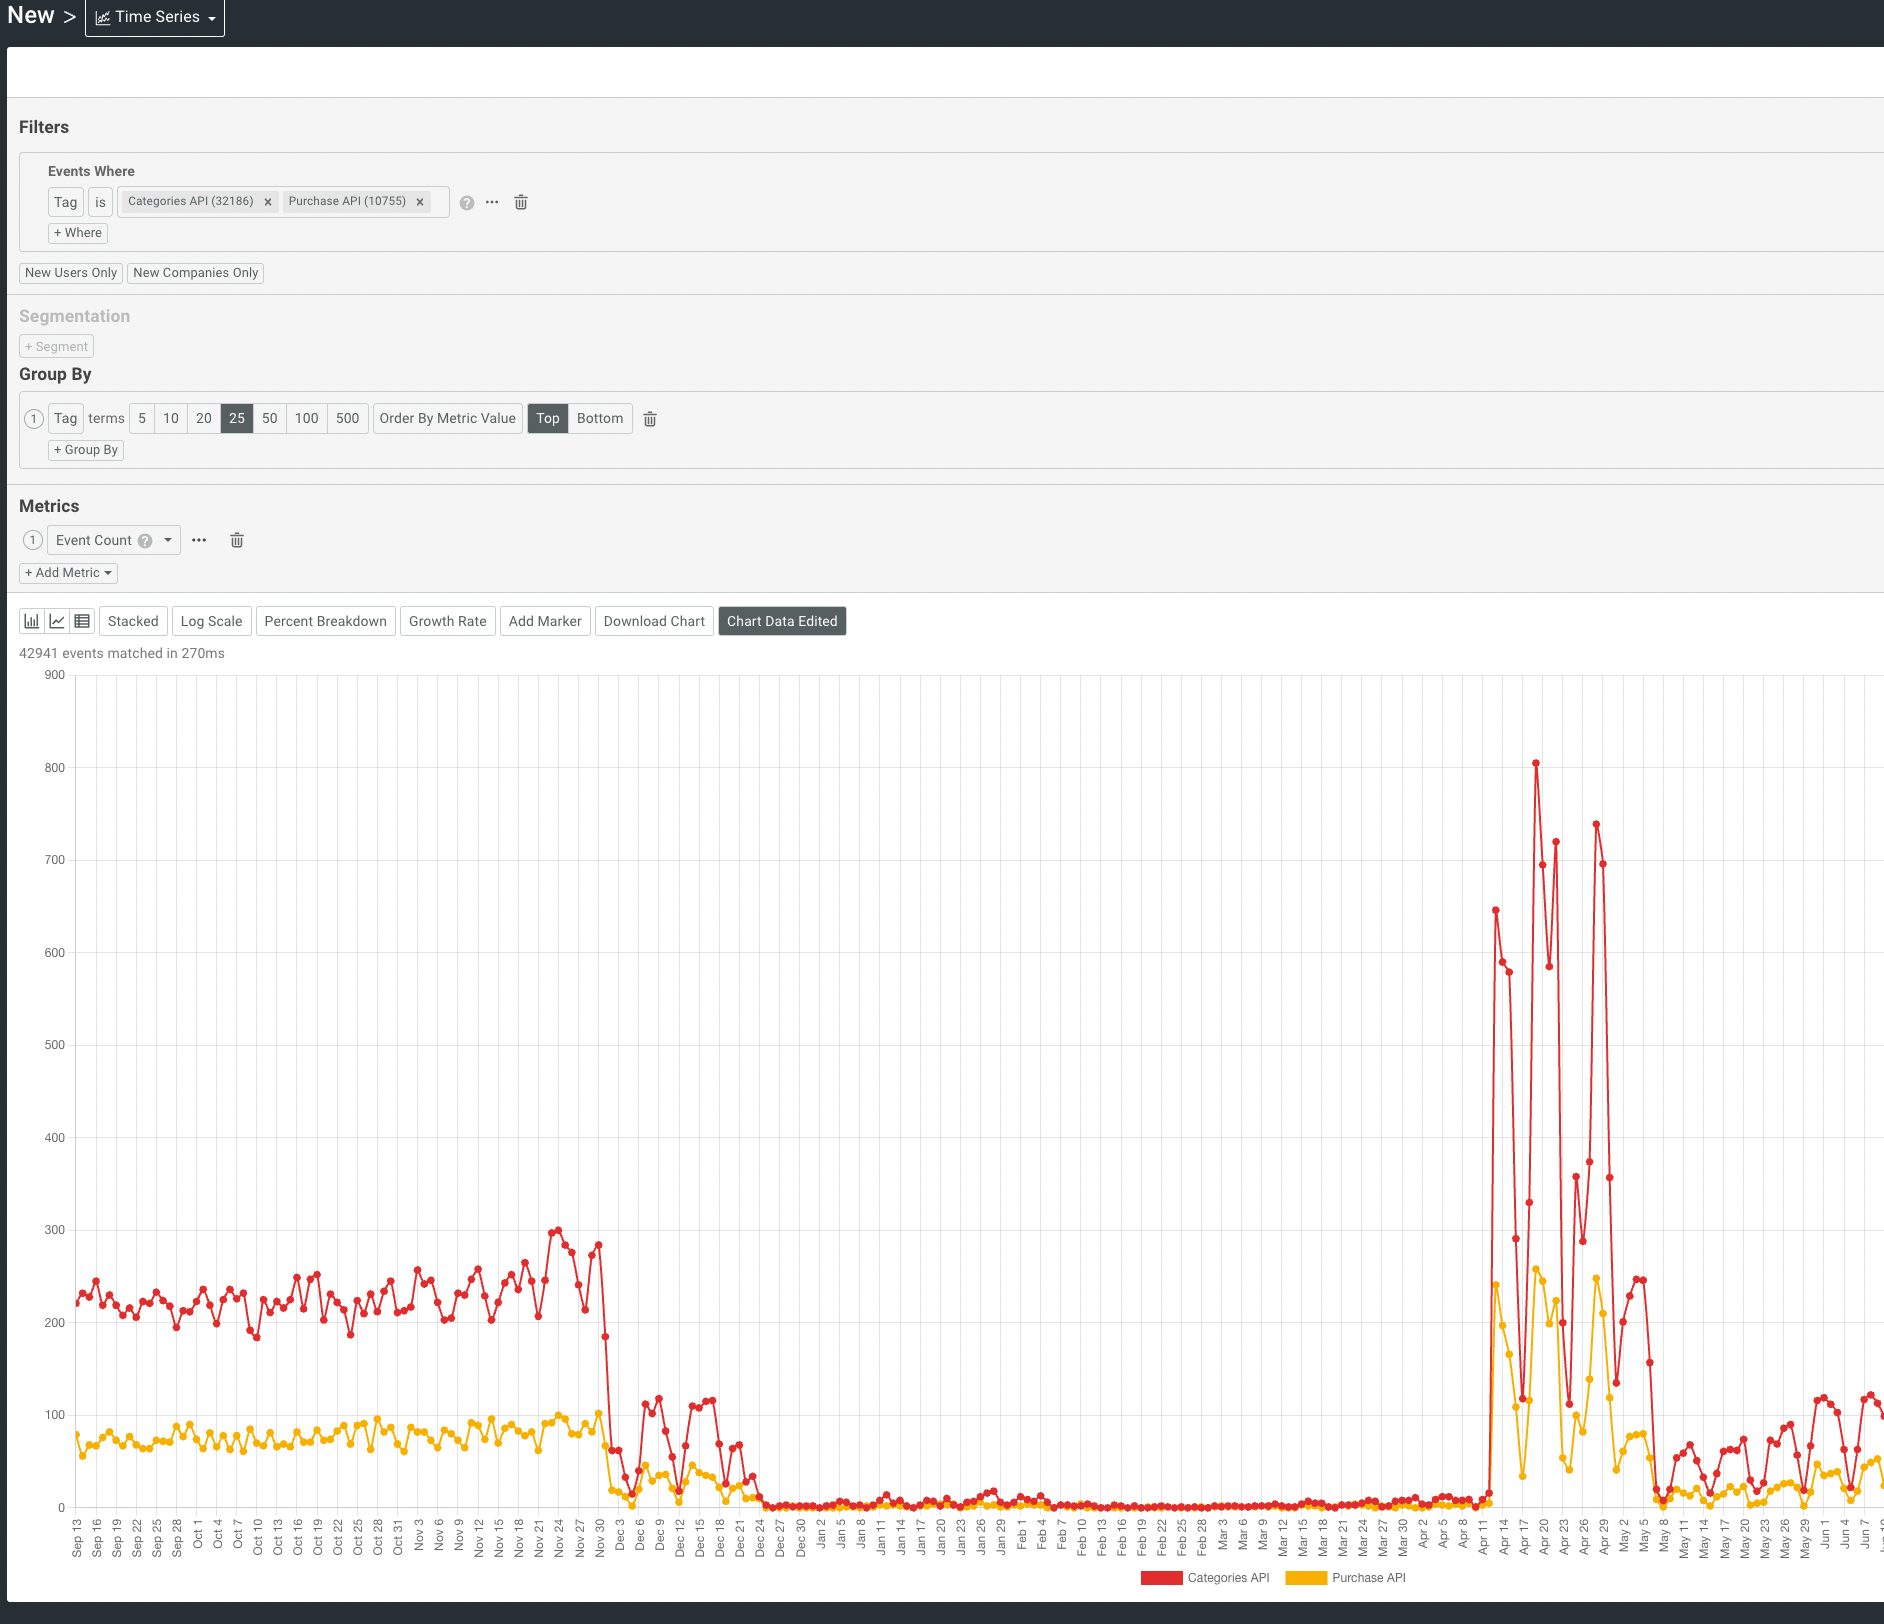
Similarly, you can group by tag names just like any other attribute. Below we can see the traffic volume for each of our APIs. This can be helpful to organize your endpoints into API products when creating billing meters.
Accessing and Editing Existing Tags
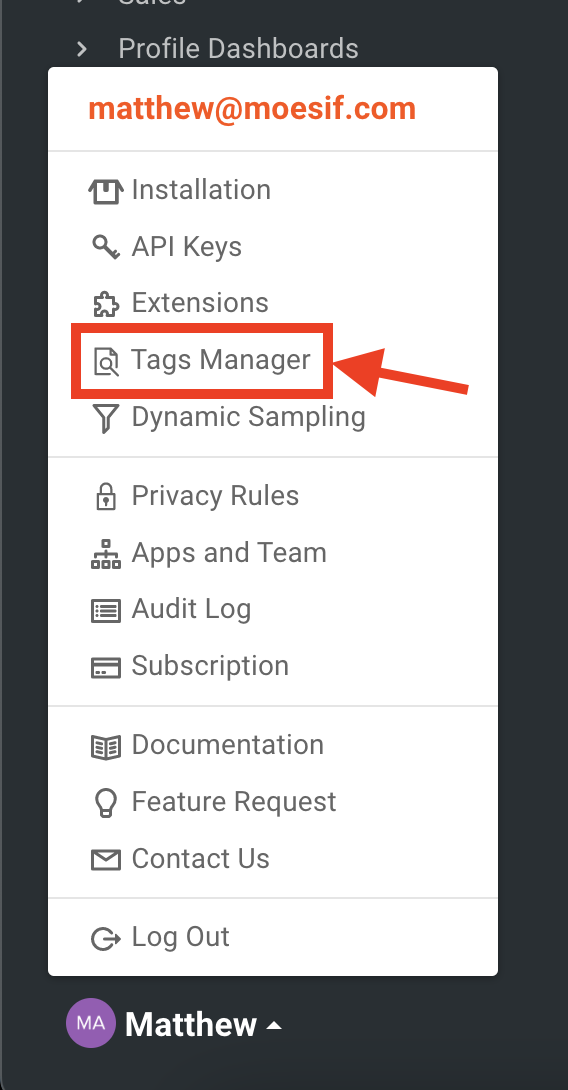
To edit existing tags, you can access them through the Tags Manager. This can be accessed through the Settings menu at the bottom of the screen in Moesif.
Once clicked, you’ll be able to see previously created tags, edit them, and delete them.
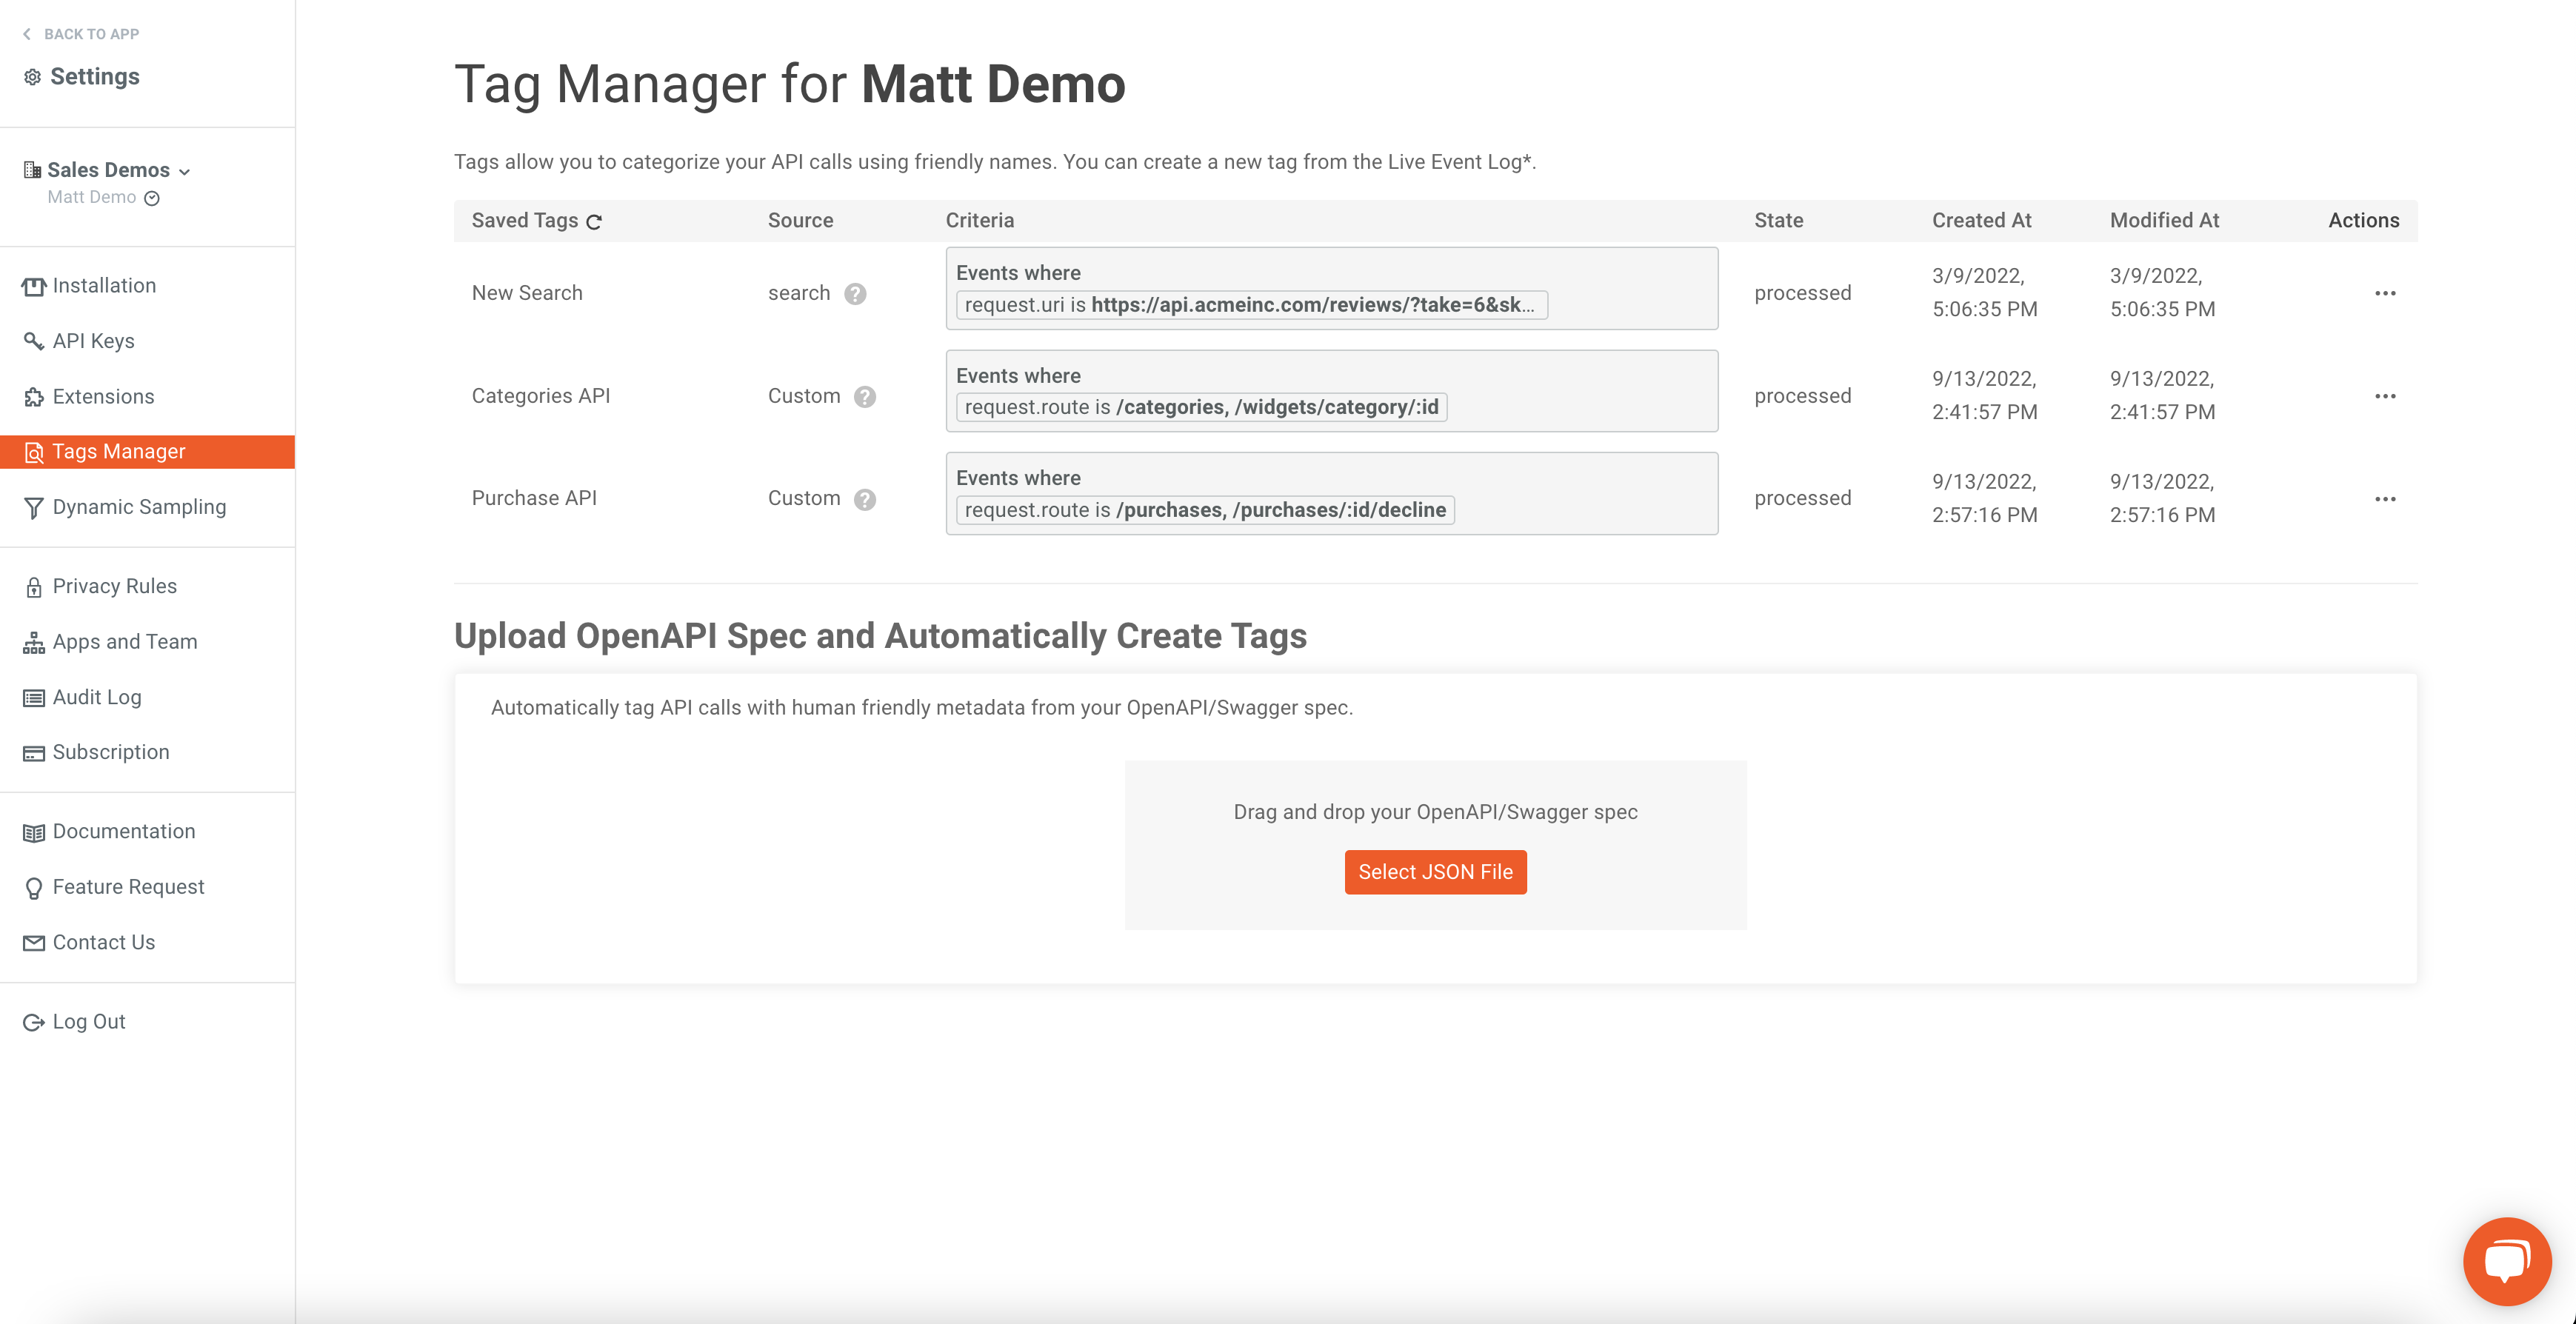
To edit a tag, simply click the ellipsis button at the end of the entry and click Edit.

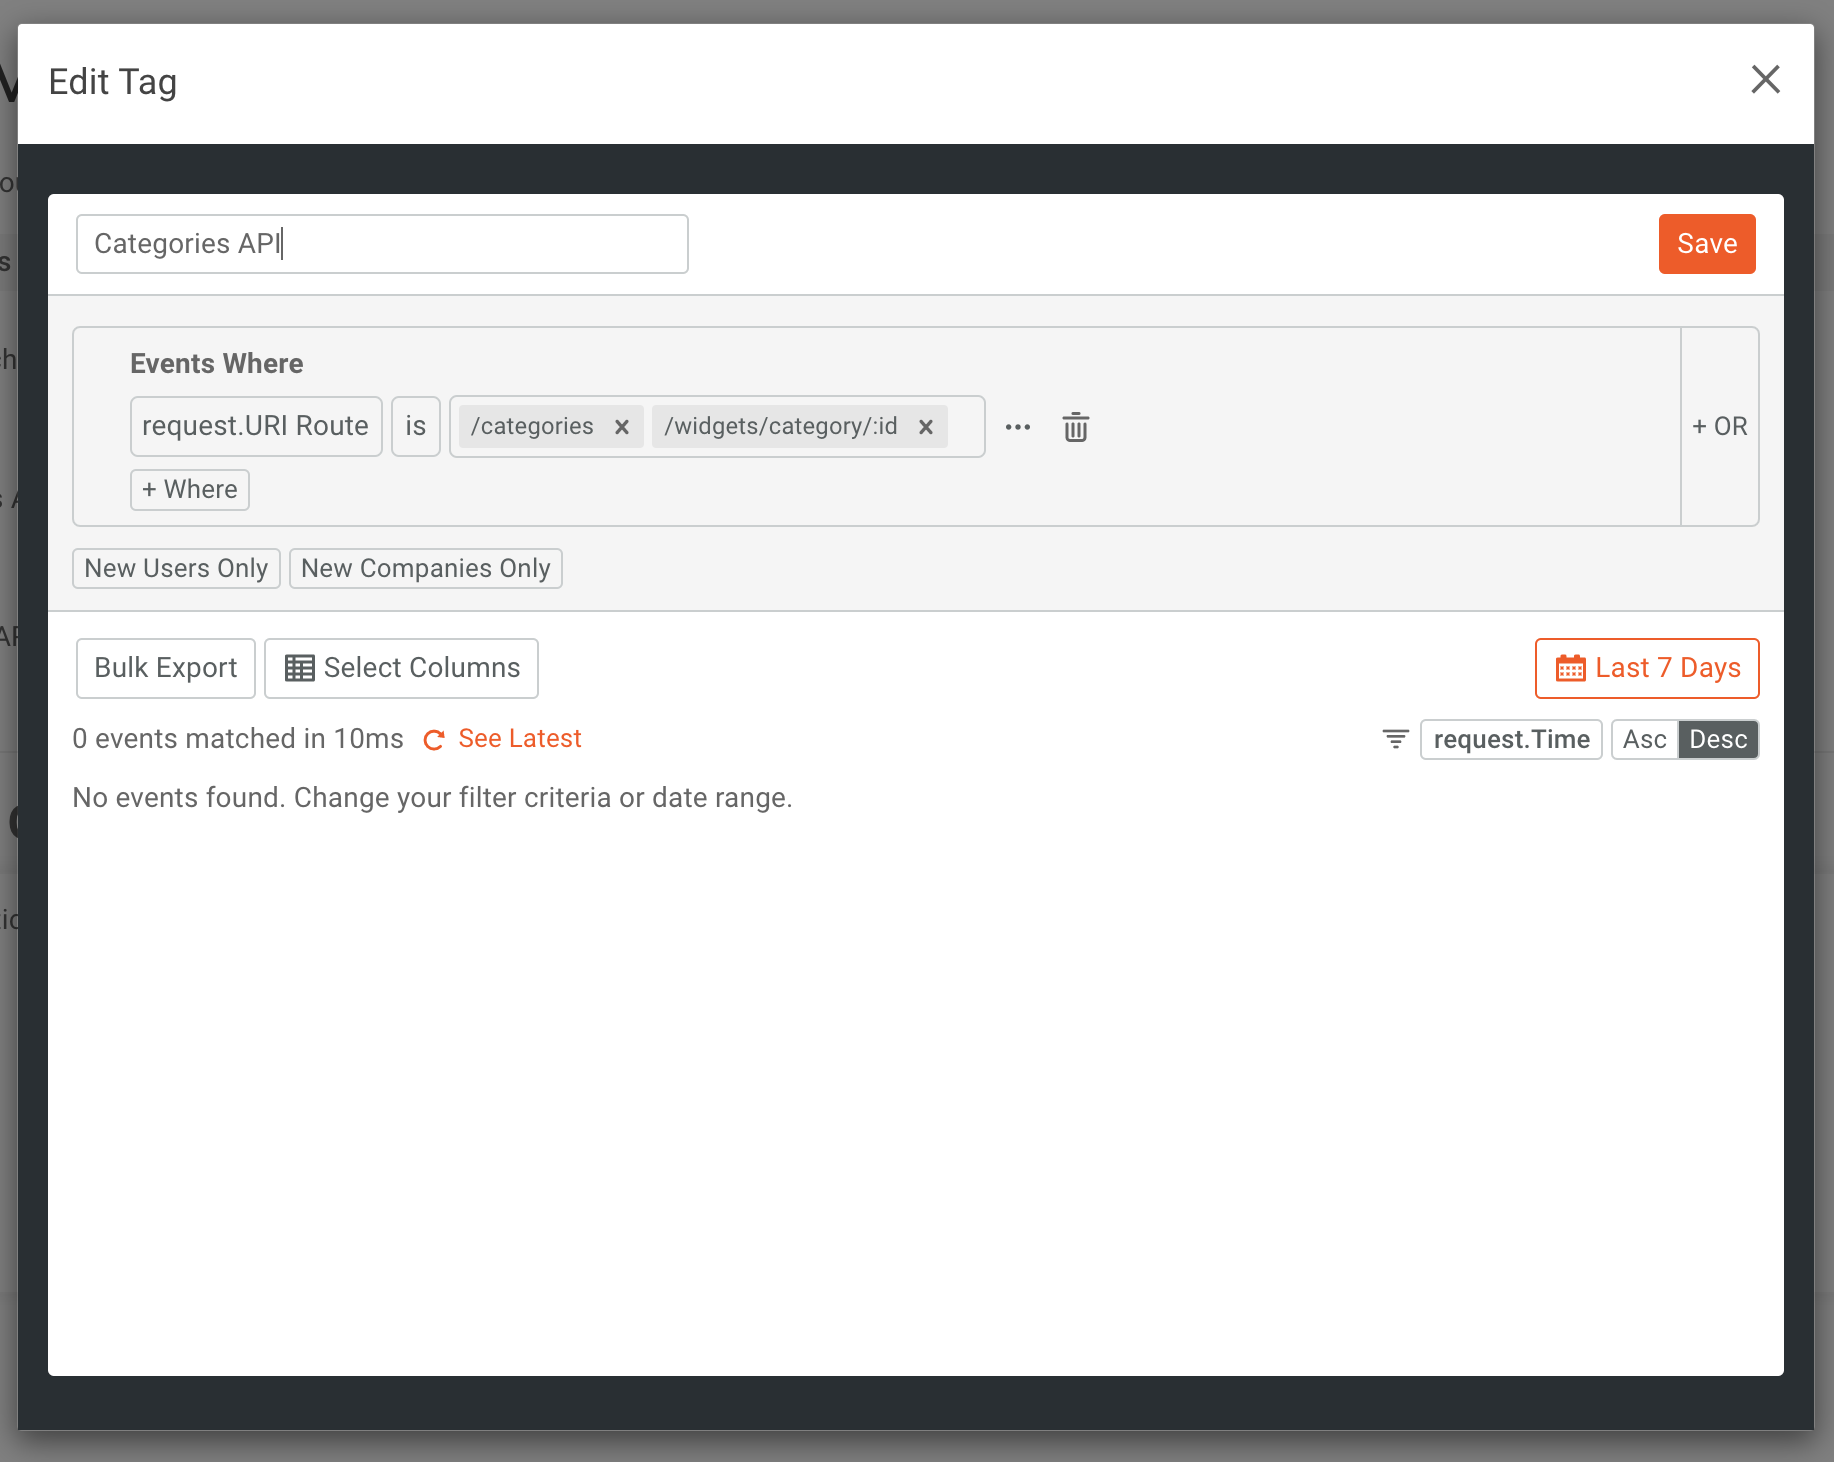
A modal will then pop up and allow you to edit the filter for the tag. Once completed, click the Save button.
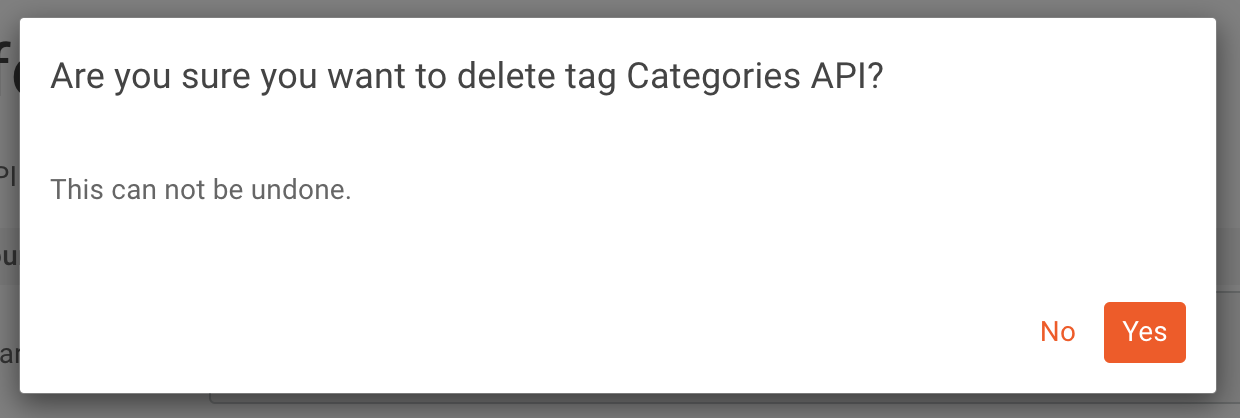
To delete a tag that you no longer want to use, simply click on the ellipsis button for the entry and click Delete.

A modal will then appear to confirm the deletion. Click Yes to delete the tag.
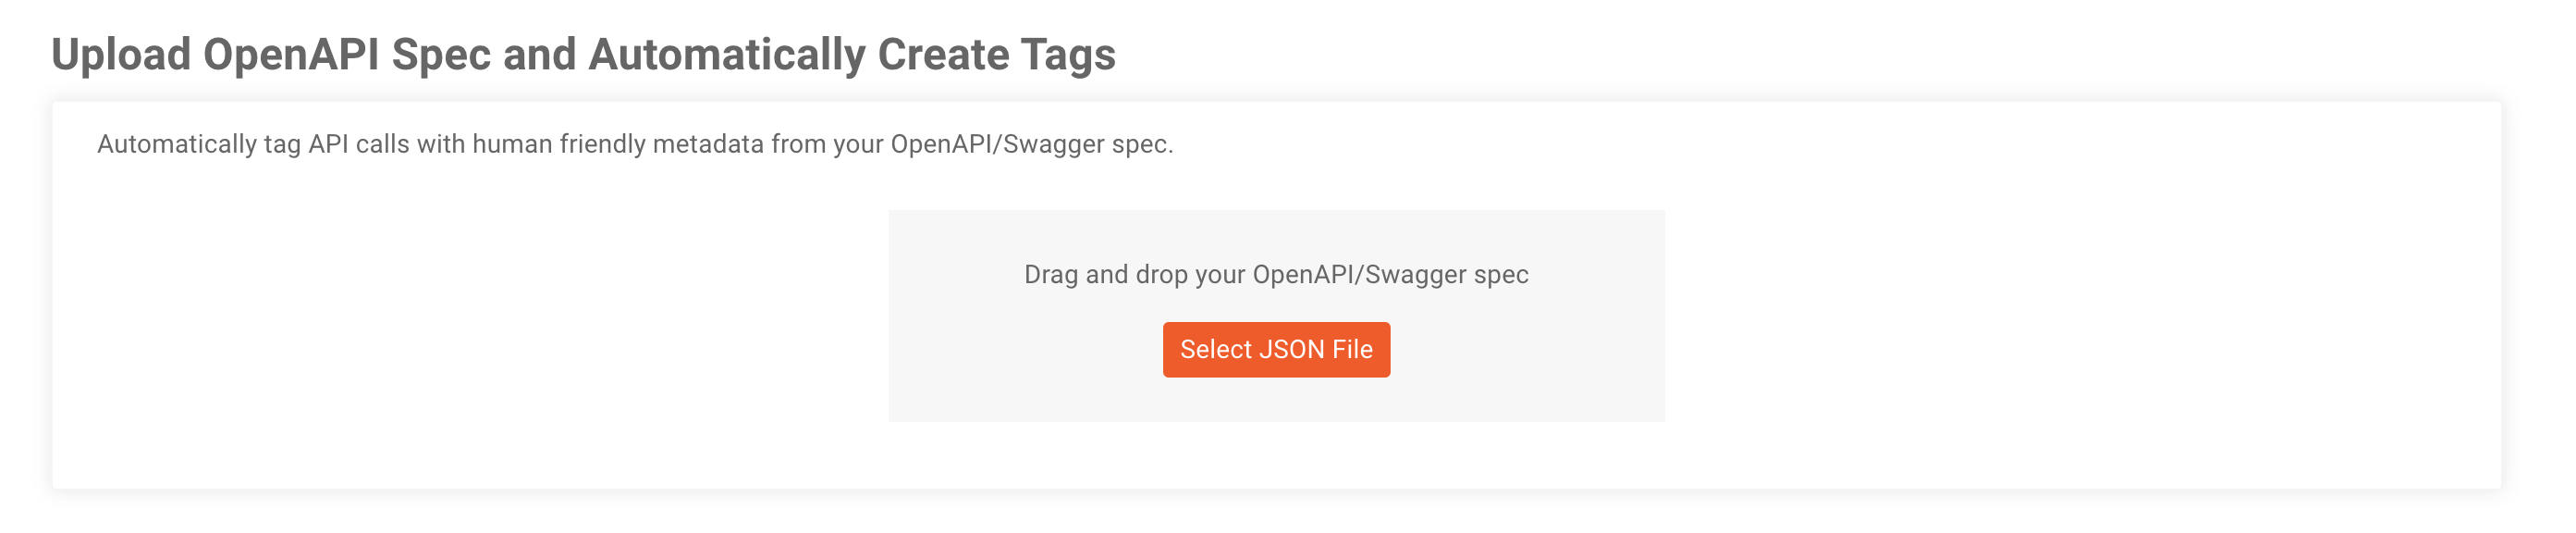
Generating Tags from OpenAPI Spec
Another feature available in the Tags Manager screen is the ability to create tags automatically based on your OpenAPI spec. To do this, simply upload or drag and drop your OpenAPI Spec and tags will be automatically generated.
Wrapping Up
And that’s all there is to creating tags so that you can combine event metrics together under a single label. Whether just trying to make looking up related events easier or adding the concept of an API Product into your metrics, Event Tags are a great way to accomplish this.
Not using Moesif yet? Easily create an account and integrate Moesif with your favorite programming language or API management tool in a matter of minutes. Try out Moesif and Event Tags today and unlock the power of API and product analytics.


Related Articles

API Strategy
Leveraging AI For a Better API Strategy
Learn how to leverage AI to build and fortify your API strategy. Improve design, governance, documentation, and align APIs with business outcomes.
API Strategy
The 5 Best Mixpanel Alternatives of 2025
Learn about the best Mixpanel alternatives to determine the right analytics solution for your use case.

API Development
How to Leverage Moesif Effectively for API Observability
Effectively leverage Moesif for API observability through best practices for integration, event enrichment, custom actions, and engineering workflow integrat...
API Strategy
How to Build an Internal Chargeback Model for Your API and AI Usage Using Moesif
Use Moesif to implement internal chargebacks and enable precise API and AI cost attribution for better transparency and resource optimization.
