How to Customize Your Profile View Experience in Moesif
At Moesif, we’ve put a lot of work into improving viewing details and trends for specific users and companies. This includes our recent addition of adding profile dashboards to add individual and reusable charts to user and company profiles
Now, we’ve added even further functionality by allowing users to customize what each individual user and companies profile view looks like. This makes it easier to show all the data that is relevant to your organization and hide stuff that isn’t.
What’s changed?
The old profile view screen was static and could not be customized. Although much of the data was useful, it may not be relevant to the needs of every organization using Moesif. Previously, the profile view looked like this:

Now, we’ve added a new look and functionality which makes the profile view much more usable and fully-customizable. When you click on a user or company profile, you’ll now see the following profile view at the top of the screen.

How to customize the profile view
Customizing fields within the profile view is extremely easy to do. Once the profile view is edited, it can be saved and applied to the profile view whenever it is opened. Both the user and company profile views can be edited independently. This can help with further customization since you may have specific fields you want to see on a company profile that you may not want to see on a user profile, and vice versa.
Create custom dashboards for the metrics that matter most to your API with Moesif.
Adding and editing fields
To edit which fields appear on the profile view, simply click on More Actions in the top right of the pane and then select Customize Profiles’ Layout.

Once selected, the screen will now become editable.

To add a new field to a column, simply click on the + button at the top of each column.
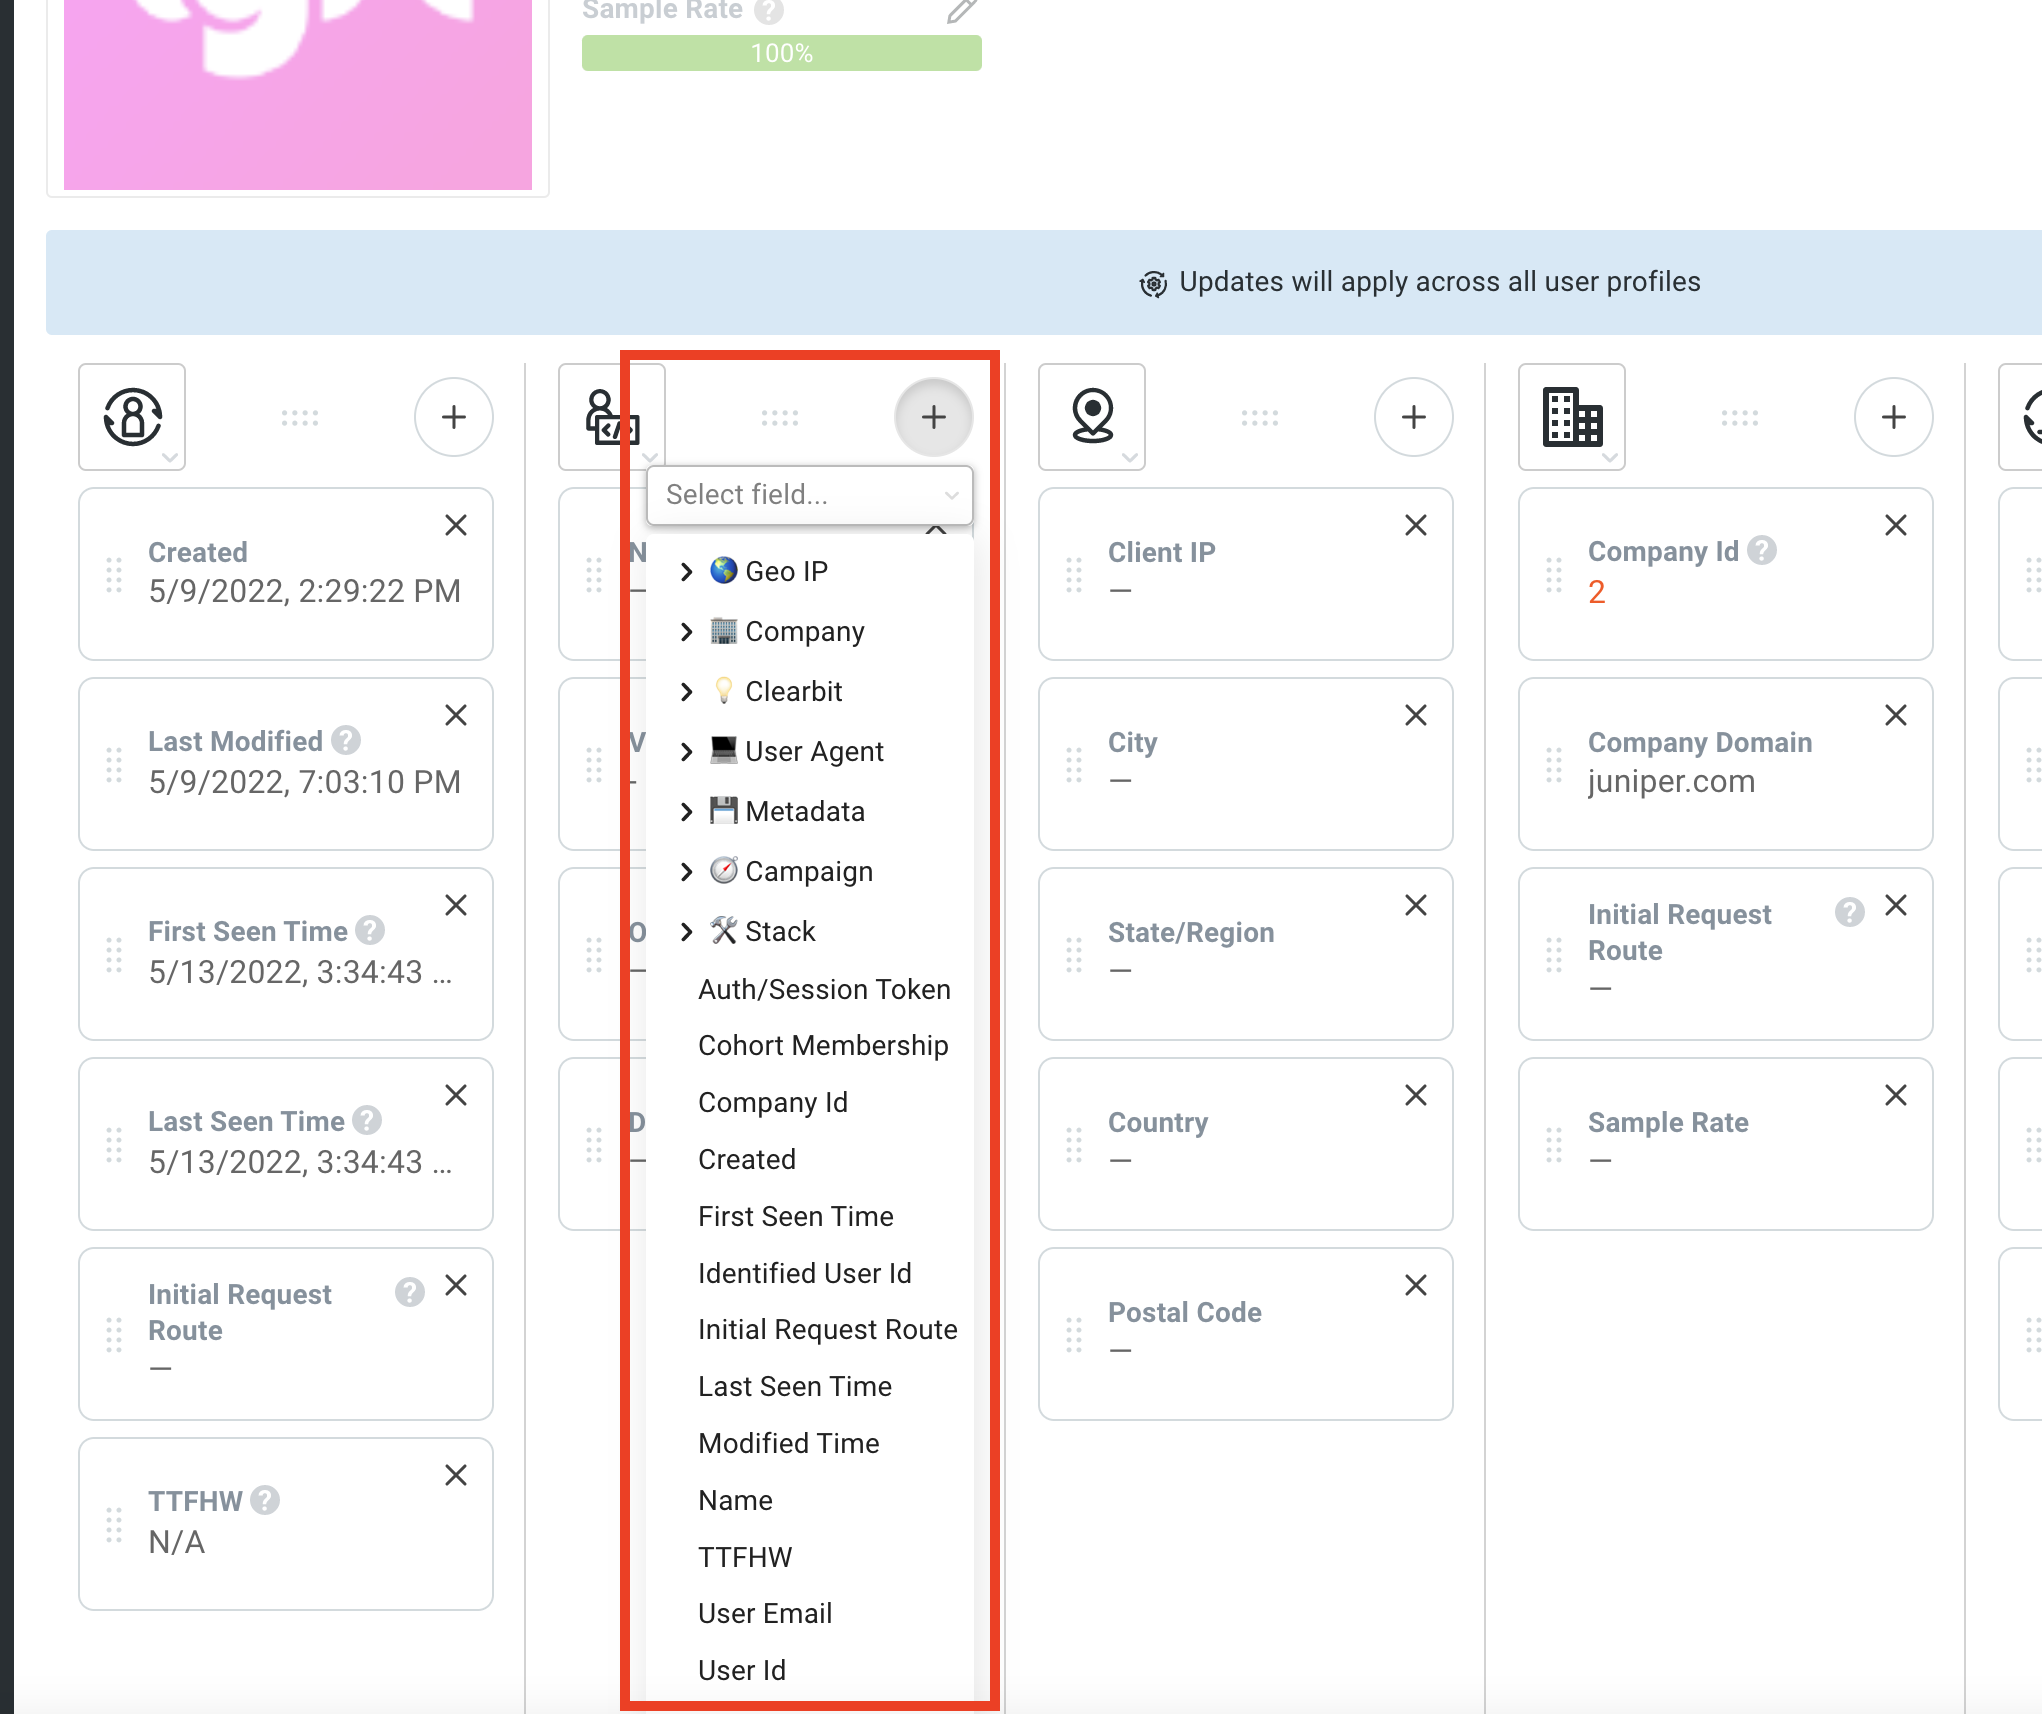
From here, select which field you would like to add. The field will then be added to the selected column. You can also reposition new and existing fields by clicking and dragging them to their desired position.

You’ll need to make sure that you click and hold the entry on the left to move the field.
To save your changes, click on the Save button in the top-right of the screen.

Adding columns
To add a new column, scroll to the end of the already created columns and click on the + button.
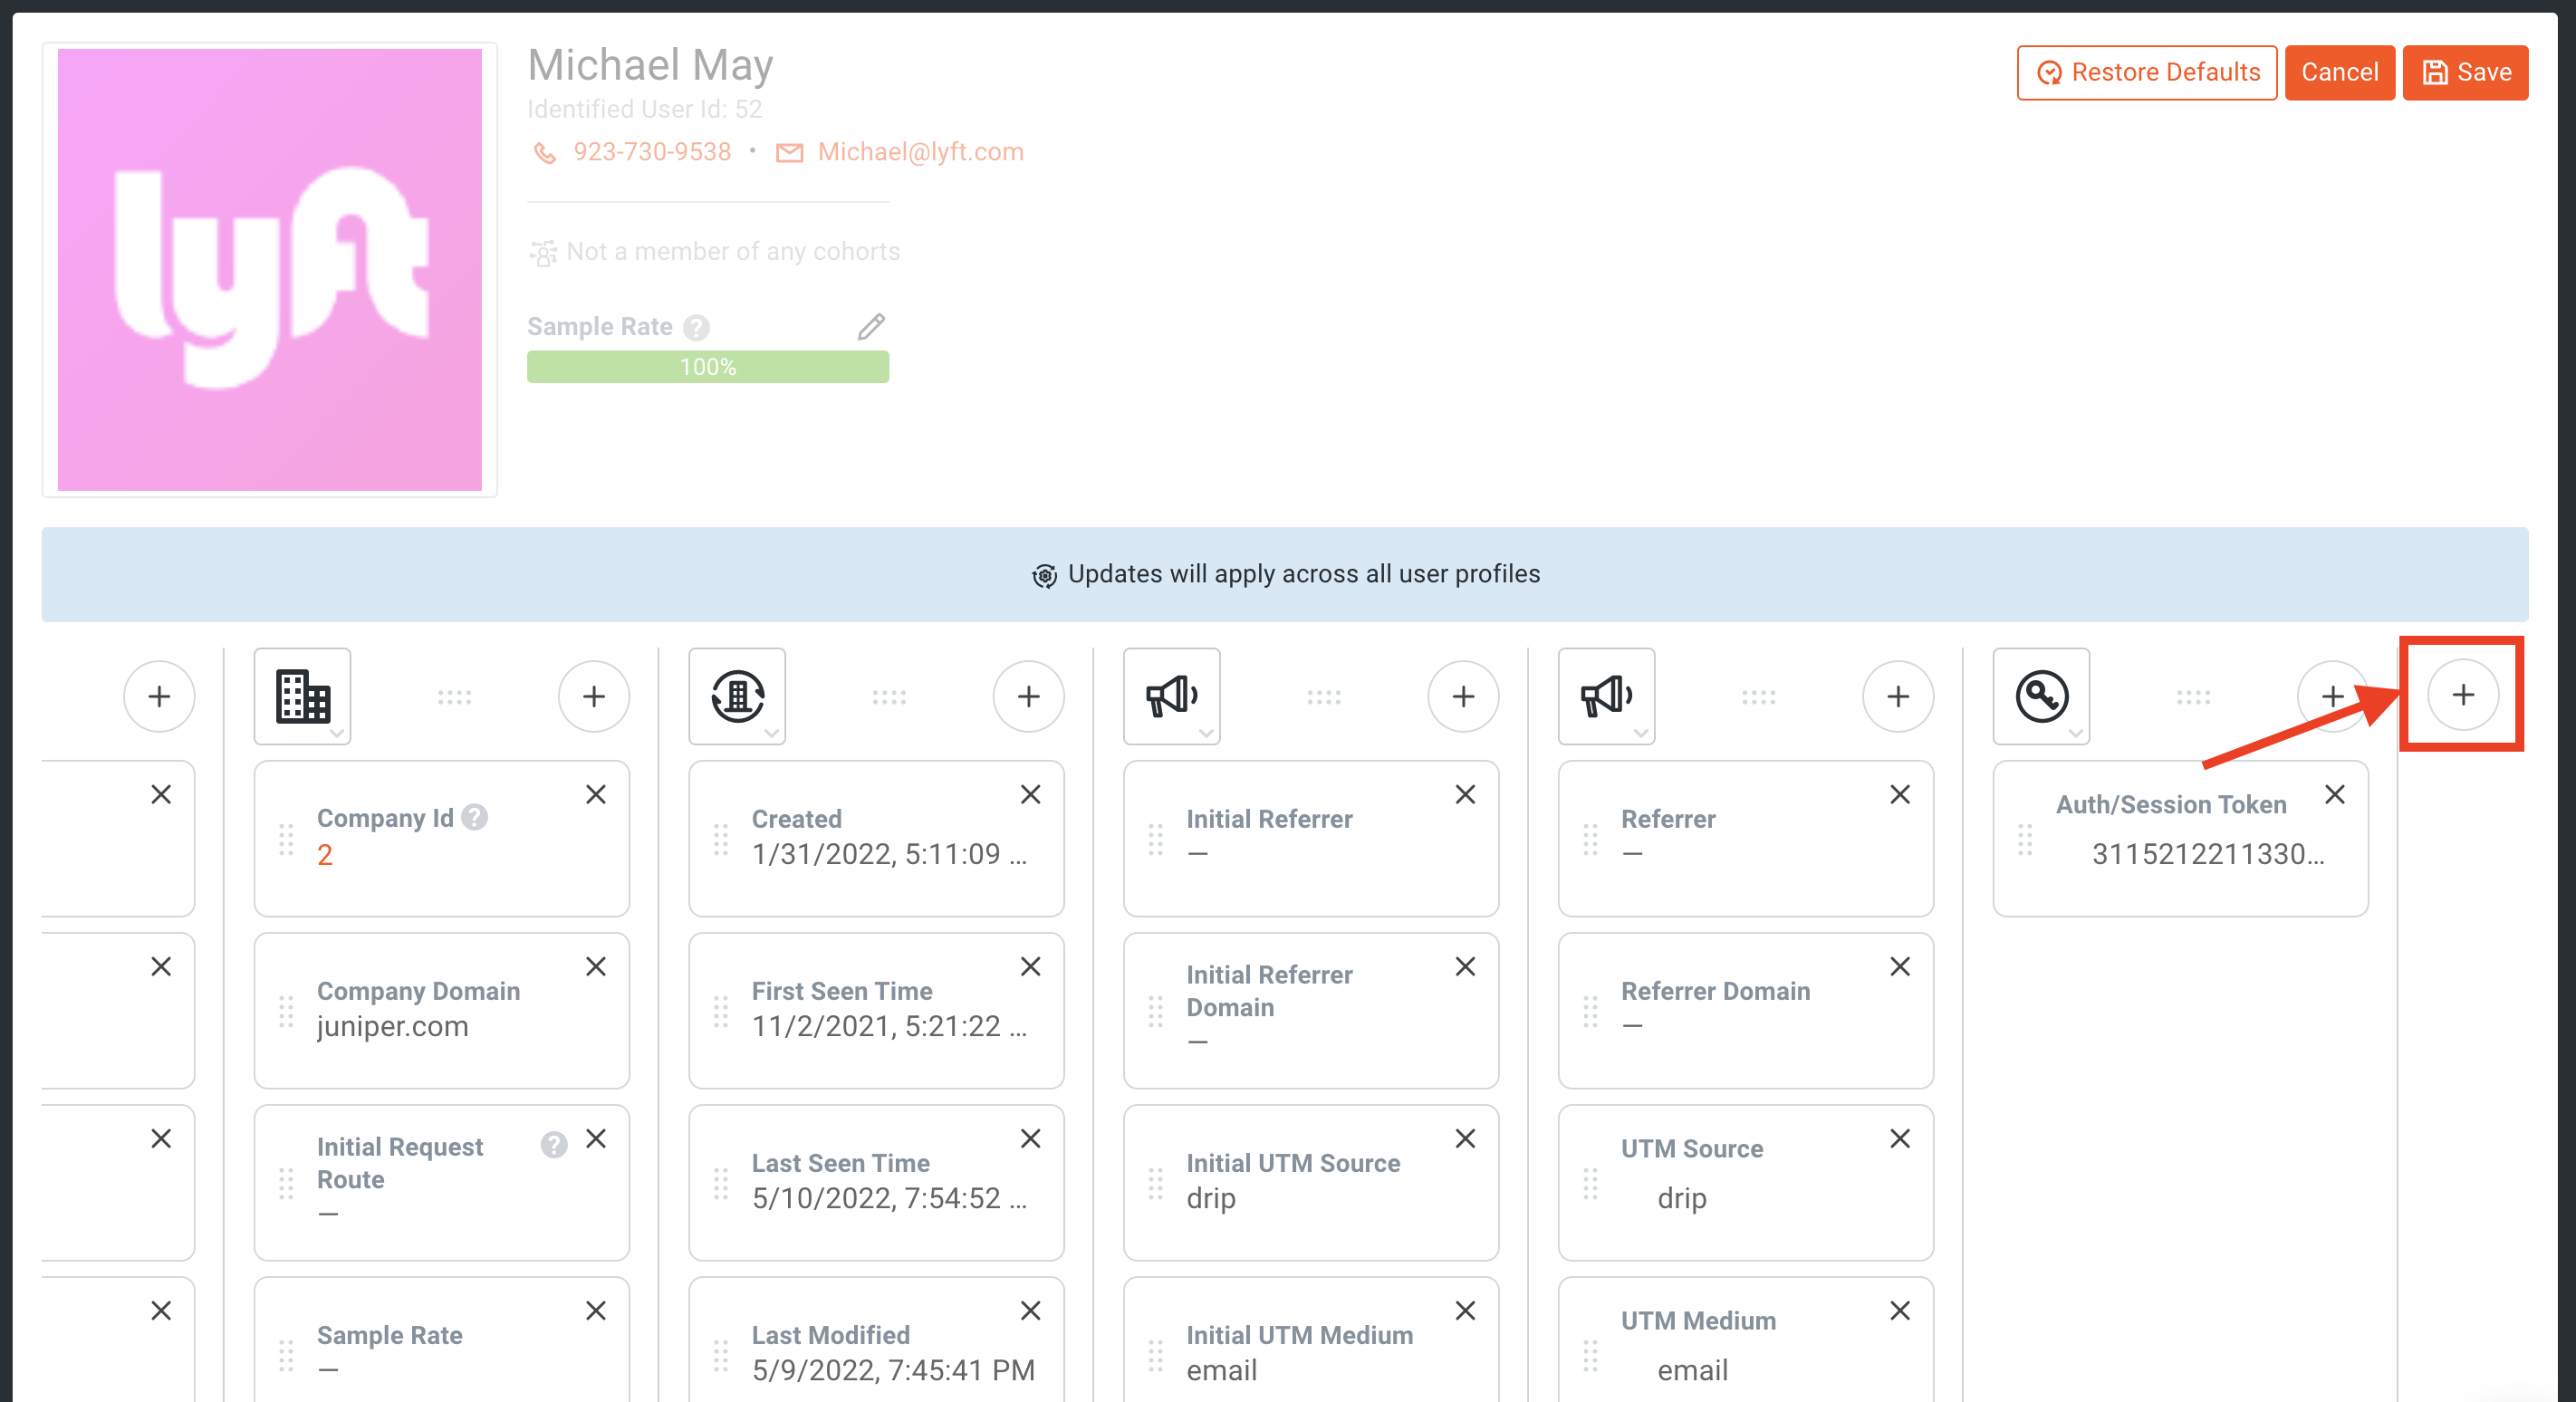
Then, select the first field you’d like to add to your new column. For example, I will choose Initial Utm Medium. Once selected, the new column will be created.
Organize your API logs and metrics with Moesif.
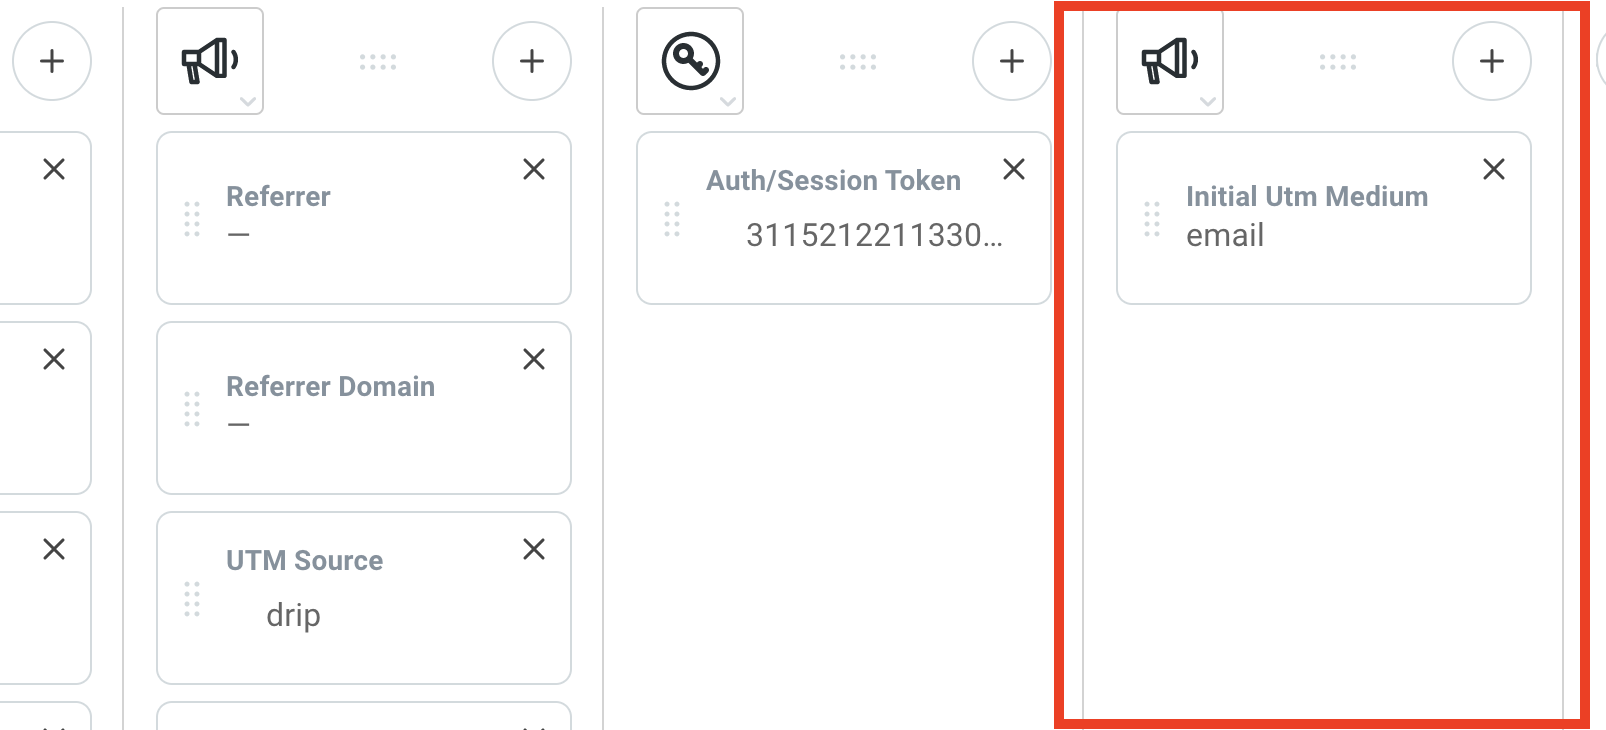
To edit the icon used for the column, you can click on the current icon. You will then see the available library of icons that can be used.
![]()
Click on the icon you want to use and it will be assigned to the column.
To save your changes, click on the Save button in the top-right of the screen.
Try it for yourself
Enable your organization to easily view the most important details for each user and company that you have in Moesif. Use the latest customization functionality in profile view to help your sales, customer success, and other teams get quick access to the data that matters most. To see this latest feature in action, log in or create your Moesif account today.


Related Articles

API Strategy
Leveraging AI For a Better API Strategy
Learn how to leverage AI to build and fortify your API strategy. Improve design, governance, documentation, and align APIs with business outcomes.
API Strategy
The 5 Best Mixpanel Alternatives of 2025
Learn about the best Mixpanel alternatives to determine the right analytics solution for your use case.

API Development
How to Leverage Moesif Effectively for API Observability
Effectively leverage Moesif for API observability through best practices for integration, event enrichment, custom actions, and engineering workflow integrat...
API Strategy
How to Build an Internal Chargeback Model for Your API and AI Usage Using Moesif
Use Moesif to implement internal chargebacks and enable precise API and AI cost attribution for better transparency and resource optimization.
