Integrating With Node.js GraphQL APIs
Building with Node.js and Apollo GraphQL is an extremely popular way to create GraphQL APIs. Moesif is a great addition to your Node.js and Apollo API stack to cover everything from analytics to helping you set up metered billing.
Building your API is just the first step. Once built, you need to keep customers and services using the API happy. Moesif is the tool to help you do exactly that.
Step 1: Creating Your Moesif Account
If you don’t already have a Moesif account, You’ll want to sign up. Once you’re registered you’ll need to add in a few details.
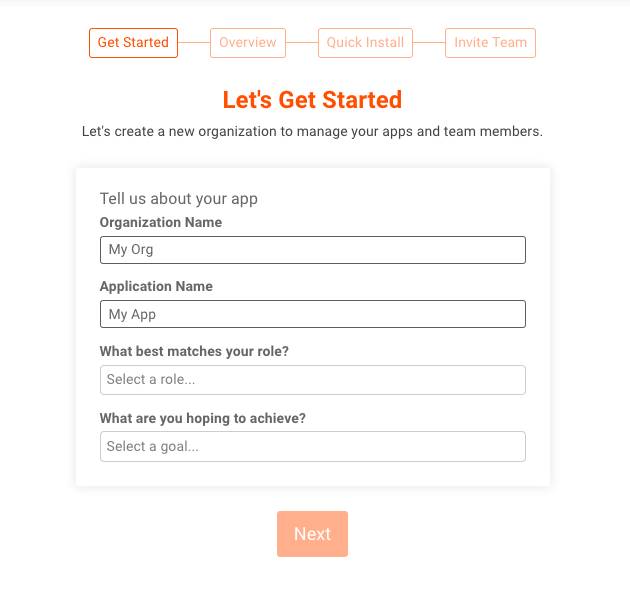
These include:
- Organization Name
- The name of your organization or company.
- App Name
- The name of the application you are integrating with Moesif.
- Role Selection
- Here you can describe what your current role is at your organization. This helps us to assist you with relevant hints and tips in the future.
- Goal Selection
- Here you can let us know how you’ll use Moesif to help your organization or project.
Once you’ve filled out these details, click Next. After this, you’ll be presented with a brief overview of Moesif.
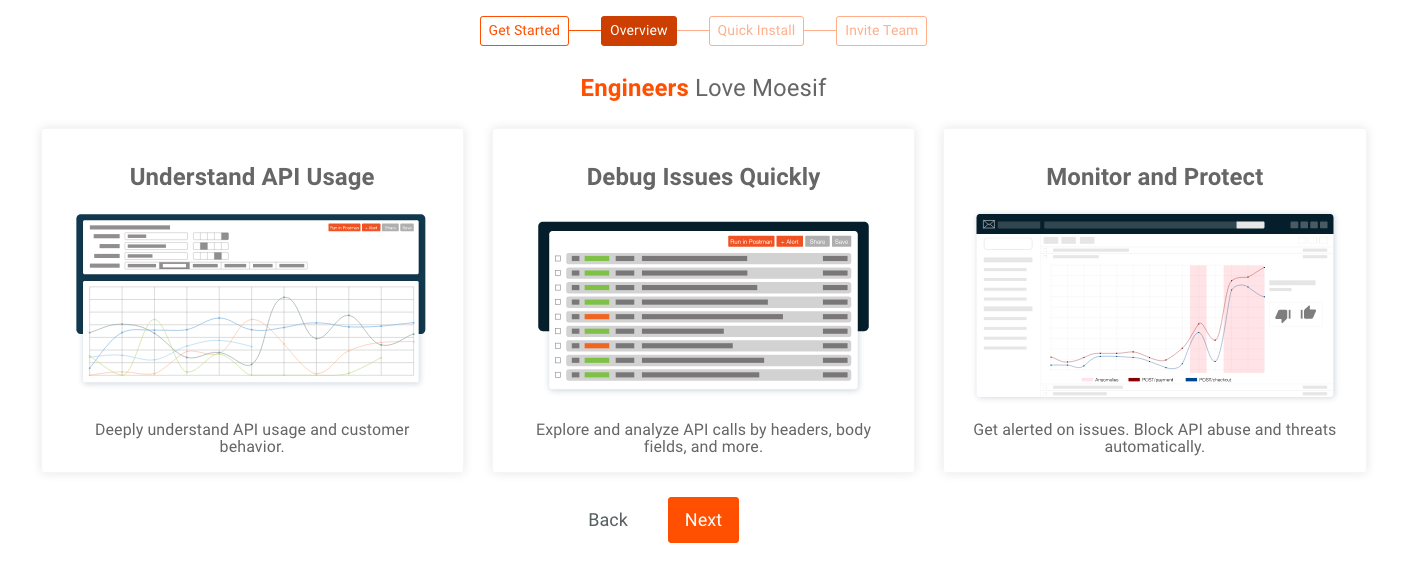
Click Next once again.
Step 2: Adding the Moesif Integration Code
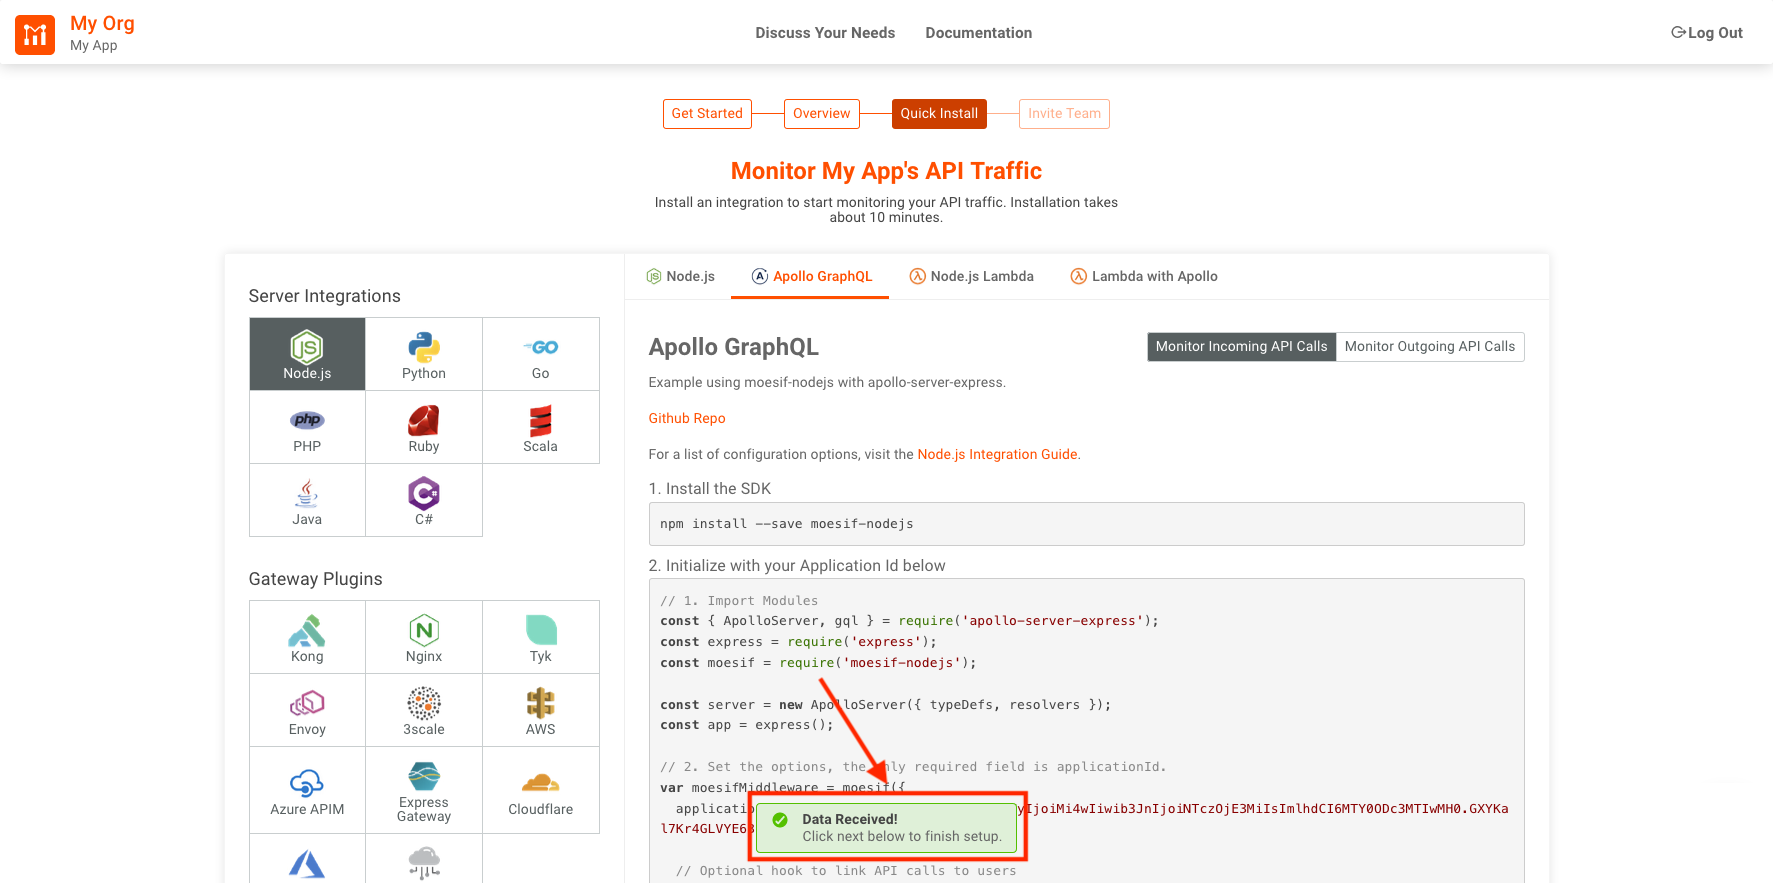
After the Overview screen, you’ll be presented with the Quick Install screen. Here you can pick from any different server integrations and plugins. For Node.js we want to make sure Node.js is selected in the left pane and that the Apollo GraphQL walk-through is displayed on the right.
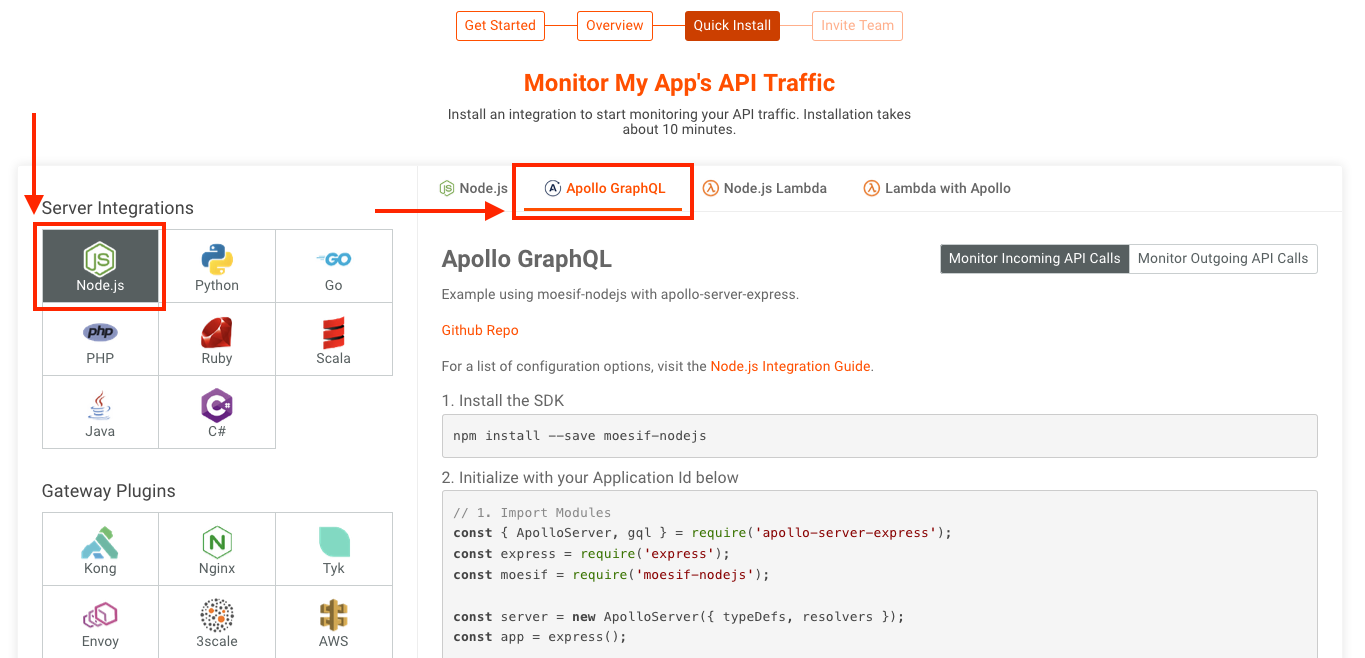
Once selected, follow Step 1 on the screen and add the SDK to your project via npm. To do this, in your terminal (ensure that you are in your projects root directory) run the following:
npm install --save moesif-nodejs
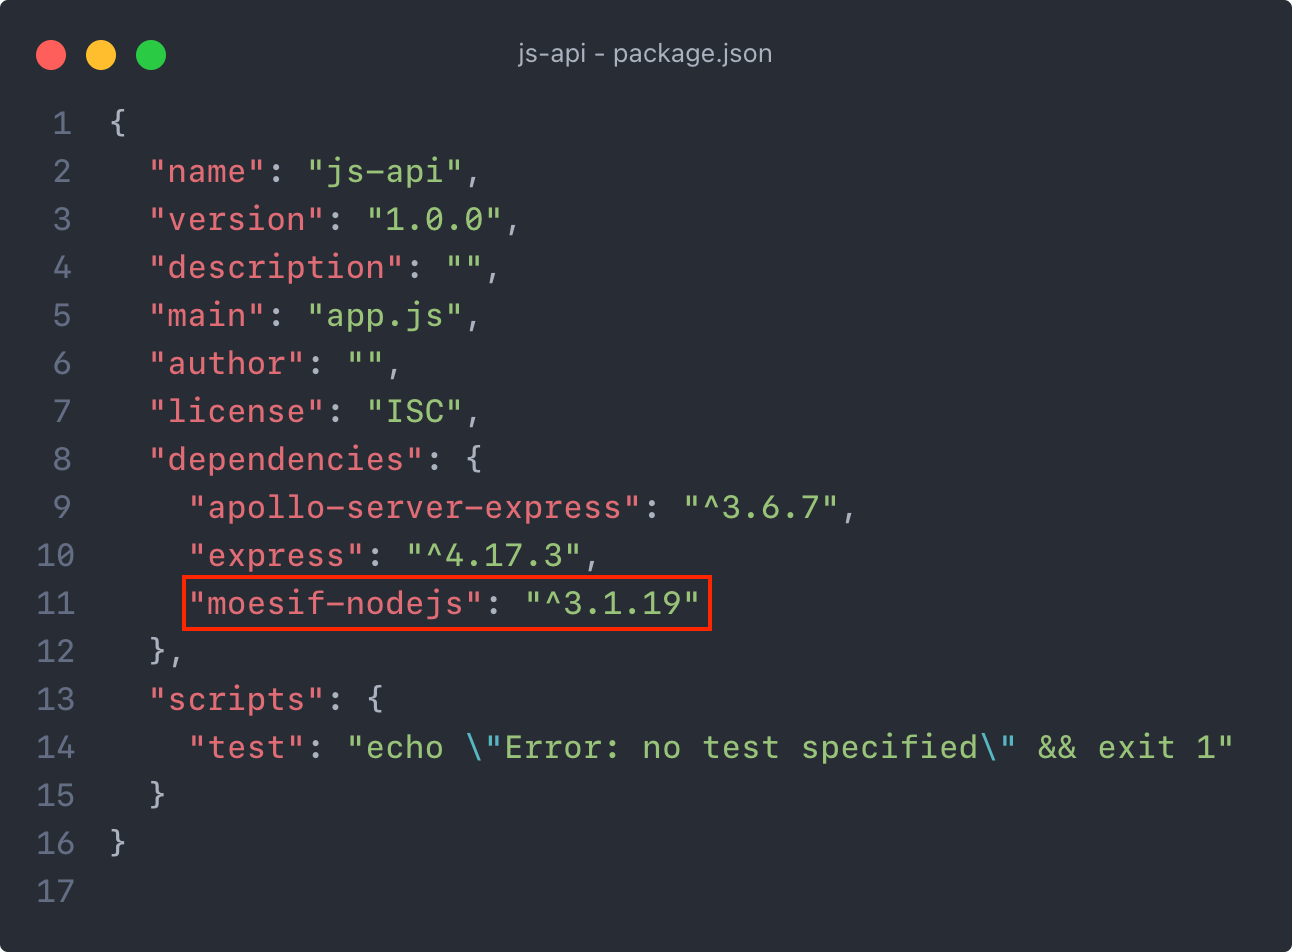
When the command completes, the SDK will be added to your project. You should see in the package.json that Moesif Node.js SDK has been added. For reference, it will look like this:
Next, you’ll want to add the integration code into your app. To do this, at the top of your file import the newly installed SDK. Add the following line to your code:
const moesif = require('moesif-nodejs');
Once that line is added, you’ll then need to create a variable to hold your middleware configuration. To do that, add the following line to your code:
const moesifMiddleware = moesif({
  applicationId: 'MOESIF_APPLICATION_ID',

  // Optional hook to link API calls to users
  identifyUser: function (req, res) {
    return req.user ? req.user.id : undefined;
  },
});
The above lines of code configure the Moesif middleware component in your node program. There are lots of other options you can add to the configuration, this just sticks to the basics. To learn more about configuration options for the middleware, check out our Node.js integration guide.
Finally, you’ll need to actually apply and use the middleware in your Express application. To do that, add the following line to your code:
app.use(moesifMiddleware);
Using this, the middleware is then bound to the instance of the app object.
Save your code and deploy your updated API.
After adding the above code, your API will now send events through to Moesif. For reference, I have provided a simple code example of a Node.js GraphQL API below:
const express = require('express');
const { ApolloServer, gql } = require('apollo-server-express');
const moesif = require('moesif-nodejs');

// Construct a schema, using GraphQL schema language
const typeDefs = gql`
  type Query {
    data1: String
    data2: String
    data3: String
  }
`;

// Provide resolver functions for your schema fields
const resolvers = {
  Query: {
    data1: () => 'some data',
    data2: () => 'some more data',
    data3: () => 'even more data',
  },
};

const server = new ApolloServer({ typeDefs, resolvers });

const app = express();
server.start();

var moesifMiddleware = moesif({
    applicationId: 'MOESIF_APPLICATION_ID',

    identifyUser: function (req, res) {
        return req.user ? req.user.id : undefined;
    },
});

app.use(moesifMiddleware);
server.applyMiddleware({ app });

app.listen({ port: 4000 }, () =>
  console.log(`🚀 Server ready at http://localhost:4000${server.graphqlPath}`)
);
Step 3: Making Your First Request
Once your API code is back up and running, it’s time to issue a request to your endpoint. My preference for this is to use Postman to send a GraphQL request. Make sure the request type is set to POST for your GraphQL query or mutation.
Regardless of how the request is sent, the Moesif integration into your application isn’t complete until the first request is sent and detected by Moesif. In the Moesif setup screen, before you send off the request, you should see a dialog at the bottom of the screen showing “No data received yet.”

To continue, send off the request to your endpoint.
Step 4: Confirming Your Integration
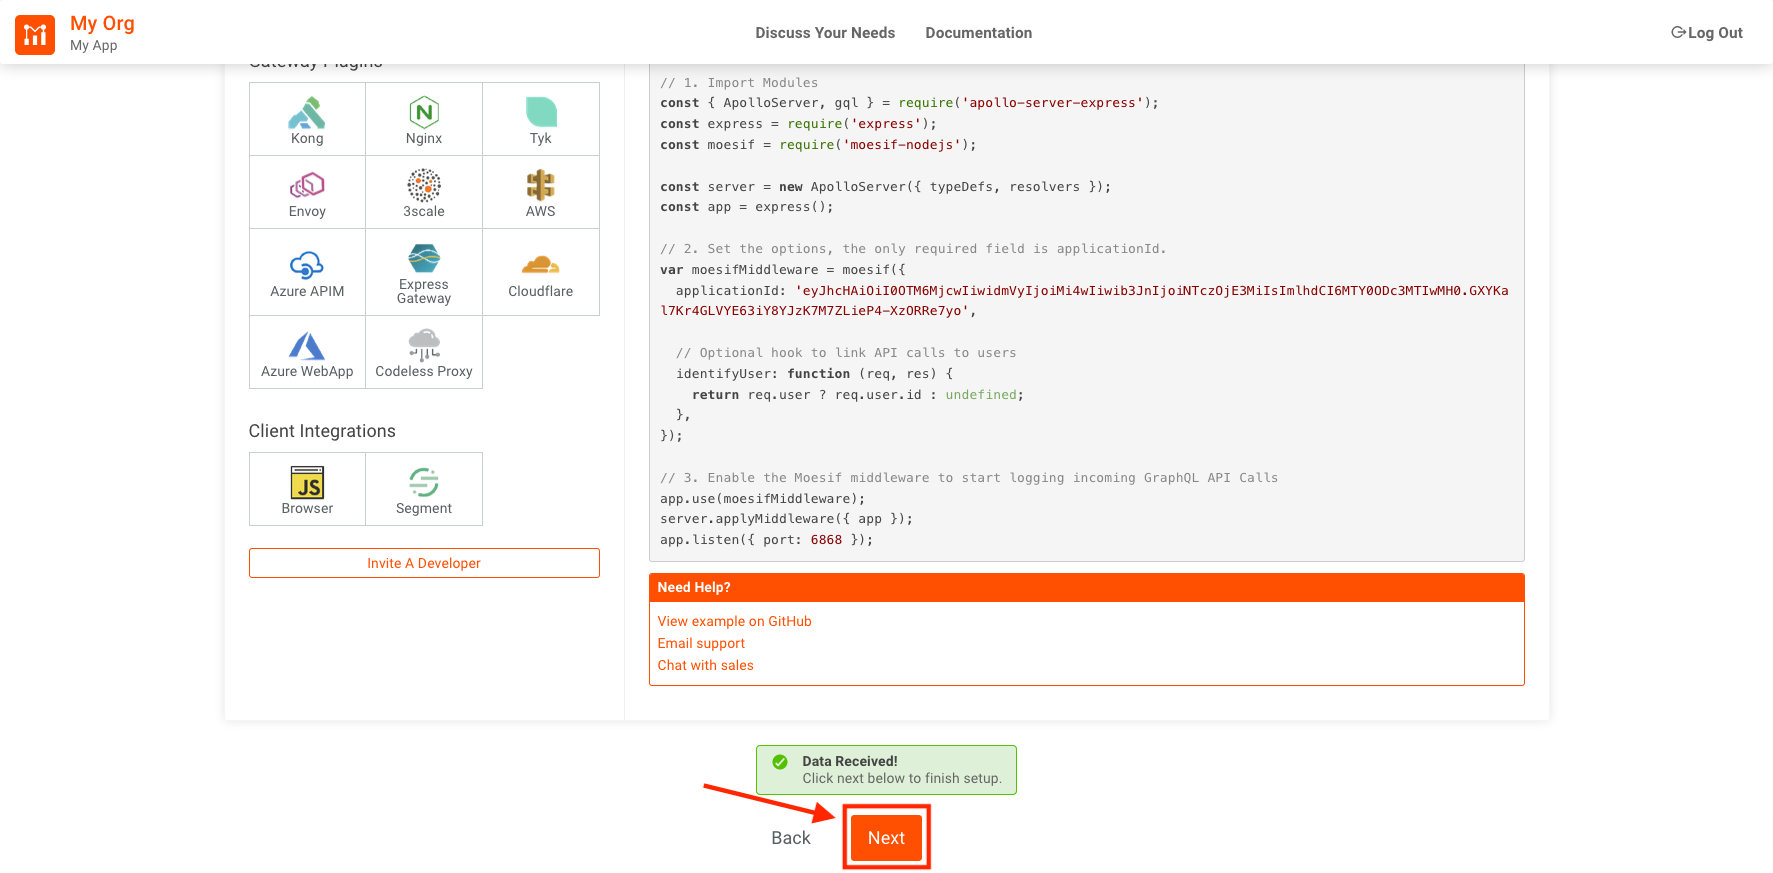
After the request is sent, Moesif should receive the event and data. This may take a few moments for the first request to reflect in the system, once sent. Once received, Moesif will confirm that you are ready to move forward. The previous prompt will turn green and show “Data Received!”.
Lastly, scroll to the bottom of the screen and click Next.
Step 5: Inviting Your Team
The final step in the setup is to invite your team. The next screen is where you can do this quickly and easily.
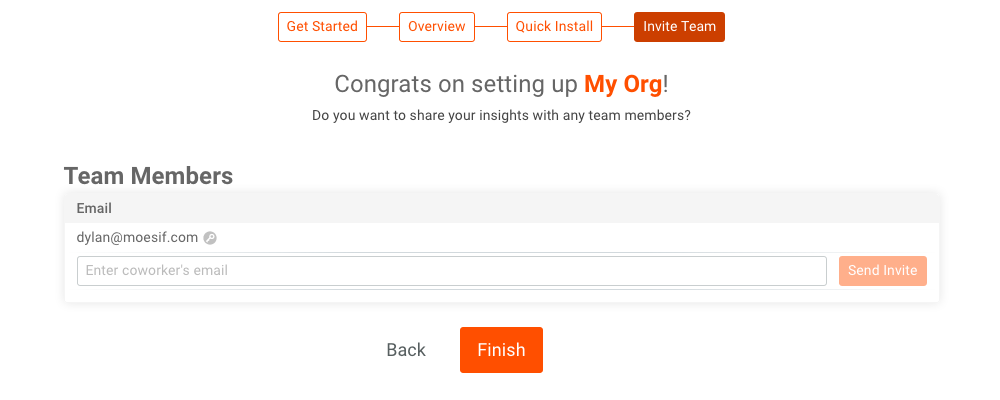
If you’d like to add a team member, simply add their email and click Send Invite. If you don’t have any team members yet or want to skip this step, you can always add team members later.
Once you’ve added all the team members you want, click Finish.
Explore Moesif
You’ve now successfully integrated your GraphQL API application with Moesif. You should now see the Moesif dashboard in the browser, ready to explore.
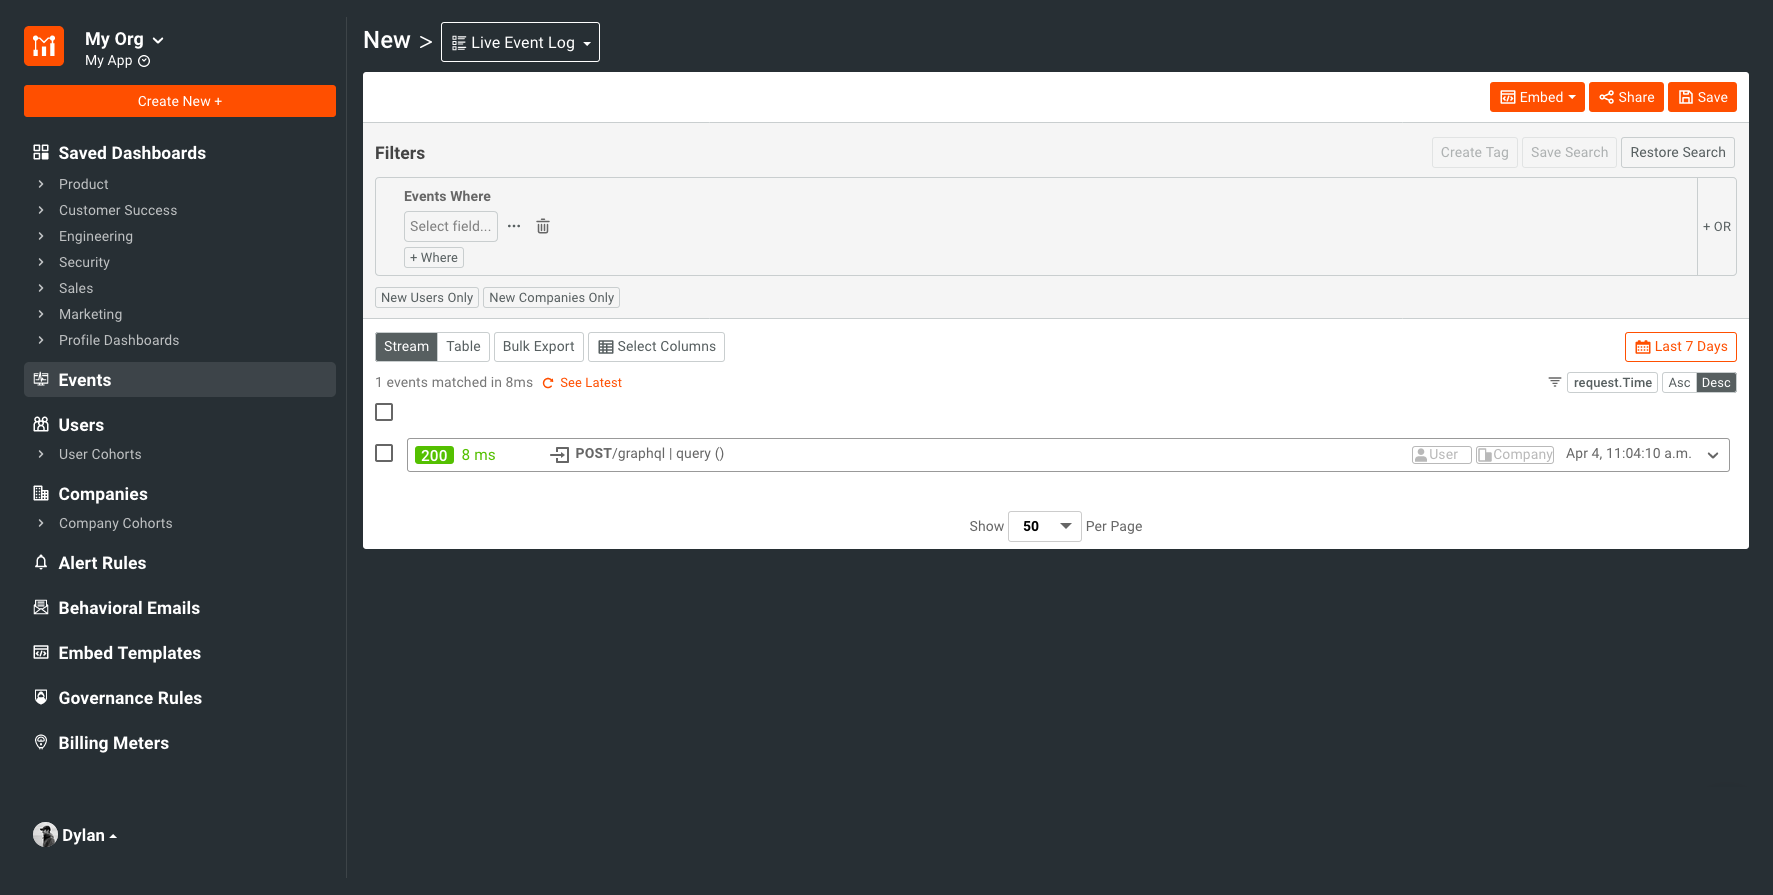
Now that your GraphQL API is integrated and moving data into Moesif you can start to explore. Check out our docs to find everything from API analytics, monitoring and alerts, and more!