Integrating Moesif and Cloudflare Workers
If you have API traffic running through Cloudflare and want to analyze or monetize it with Moesif, integrating the two platforms is extremely simple. With a few steps, users can quickly begin to see traffic flowing into the Moesif API analytics platform.
In this tutorial, we will use a Cloudflare worker and leverage Wrangler, the Cloudflare Developer Platform command-line interface (CLI), which allows you to manage Worker projects. To follow this tutorial, you’ll need to have the following:
- An active Cloudflare Account
- An active Moesif account
- Access to an IDE
- The ability to send API requests to your Cloudflare worker, such as with Postman
Create the Cloudflare Worker
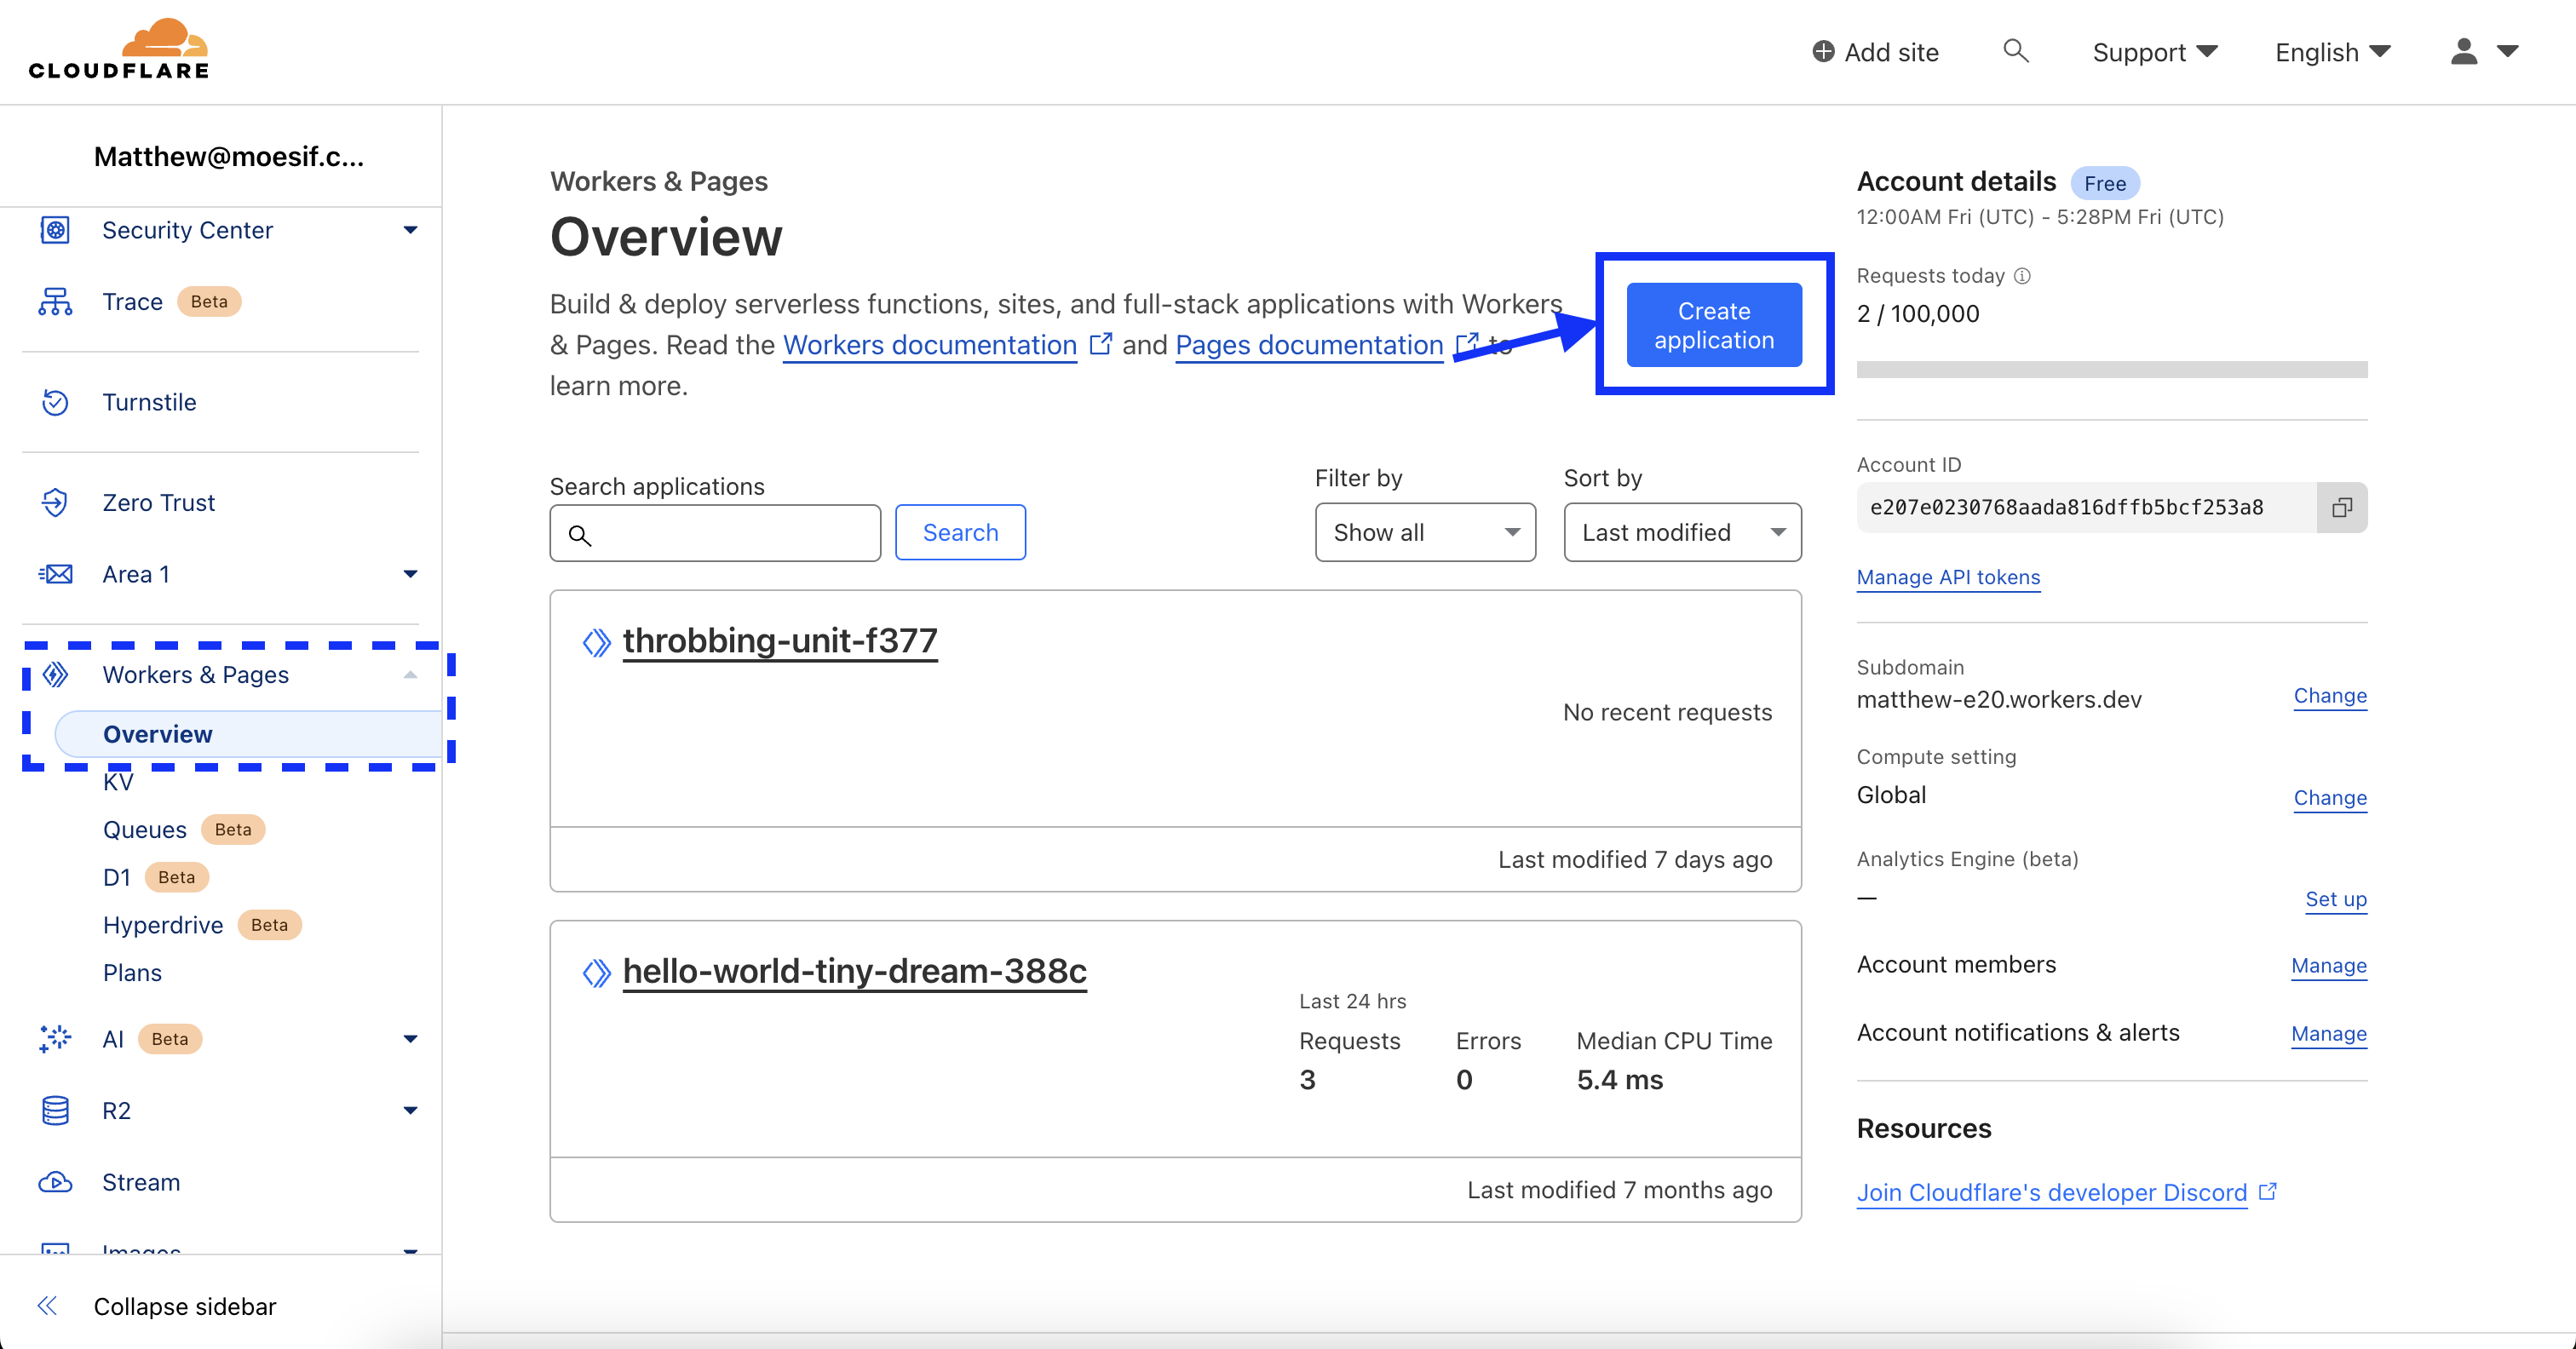
First, we will create a new Cloudflare worker. To do this, we will log into Cloudflare, and in the left-side menu under Workers & Pages, click Overview. Once you are on the Overview page, click the Create application button in the top-right of the screen.
Note: If you already have a Cloudflare worker, then you can just use an existing one.
On the next screen, in the top-right corner, click the Create with CLI link.

To keep things clean, we will create a new folder where we will create our Cloudflare Worker. For instance, you can create a folder called moesif-cloudflare-example to store our Worker code in.
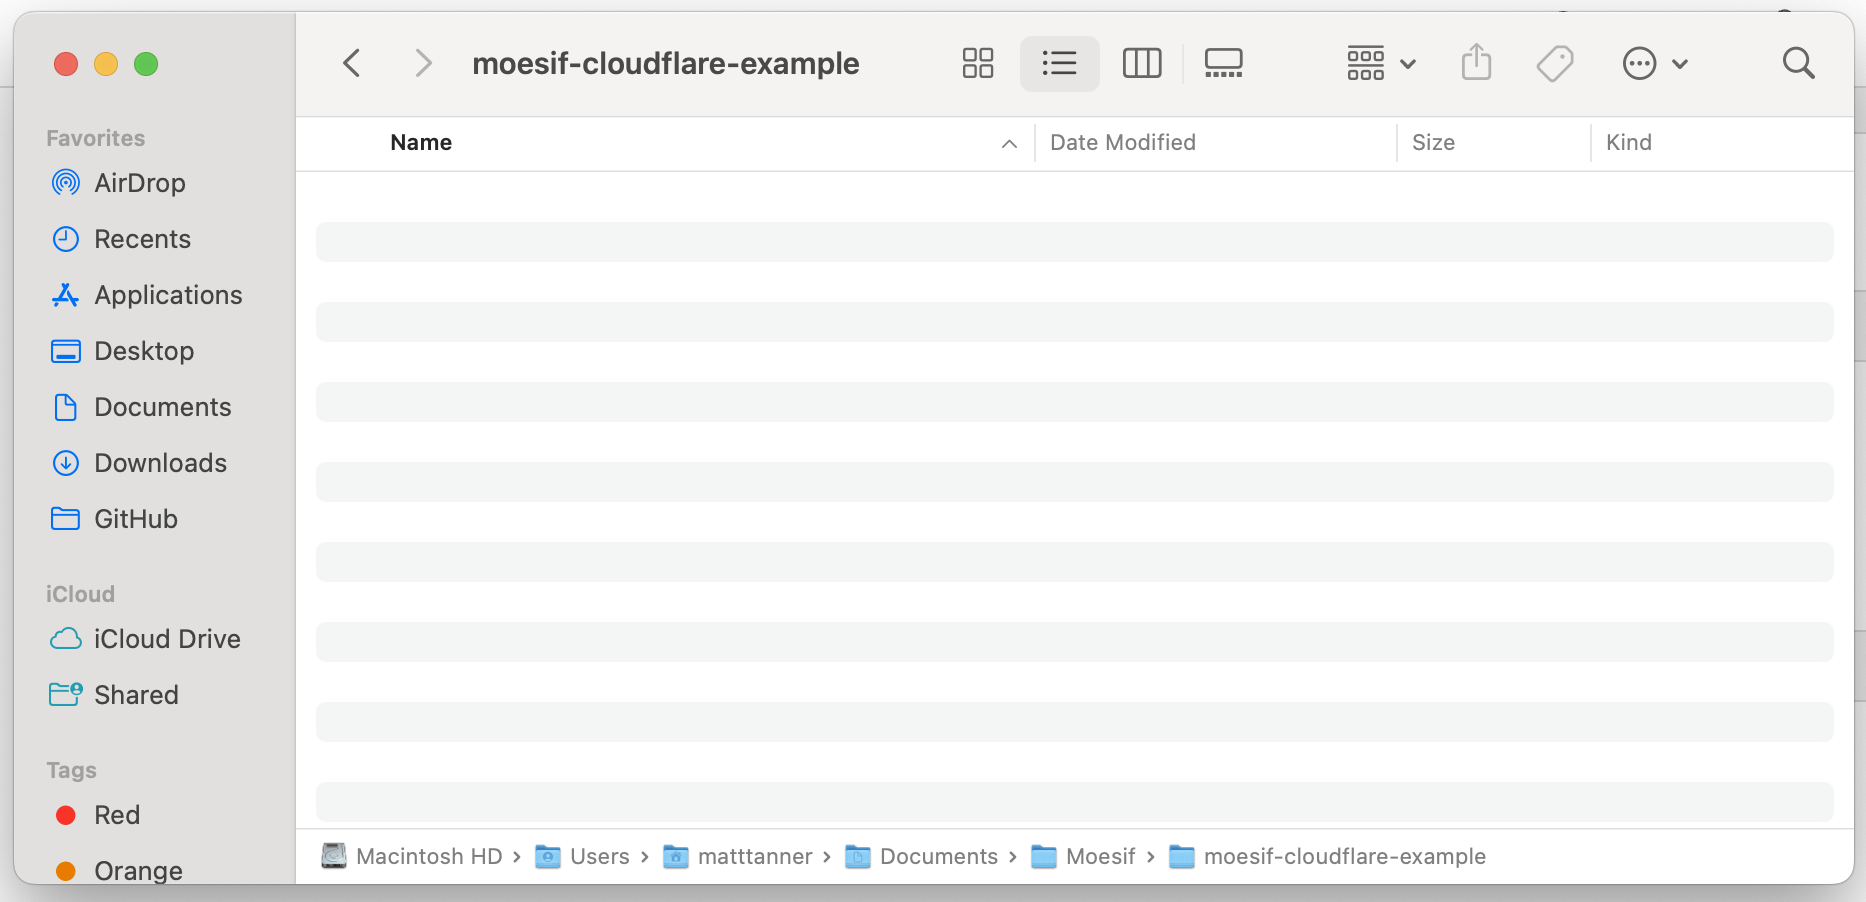
Next, Open the folder in VS Code or your favorite JavaScript IDE.
Back in the Cloudflare Dashboard, you’ll see the Wrangler commands present. Grab the npm command that is shown within the Create a new application with C3 section.
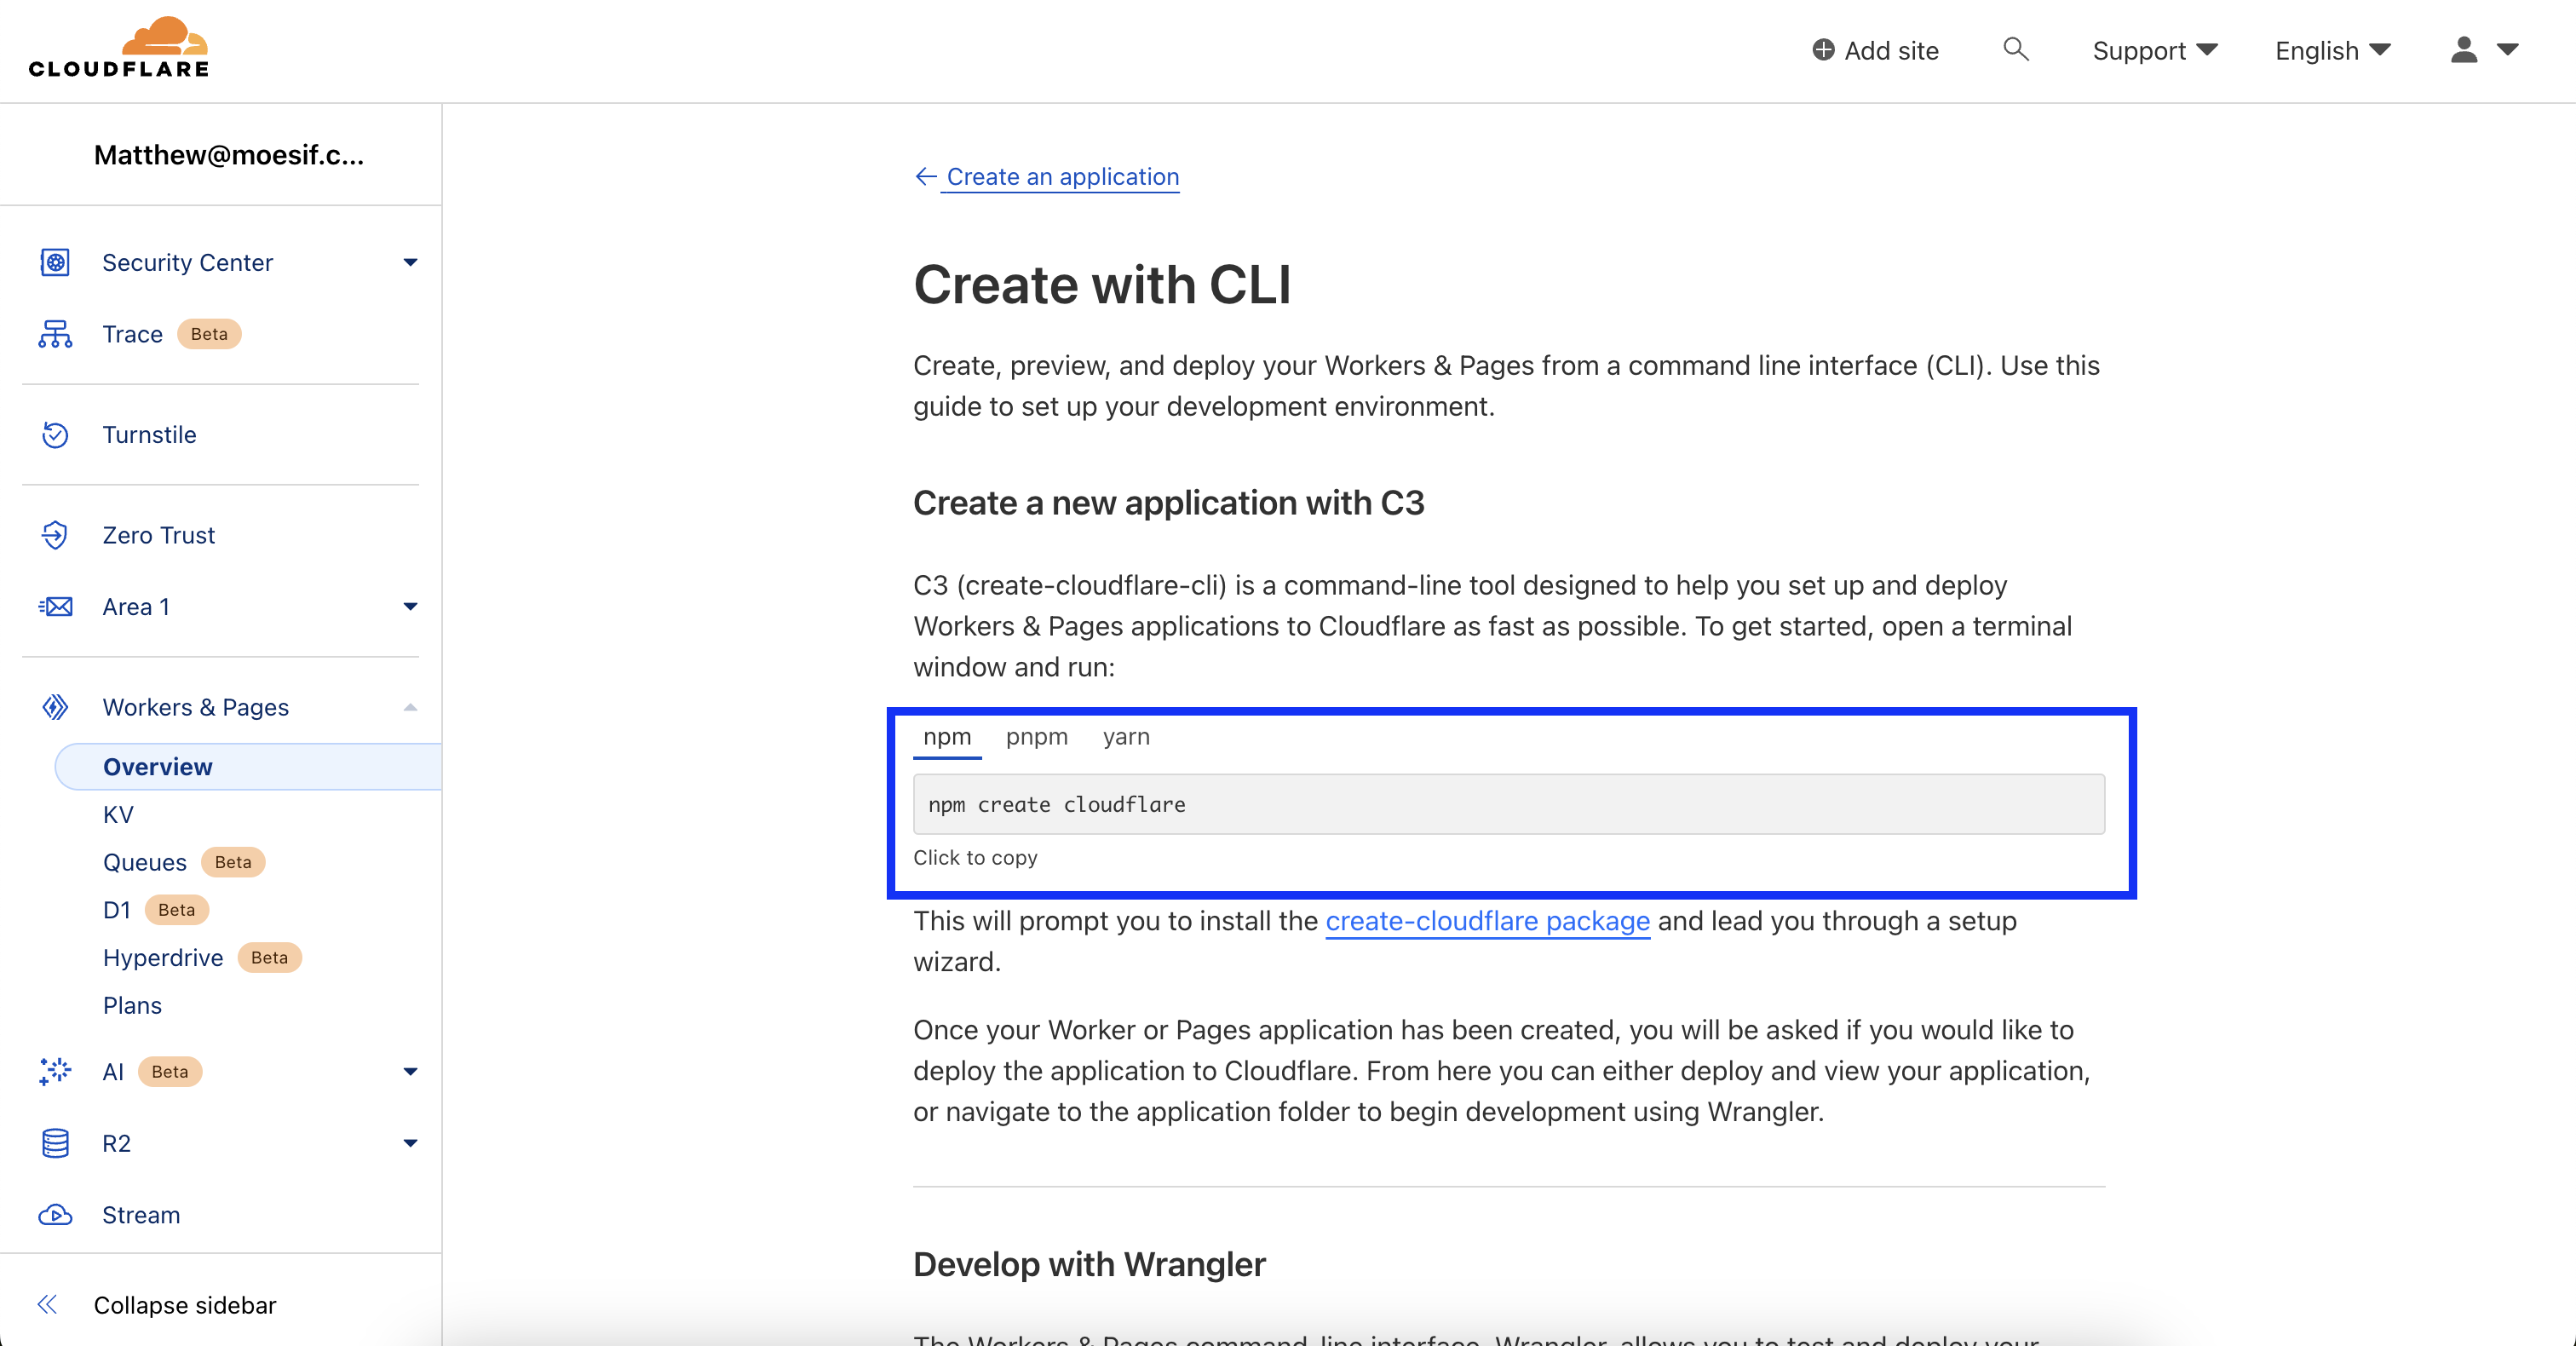
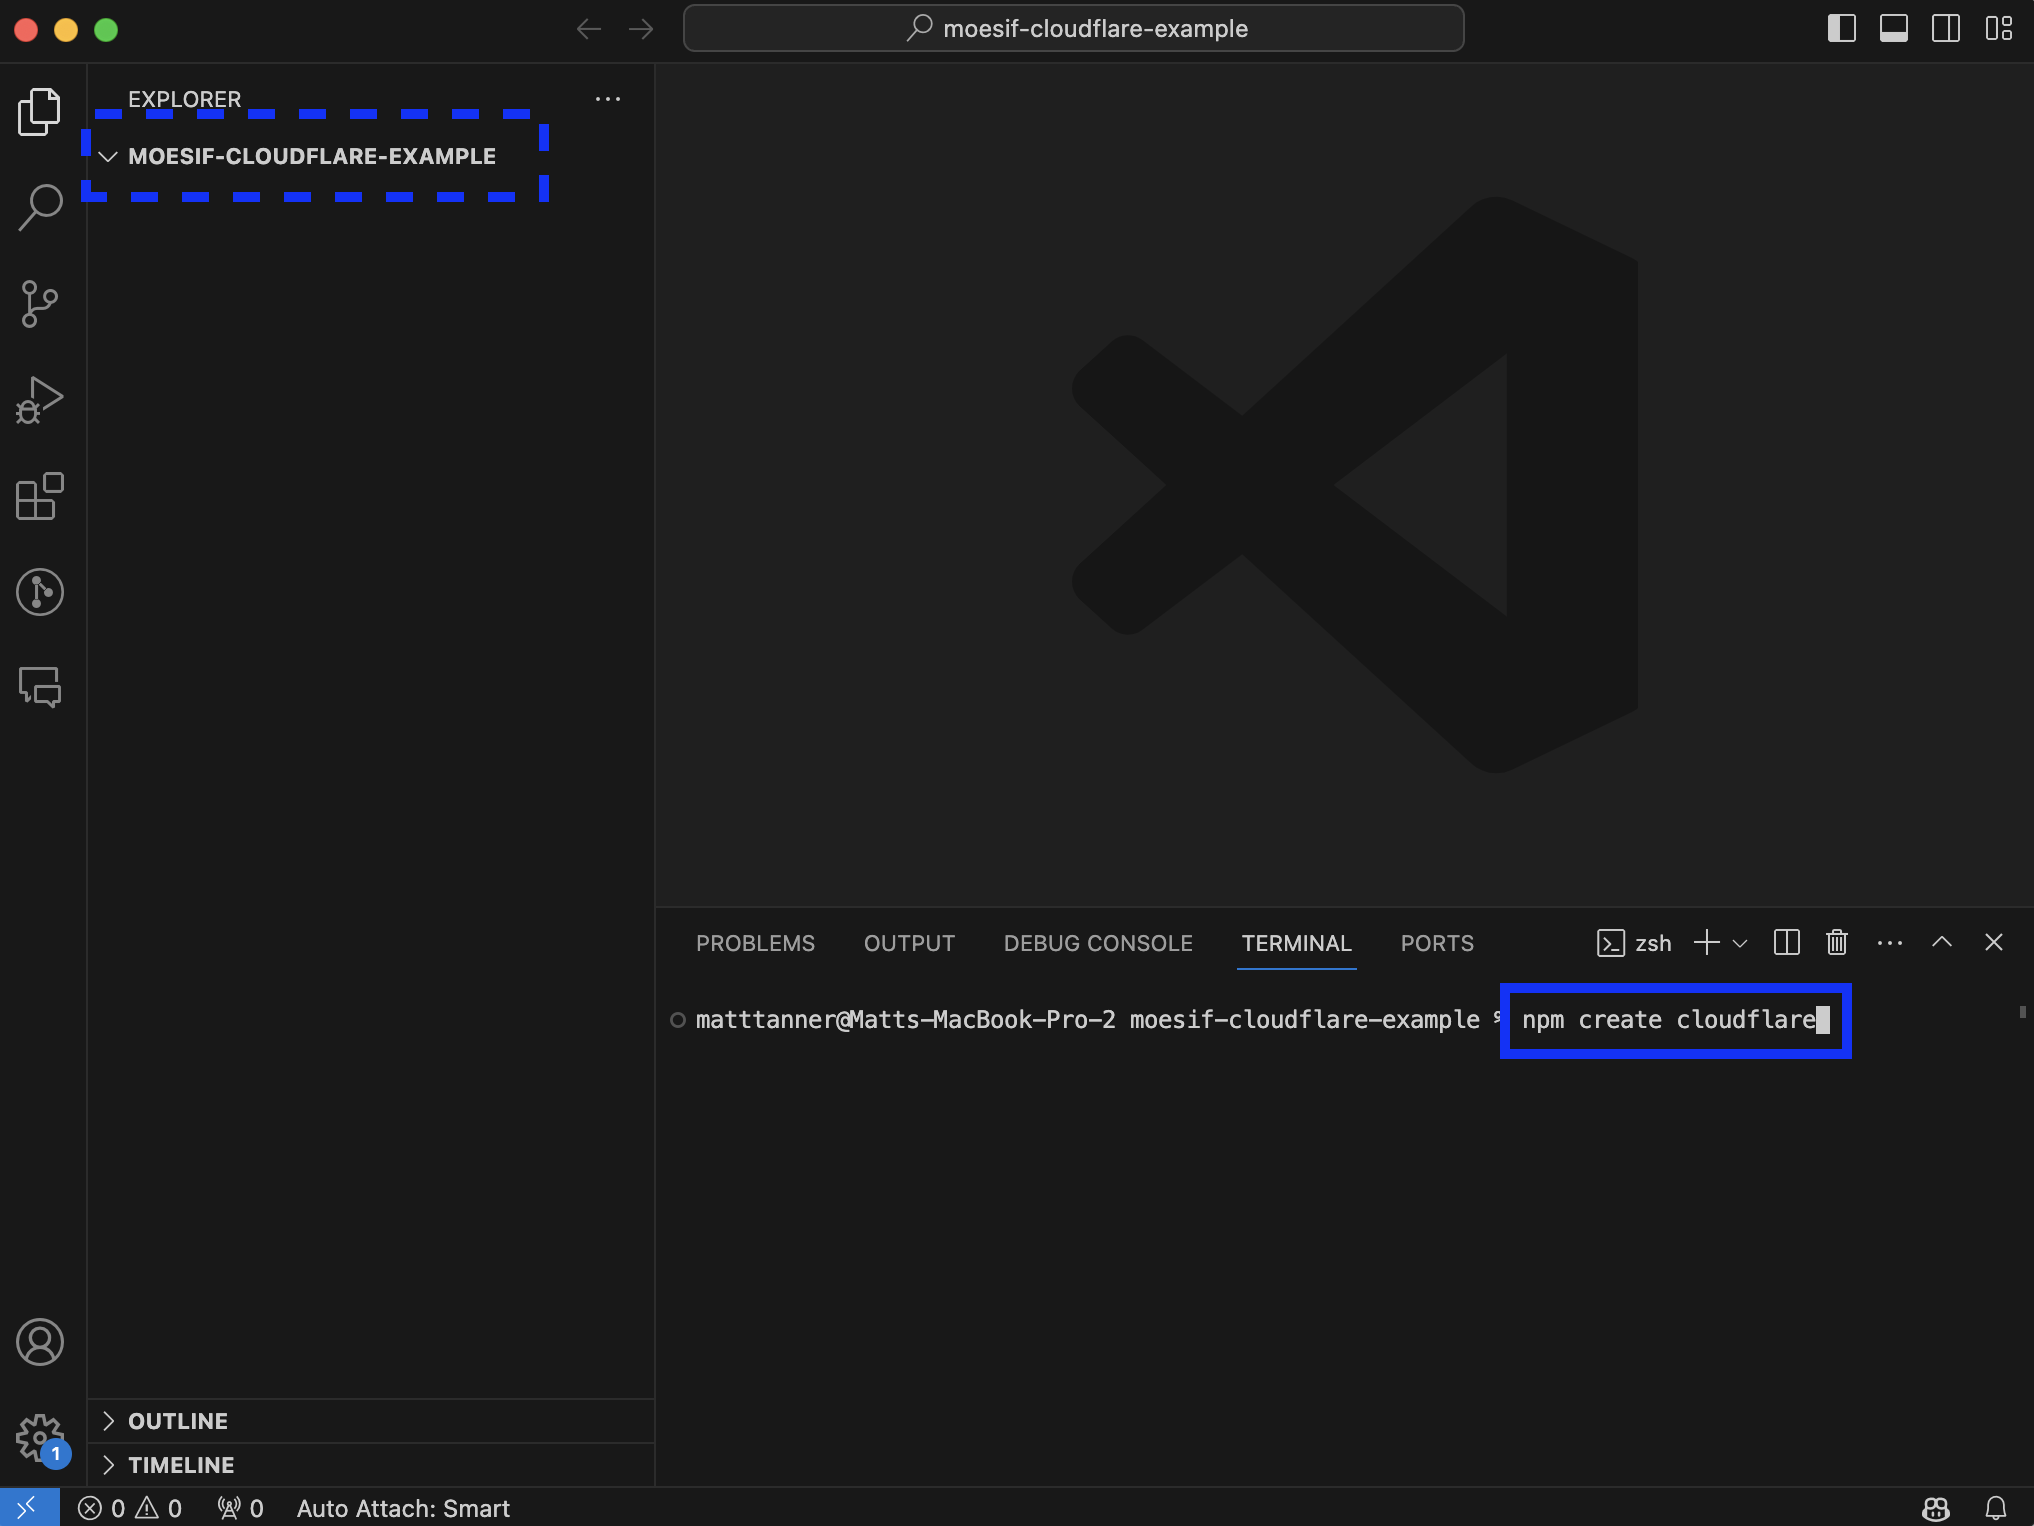
From here, take the command and put it into a terminal pointing at the new directory you created above (moesif-cloudflare-example). The command you’ll run is:
npm create cloudflare
Below you will see me running the command inside the terminal that is built into VS Code.
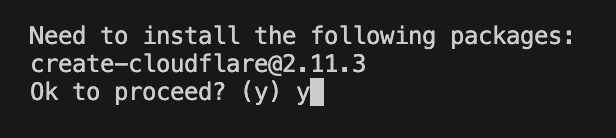
After running the command, you’ll be shown a few configuration questions. If not already installed, you’ll see npm prompt you to install the create-cloudflare dependency. Type “y” to accept.
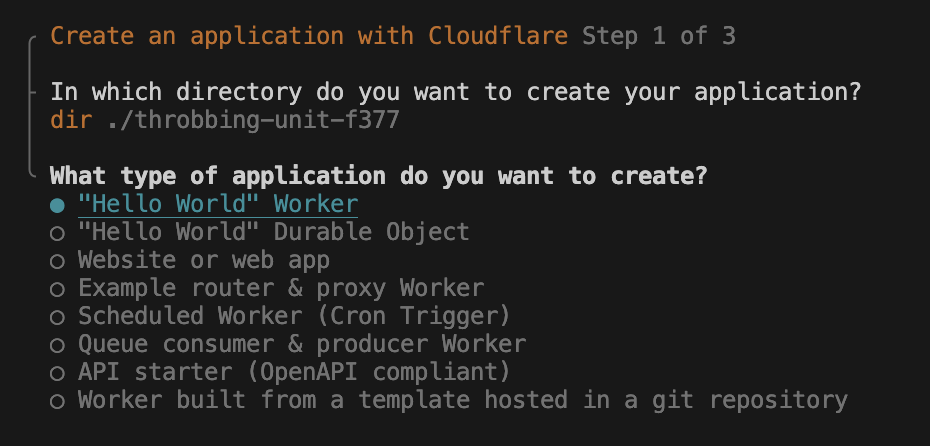
Then, you’ll be prompted with a few other questions including which directory you want to create your Worker application and what type of application to create. In regards to the application type, select “Hello World” Worker type.
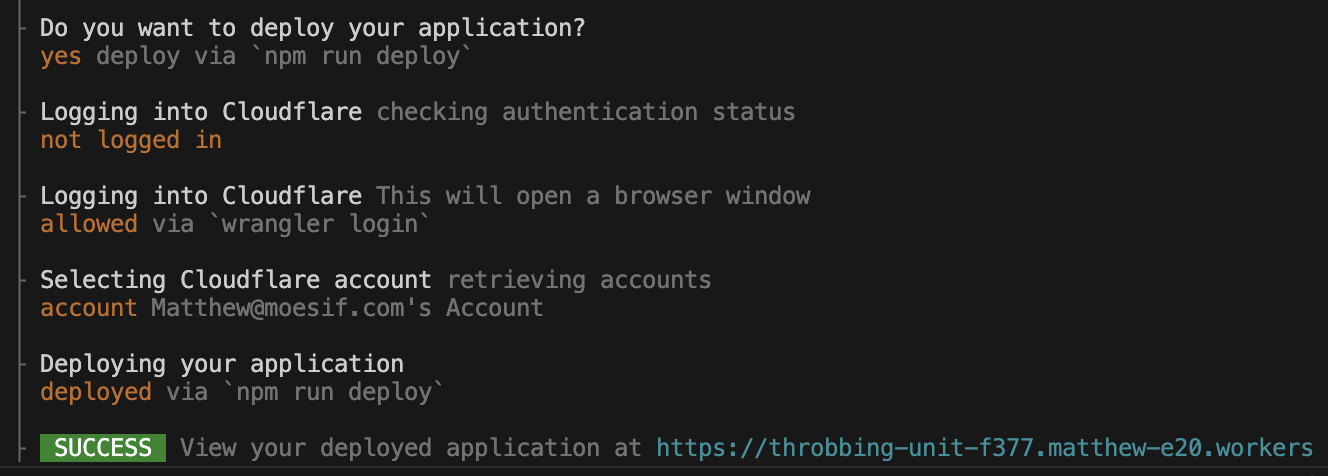
Lastly, you’ll be prompted if you want to deploy the app. At this stage, follow the instructions to deploy the app, being sure to accept any Wrangler permissions that are required. Your final output should look like this:
Now, in our Worker, we will open the index.js file and add the following code:
export default {
   async fetch(request, _env, _ctx) {

     const url = new URL(request.url);
     let apiUrl;
      // Route to different APIs based on the path
     switch (url.pathname) {
       case '/api/service1':
         apiUrl = 'https://httpbin.org/anything';
         break;
       case '/api/service2':
         apiUrl = 'https://httpbin.org/get';
         break;
       default:
         return new Response('Service not found', { status: 404 });
     }
      // Fetch the API and return the response
     const apiResponse = await fetch(apiUrl, {
       method: request.method,
       headers: request.headers,
       body: request.body
     });
      return new Response(apiResponse.body, {
       status: apiResponse.status,
       statusText: apiResponse.statusText,
       headers: apiResponse.headers
     });
   }
 };
The provided code is an example of a Cloudflare Worker script that routes requests to different backend services based on the request path. In this code, we essentially use the Cloudflare Worker as a simple API Gateway. Here’s a brief overview of what the code does:
- The script parses the incoming request URL to determine its path.
- It routes the request to a specific backend API based on the path. For example, requests to /api/service1 are routed to https://httpbin.org/anything, and requests to /api/service2 are routed to https://httpbin.org/get.
- If the requested path doesn’t match any predefined routes, it returns a 404 response, indicating the service was not found.
- For valid routes, it proxies the request to the determined backend API, forwarding the original request’s method, headers, and body.
- The response from the backend API is then returned to the client, preserving the status, status text, and headers of the backend response.
Next, we will deploy the code locally with Wrangler. To do this, run the following command (with your terminal pointing at the root directory of the Cloudflare Worker).
npx wrangler dev
You’ll then see output showing that the Worker is running on localhost.

Note: if you want to publish the Worker directly to Cloudflare, you can do so by running npx wrangler deploy.
Testing the Worker
Now that our Worker is created with some initial code, let’s test it out by sending a few API calls. We will load up Postman (or another preferred tool) to send the requests for this. For example, I will send a GET request to my http://localhost:8787/api/service1 endpoint.
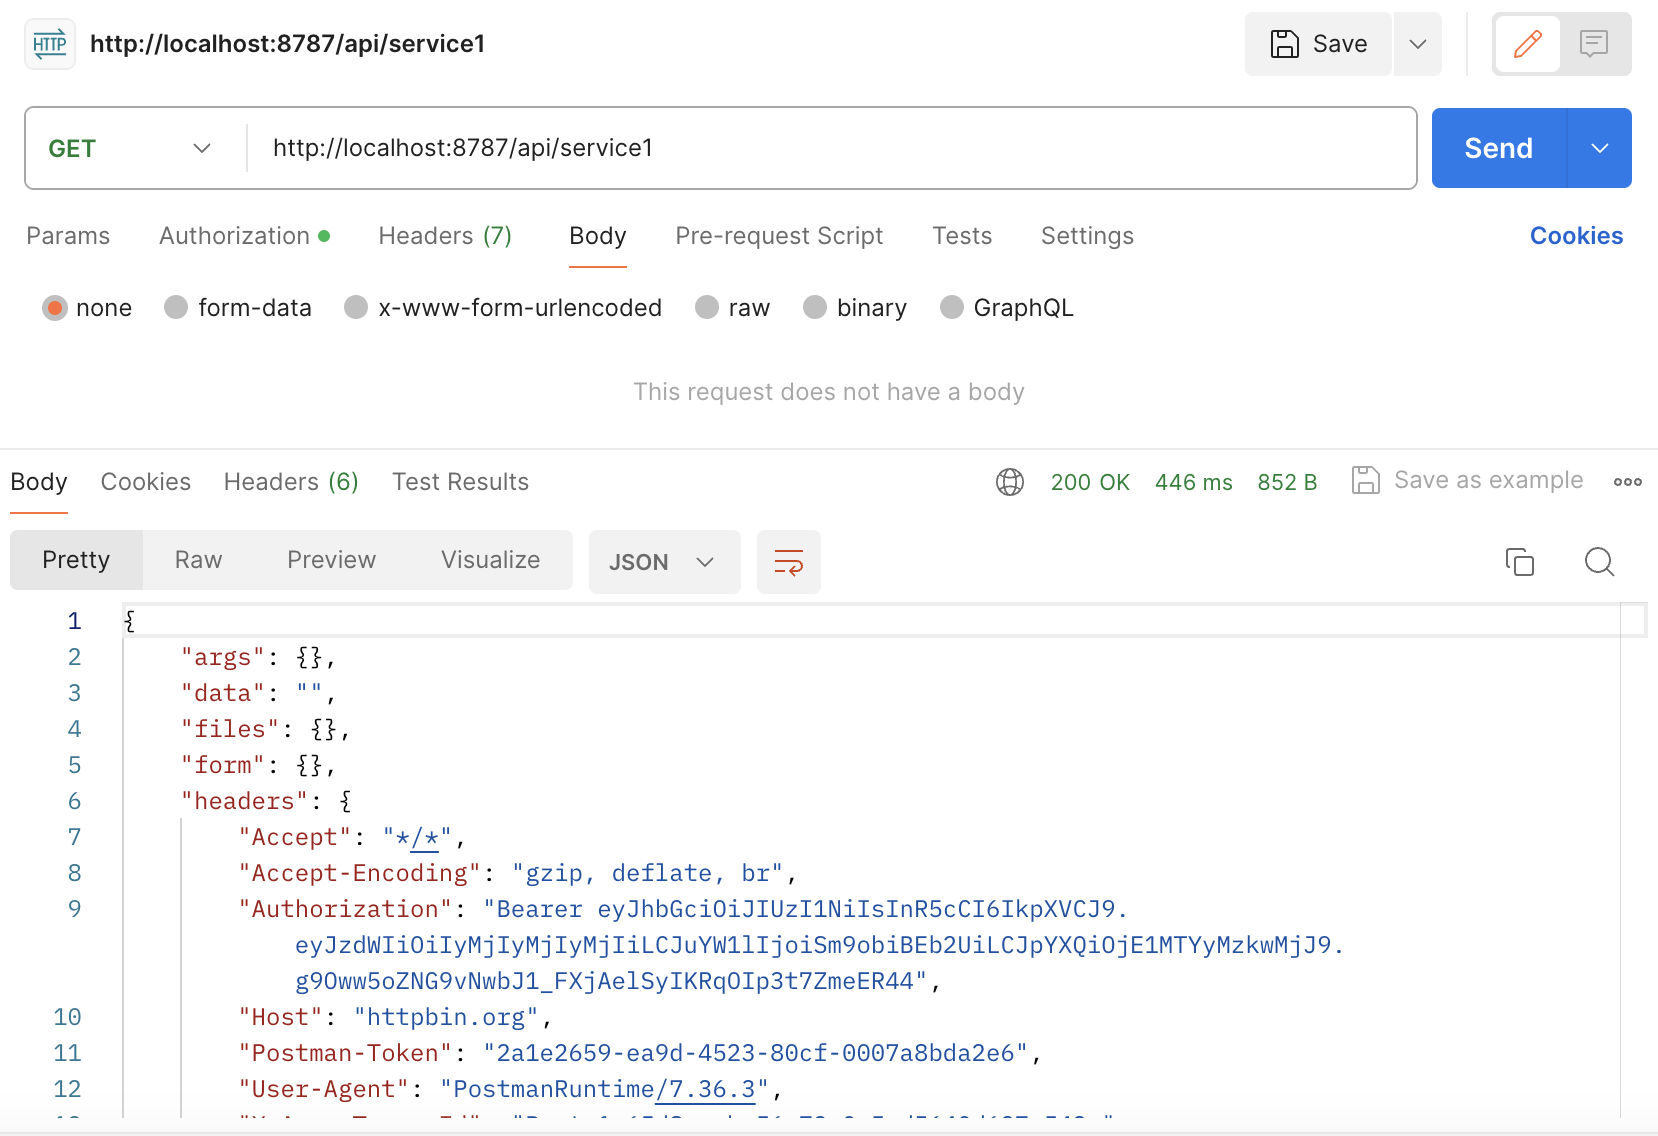
At this point, we know that our Worker and corresponding APIs are correctly configured and ready to be integrated with Moesif.
Adding Moesif to the Cloudflare Worker
Now, we will add Moesif to our Cloudflare Worker using the Moesif-Cloudflare npm package. To do this, we will run the following command in the root directory of our Worker to add the package.
npm install moesif-cloudflare
This will add the Moesif dependency to our project so that we can add it to our code.
In our index.js file, we will then add the following code:
import moesifMiddleware from 'moesif-cloudflare';

const options = {
   applicationId: 'YOUR_MOESIF_APPLICATION_ID',
};

async function gateway(request, _env, _ctx) {
   const url = new URL(request.url);
   let apiUrl;

   // Route to different APIs based on the path
   switch (url.pathname) {
       case '/api/service1':
           apiUrl = 'https://httpbin.org/anything';
           break;
       case '/api/service2':
           apiUrl = 'https://httpbin.org/get';
           break;
       default:
           return new Response('Service not found', { status: 404 });
   }

   // Fetch the API and return the response
   const apiResponse = await fetch(apiUrl, {
       method: request.method,
       headers: request.headers,
       body: request.body
   });

   return new Response(apiResponse.body, {
       status: apiResponse.status,
       statusText: apiResponse.statusText,
       headers: apiResponse.headers
   });
}

// this creates a new fetch that is wrapped by moesifMiddleware
const wrappedFetchHandler = moesifMiddleware(gateway, options);

export default {
   fetch: wrappedFetchHandler
};
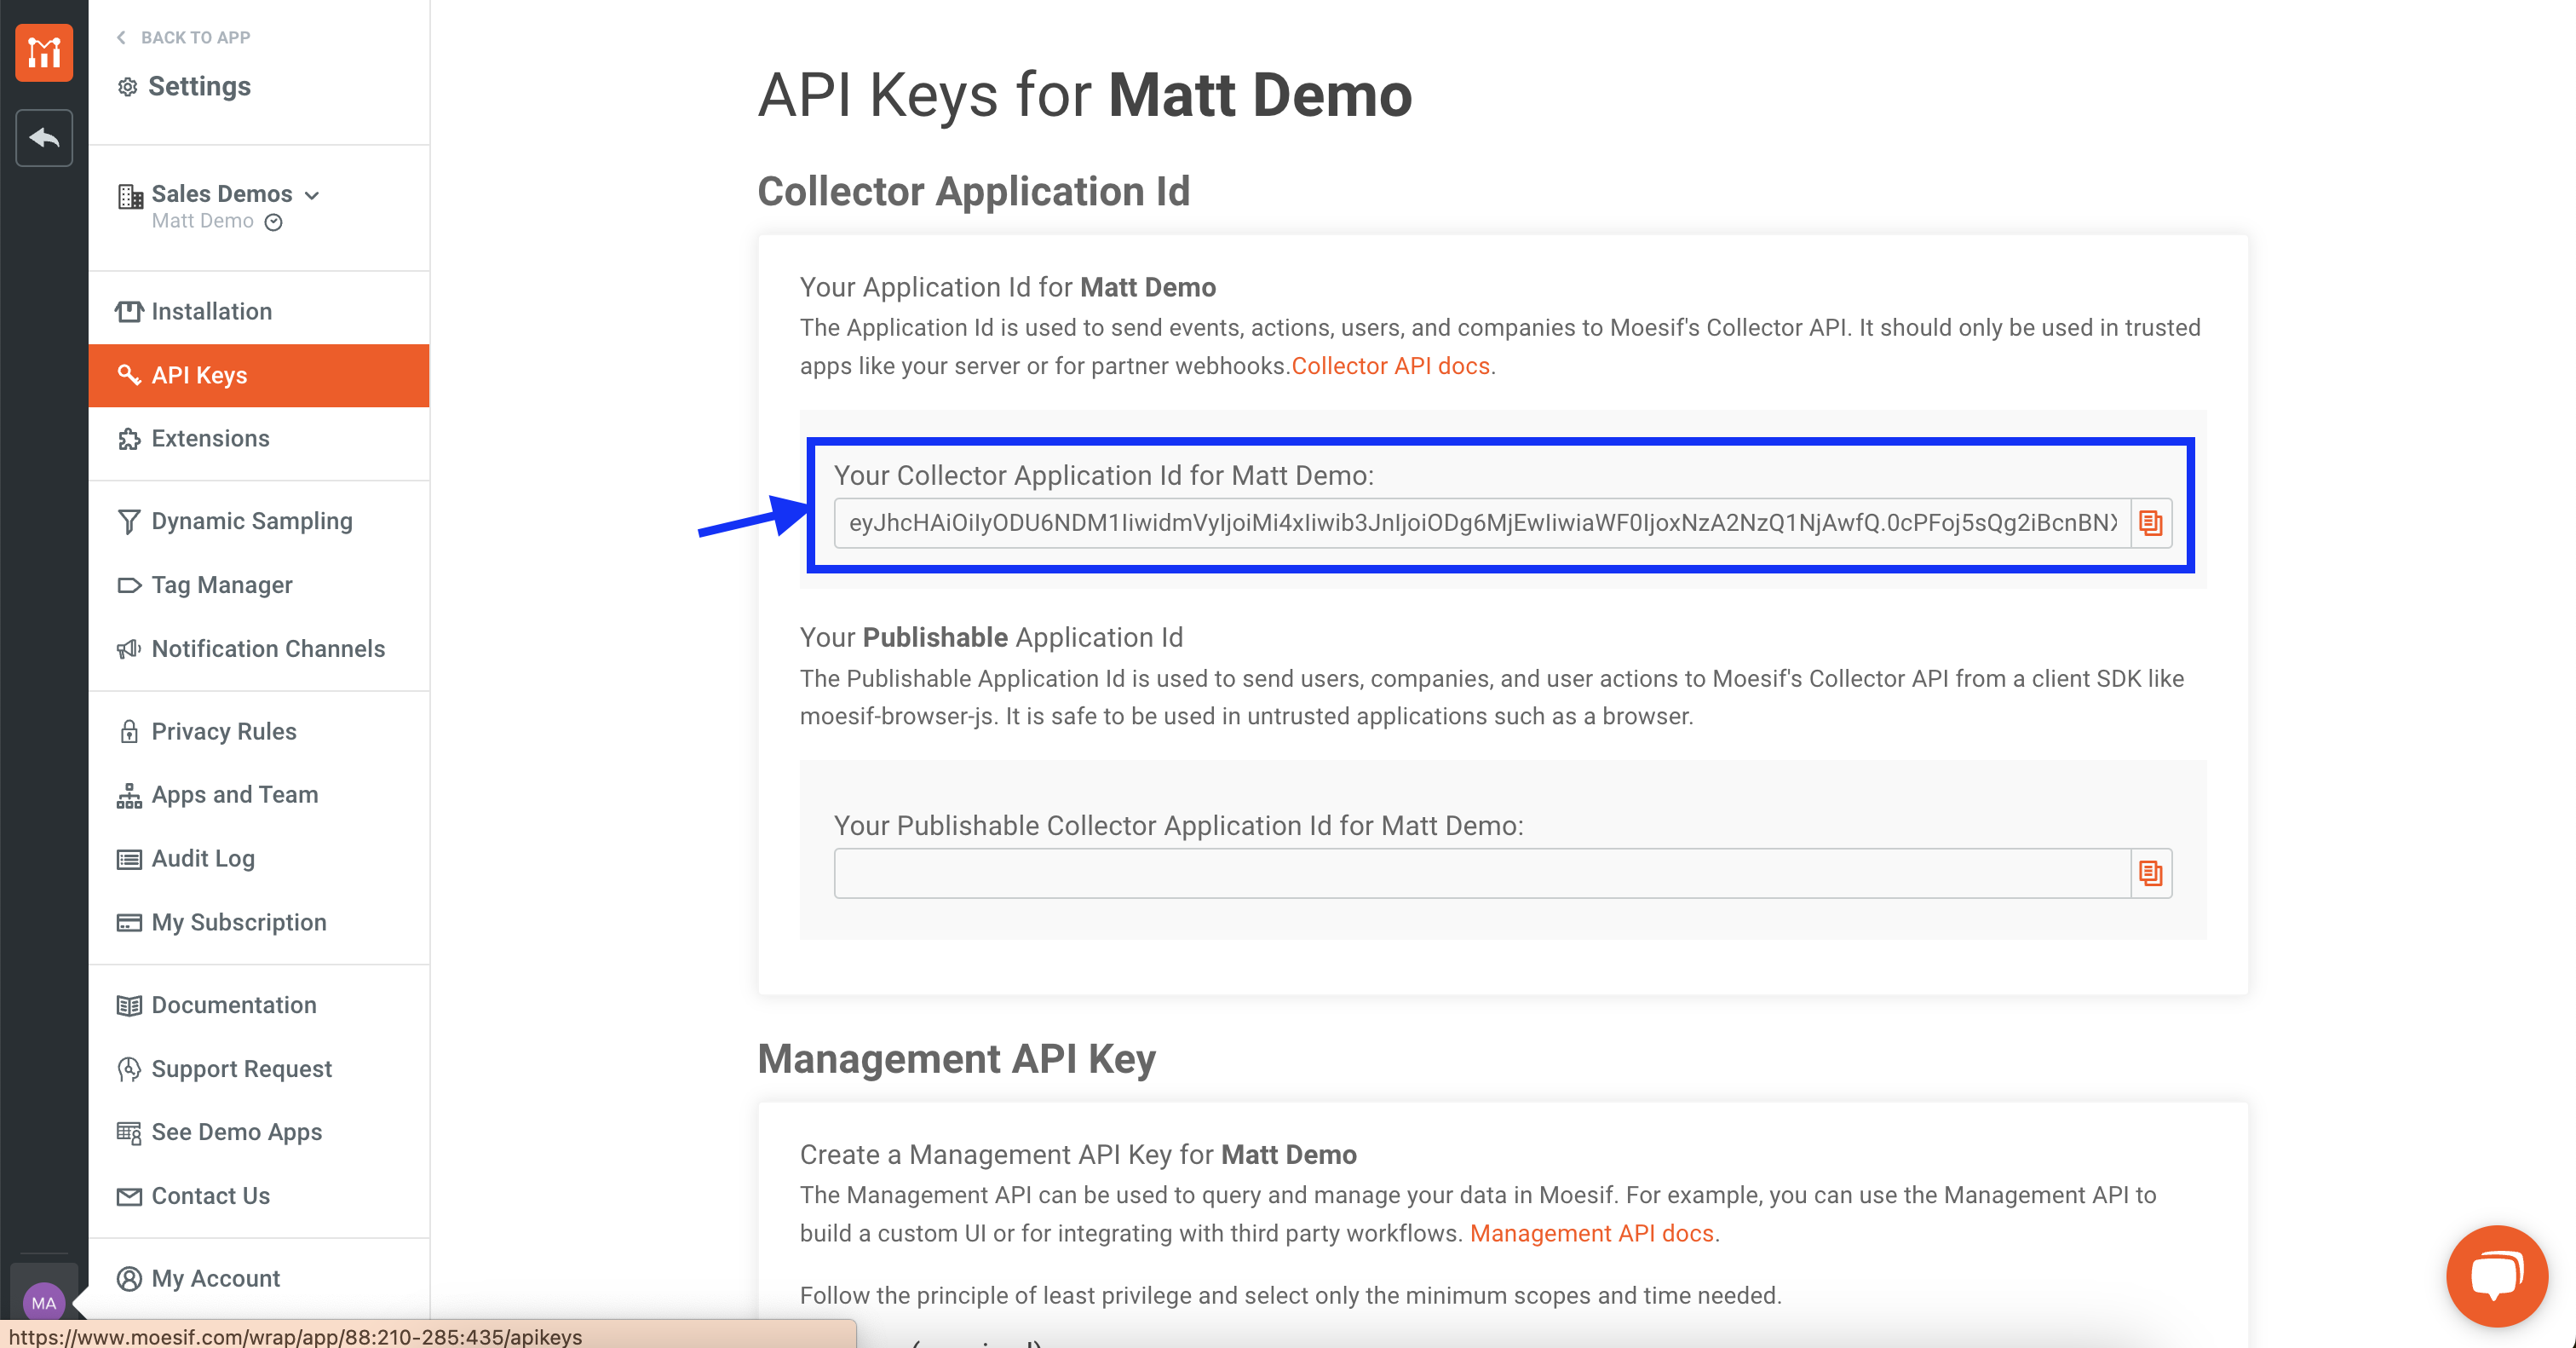
Note: the YOUR_MOESIF_APPLICATION_ID will need to be filled in with your Moesif Application ID. To get this, log into Moesif, and click on the Settings menu (your name in the bottom left corner). From here, click API Keys and copy the value under Your Application Id for [App]. This is the value you will put in this variable.
This new code introduces moesifMiddleware from the moesif-cloudflare package to wrap the original gateway function, which routes requests to different backend services based on the request path. Here’s a high-level overview of how this code differs from our original code.
Integration with Moesif Middleware
Moesif Integration: The code now imports moesifMiddleware and wraps the gateway function with it. This middleware is designed to monitor and log API traffic, providing insights into how the API is used. It requires an applicationId provided by Moesif, specified in the options object.
Enhanced Functionality: By wrapping the original gateway function with moesifMiddleware, all requests and responses processed by the gateway are automatically logged and analyzed by Moesif. This adds powerful analytics and monitoring capabilities without requiring manual instrumentation within the gateway function.
Gateway Function
The gateway function, a refactored version of the original fetch function, remains similar in structure to the previous example, routing requests based on the URL path to different backend APIs and forwarding the request method, headers, and body.
Exported Wrapped Fetch Handler
Wrapped Fetch Handler: Instead of directly exporting a fetch handler, the code now exports wrappedFetchHandler, which is the result of passing the gateway function through moesifMiddleware. This means the Cloudflare Worker will use the Moesif-enhanced version of the gateway for all incoming fetch events.
Automatic API Monitoring: With the gateway function wrapped by moesifMiddleware, every request and response going through the Cloudflare Worker is automatically monitored. This provides visibility into API usage patterns, performance, and potential issues, leveraging Moesif’s capabilities directly within the Cloudflare Worker environment.
By integrating moesifMiddleware, this code transforms the original API gateway function into a Moesif-monitored endpoint. This integration is seamless, requiring only the addition of the Moesif middleware around the existing logic, and it significantly enhances the gateway’s capabilities by adding API analytics and monitoring features. This change lets developers gain insights into their API’s usage and performance without additional coding for logging or monitoring within the gateway logic.
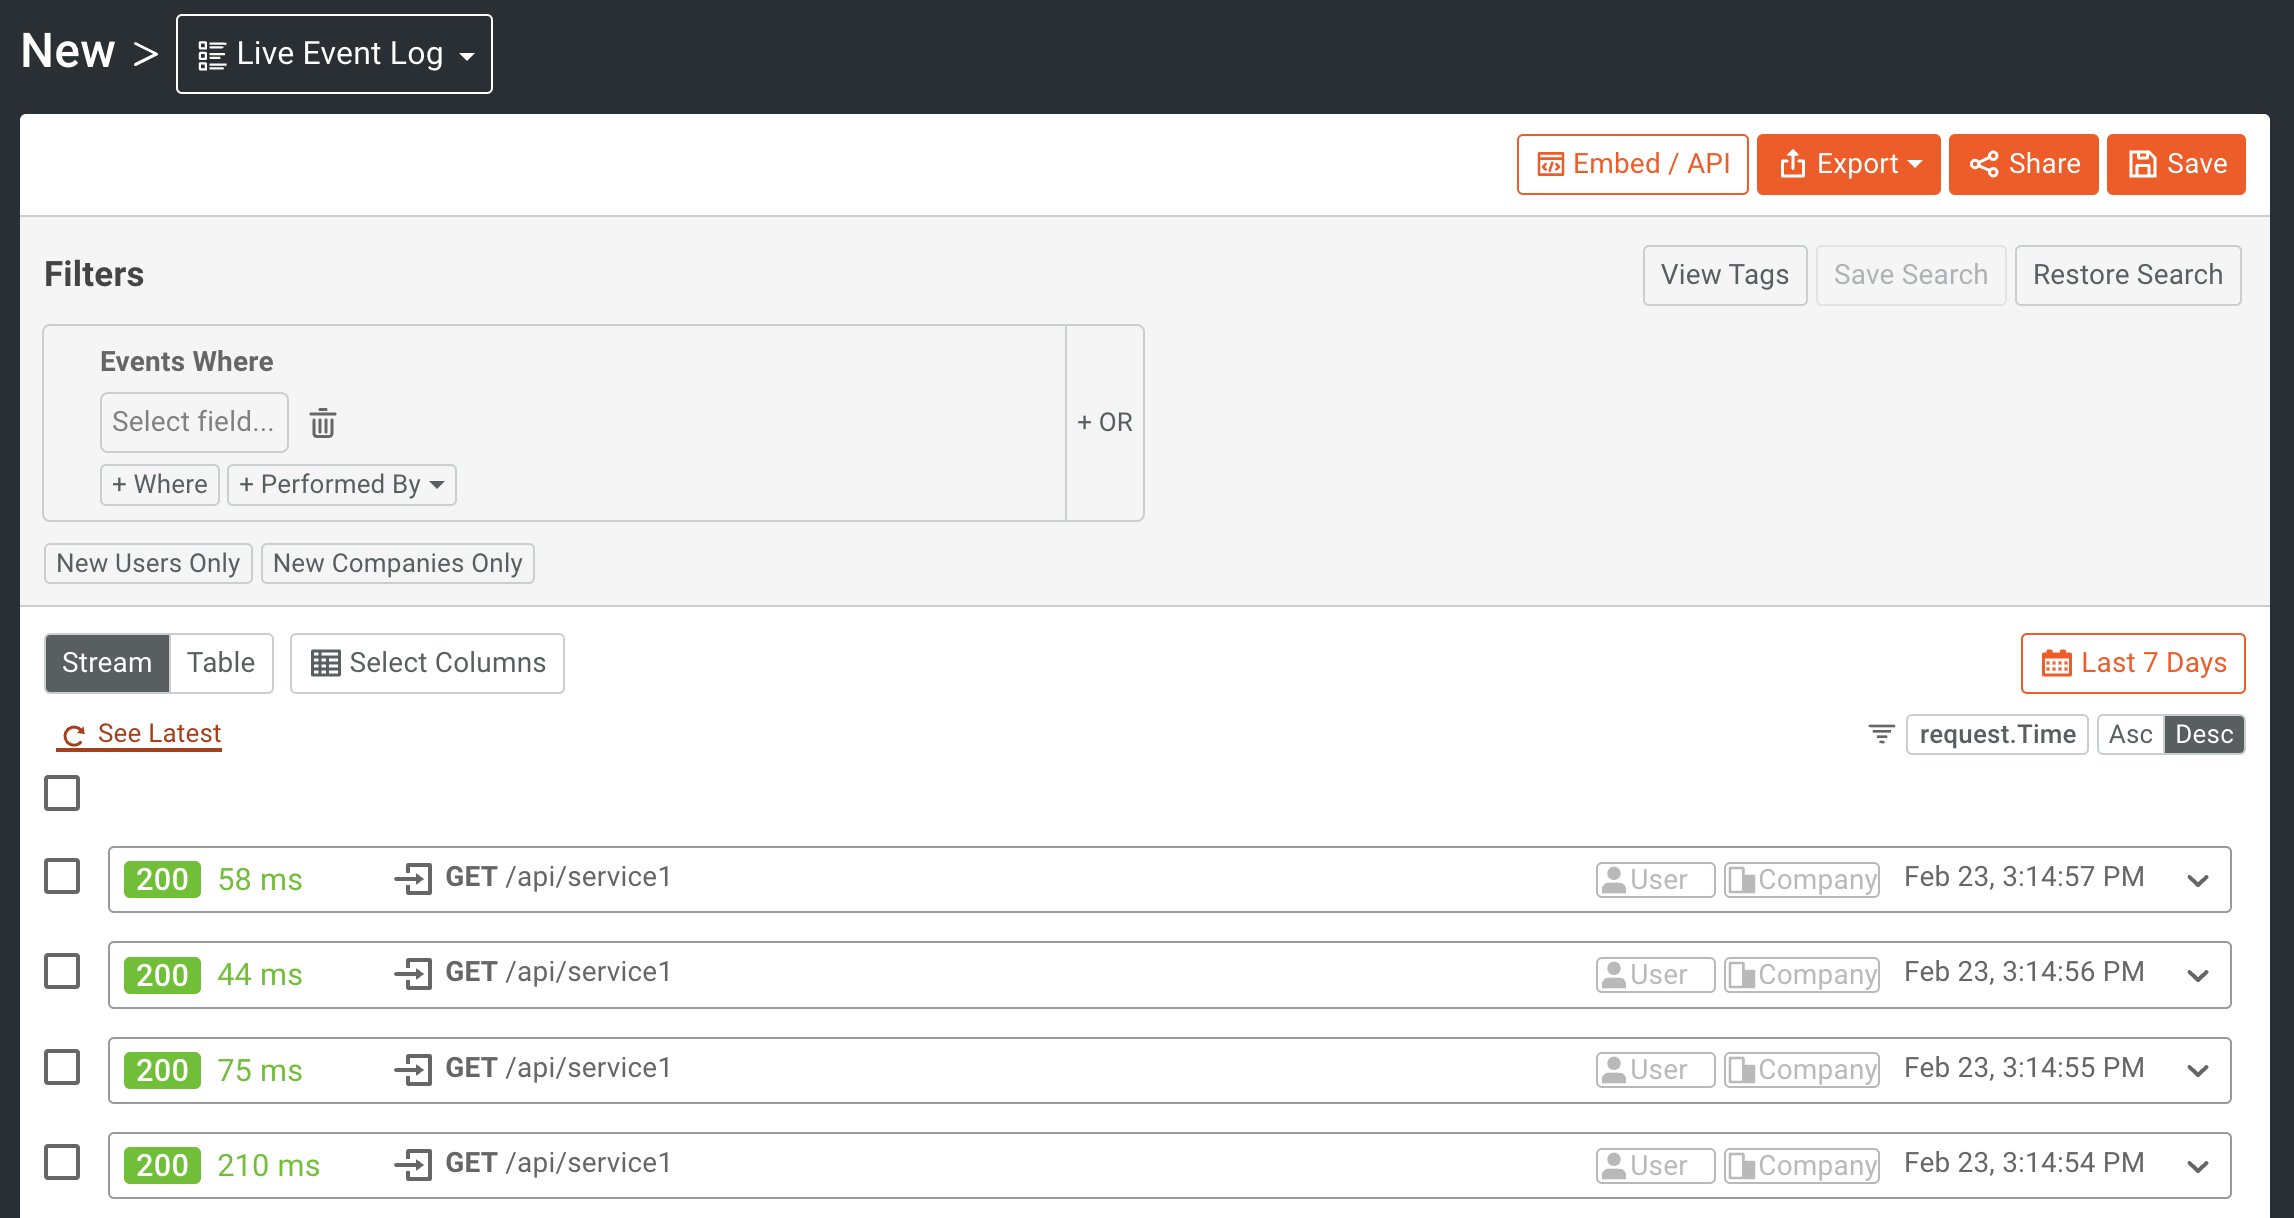
Test the Integration
Now, lets send more traffic to our API endpoints. As the traffic comes through, you will eventually see this traffic come into Moesif (which may take a few minutes to show). To see this traffic, in Moesif, click the New button in the top left of the screen and select Live Event Log.
With that, you’ve successfully integrated your Cloudflare Worker with Moesif. At this point, you can explore the API analytics and monetization capabilities that Moesif contains. For further configuration details, check out our extensive Cloudflare plugin documentation.