Monitoring GraphQL APIs built with Django and Graphene
This tutorial assumes you’re familiar with GraphQL & Python using Django and Graphene. If not, you could refer the previous articles in this series Getting Started with Python and GraphQL
In the previous articles, we created APIs to query, mutate, search and filter the data. In this tutorial we will discuss about how to monitor the APIs we build using Moesif API Analytics.
We will install the moesifdjango library by including moesifdjango in requirements.txt or
pip install moesifdjango
Once the library is installed, we need to update the graphene_python/settings.py to add middleware to the application.
MIDDLEWARE = [
    ...
    'moesifdjango.middleware.moesif_middleware'
    ...
]
We also need to add MOESIF_MIDDLEWARE to settings.py file
MOESIF_MIDDLEWARE = {
    'APPLICATION_ID': 'Your Moesif Application Id',
    'LOG_BODY': True,
    ...
    # For other options see below.
}
Your Moesif Application Id can be found in the Moesif Portal. After signing up for a Moesif account, your Moesif Application Id will be displayed during the onboarding steps.
You can always find your Moesif Application Id at any time by logging into the Moesif Portal, click on the top right menu, and then clicking Installation.
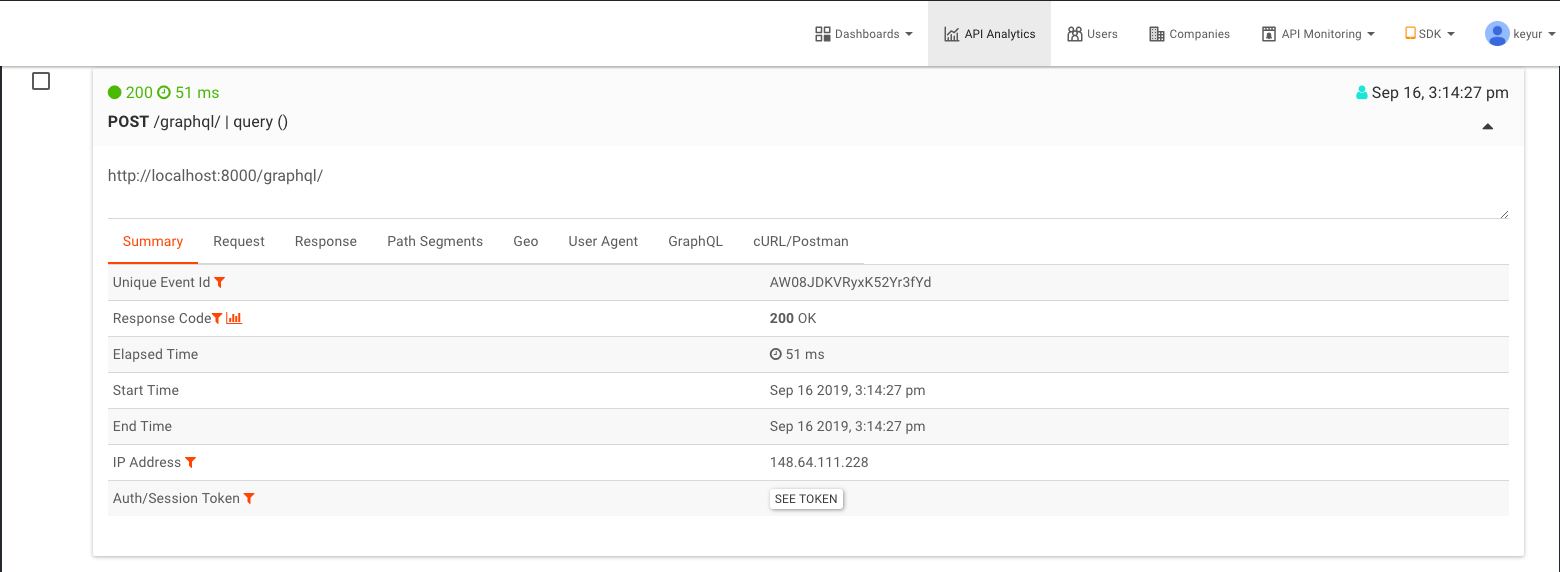
Once the middleware is integrated, all the API calls will be captured by Moesif and we will be able to analyze it.
Now we will query the events object and select id, name and url fields and could see the API call is captured.
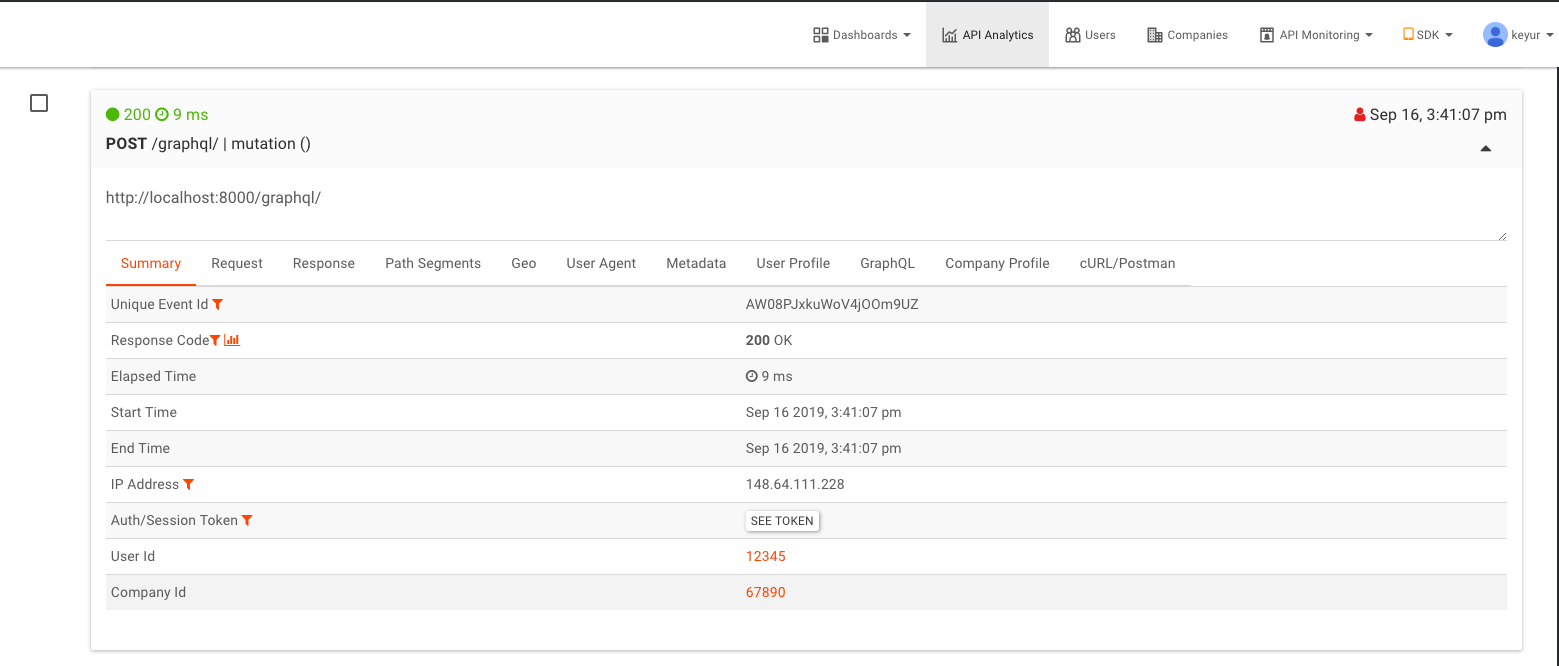
We could add custom metadata, user or company id associated with the API call by providing the configuration options.
# User Id
def identifyUser(req, res):
    # if your setup do not use the standard request.user.username
    # return the user id here
    return '12345'

# Company Id
def identifyCompany(req, res):
    # return the company id here
    return '67890'

# Metadata
def get_metadata(req, res):
    return {
        'foo': '12345',
        'bar': '67890',
    }

# Mask Event
def mask_event(eventmodel):
    # do something to remove sensitive fields
    # be sure not to remove any required fields.
    return eventmodel

MOESIF_MIDDLEWARE = {
    'APPLICATION_ID': 'Your Moesif Application Id',
    'LOG_BODY': True,
    'IDENTIFY_USER': identifyUser,
    'IDENTIFY_COMPANY': identifyCompany,
    'MASK_EVENT_MODEL': mask_event,
    'GET_METADATA': get_metadata,
    ...
}
More details on configuration options could be found here.
After the configurations options are set, all the API calls captured will include metadata, user and company information.
To see the GraphQL in action, you can git clone and run this example app from GitHub.
In next tutorial - we will discuss more about Pagination. Meanwhile, if you’ve any question, reach out to Moesif Team.
Previously in this series:


Related Articles

API Strategy
Leveraging AI For a Better API Strategy
Learn how to leverage AI to build and fortify your API strategy. Improve design, governance, documentation, and align APIs with business outcomes.
API Strategy
The 5 Best Mixpanel Alternatives of 2025
Learn about the best Mixpanel alternatives to determine the right analytics solution for your use case.

API Development
How to Leverage Moesif Effectively for API Observability
Effectively leverage Moesif for API observability through best practices for integration, event enrichment, custom actions, and engineering workflow integrat...
API Strategy
How to Build an Internal Chargeback Model for Your API and AI Usage Using Moesif
Use Moesif to implement internal chargebacks and enable precise API and AI cost attribution for better transparency and resource optimization.