Event Tags
Sometimes you may want to group APIs together. For example, when a few different endpoints compose an API product. In Moesif, you can group events together by using tags. Tags allow you to categorize your API calls by using friendly names for events. You can create a new tag from a Live Event Log screen or by uploading your OpenAPI specification.
The Tag Manager
You can manage your existing tags through the Tag Manager. To access Tag Manager, select the account icon to bring up the settings menu and then select Tag Manager.
Create an Event Tag
You can create event tags in two ways:
- From a Live Event Log workspace.
- From an OpenAPI or a Swagger document that describes your API.
Create Event Tags from Live Event Log Screen
To create an event tag, you must first apply at least one event filter in a Live Event Log workspace. Then follow these steps from your Live Event Log workspace:
- Select Create Tag.
- In the Tag Name field, enter the tag name.
- Select the tag name you’ve entered in the dropdown that appears.
- Select Create Tag.
Create Event Tags from an API Document
Moesif can generate event tags from your API specification file that conforms to the OpenAPI or Swagger API specification format. The specification file must be in JSON format. To upload your API specification file, go to Tag Manager and select Select JSON File.
Update an Event Tag
To edit or update an event tag, you can either use the Tag Manager or a Live Event Log workspace.
Update from the Tag Manager
- Go to Tag Manager.
- Select ⋯ Actions and then select Edit.
- After making your changes, select Save.
Update from Live Event Log Screen
- Go to your Live Event Log workspace.
- Make the changes you want to your event filters.
- Select Create Tag.
- Select the Tag Name field and then select one of the existing tags from the dropdown. You can select the Select Saved Tags toggle to see the existing tags.
- Select Update Tag.
Keep in mind that this method requires that you make changes to a workspace. These changes persist if you select Save afterwards. Therefore, we recommend using the Tag Manager to update your event tags so that you don’t accidentally change your workspace filters.
Delete an Event Tag
To delete an event tag, you can either use the Tag Manager or a Live Event Log workspace. Remember that you cannot recover an event tag once you delete it.
Delete from the Tag Manager
- Go to Tag Manager.
- Select ⋯ Actions and then select Delete.
- Select Yes to confirm.
Delete from Live Event Log Screen
- Go to your Live Event Log workspace.
- Make the changes you want to your event filters.
- Select Create Tag.
- Select the Tag Name field and then select one of the existing tags from the dropdown.
- Select the Select Saved Tags toggle.
- Select X for the event tag you want to delete.
Use an Event Tag
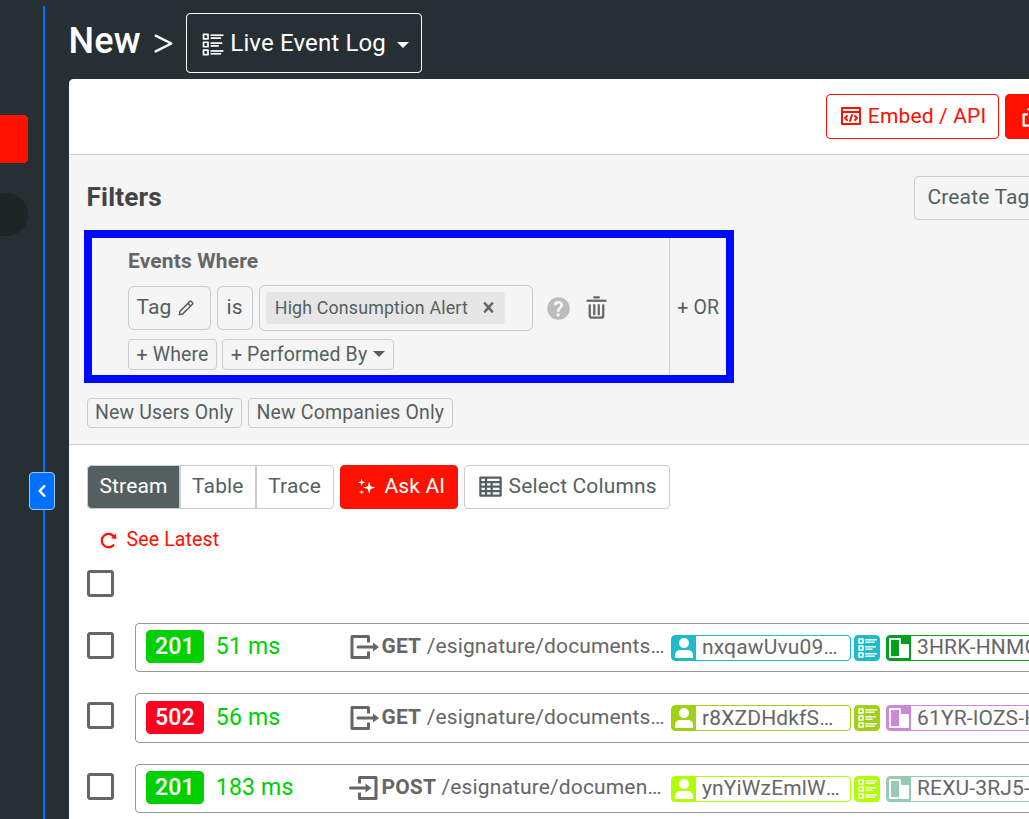
To use an event tag, select Tag from the filters list in the Filters pane.
If you have too many endpoints, you can specify tags instead. Since you can remember and identify tags more easily, this allows to easily filter events that match the tags. The following example filters out events that match the High Consumption Alert tag.
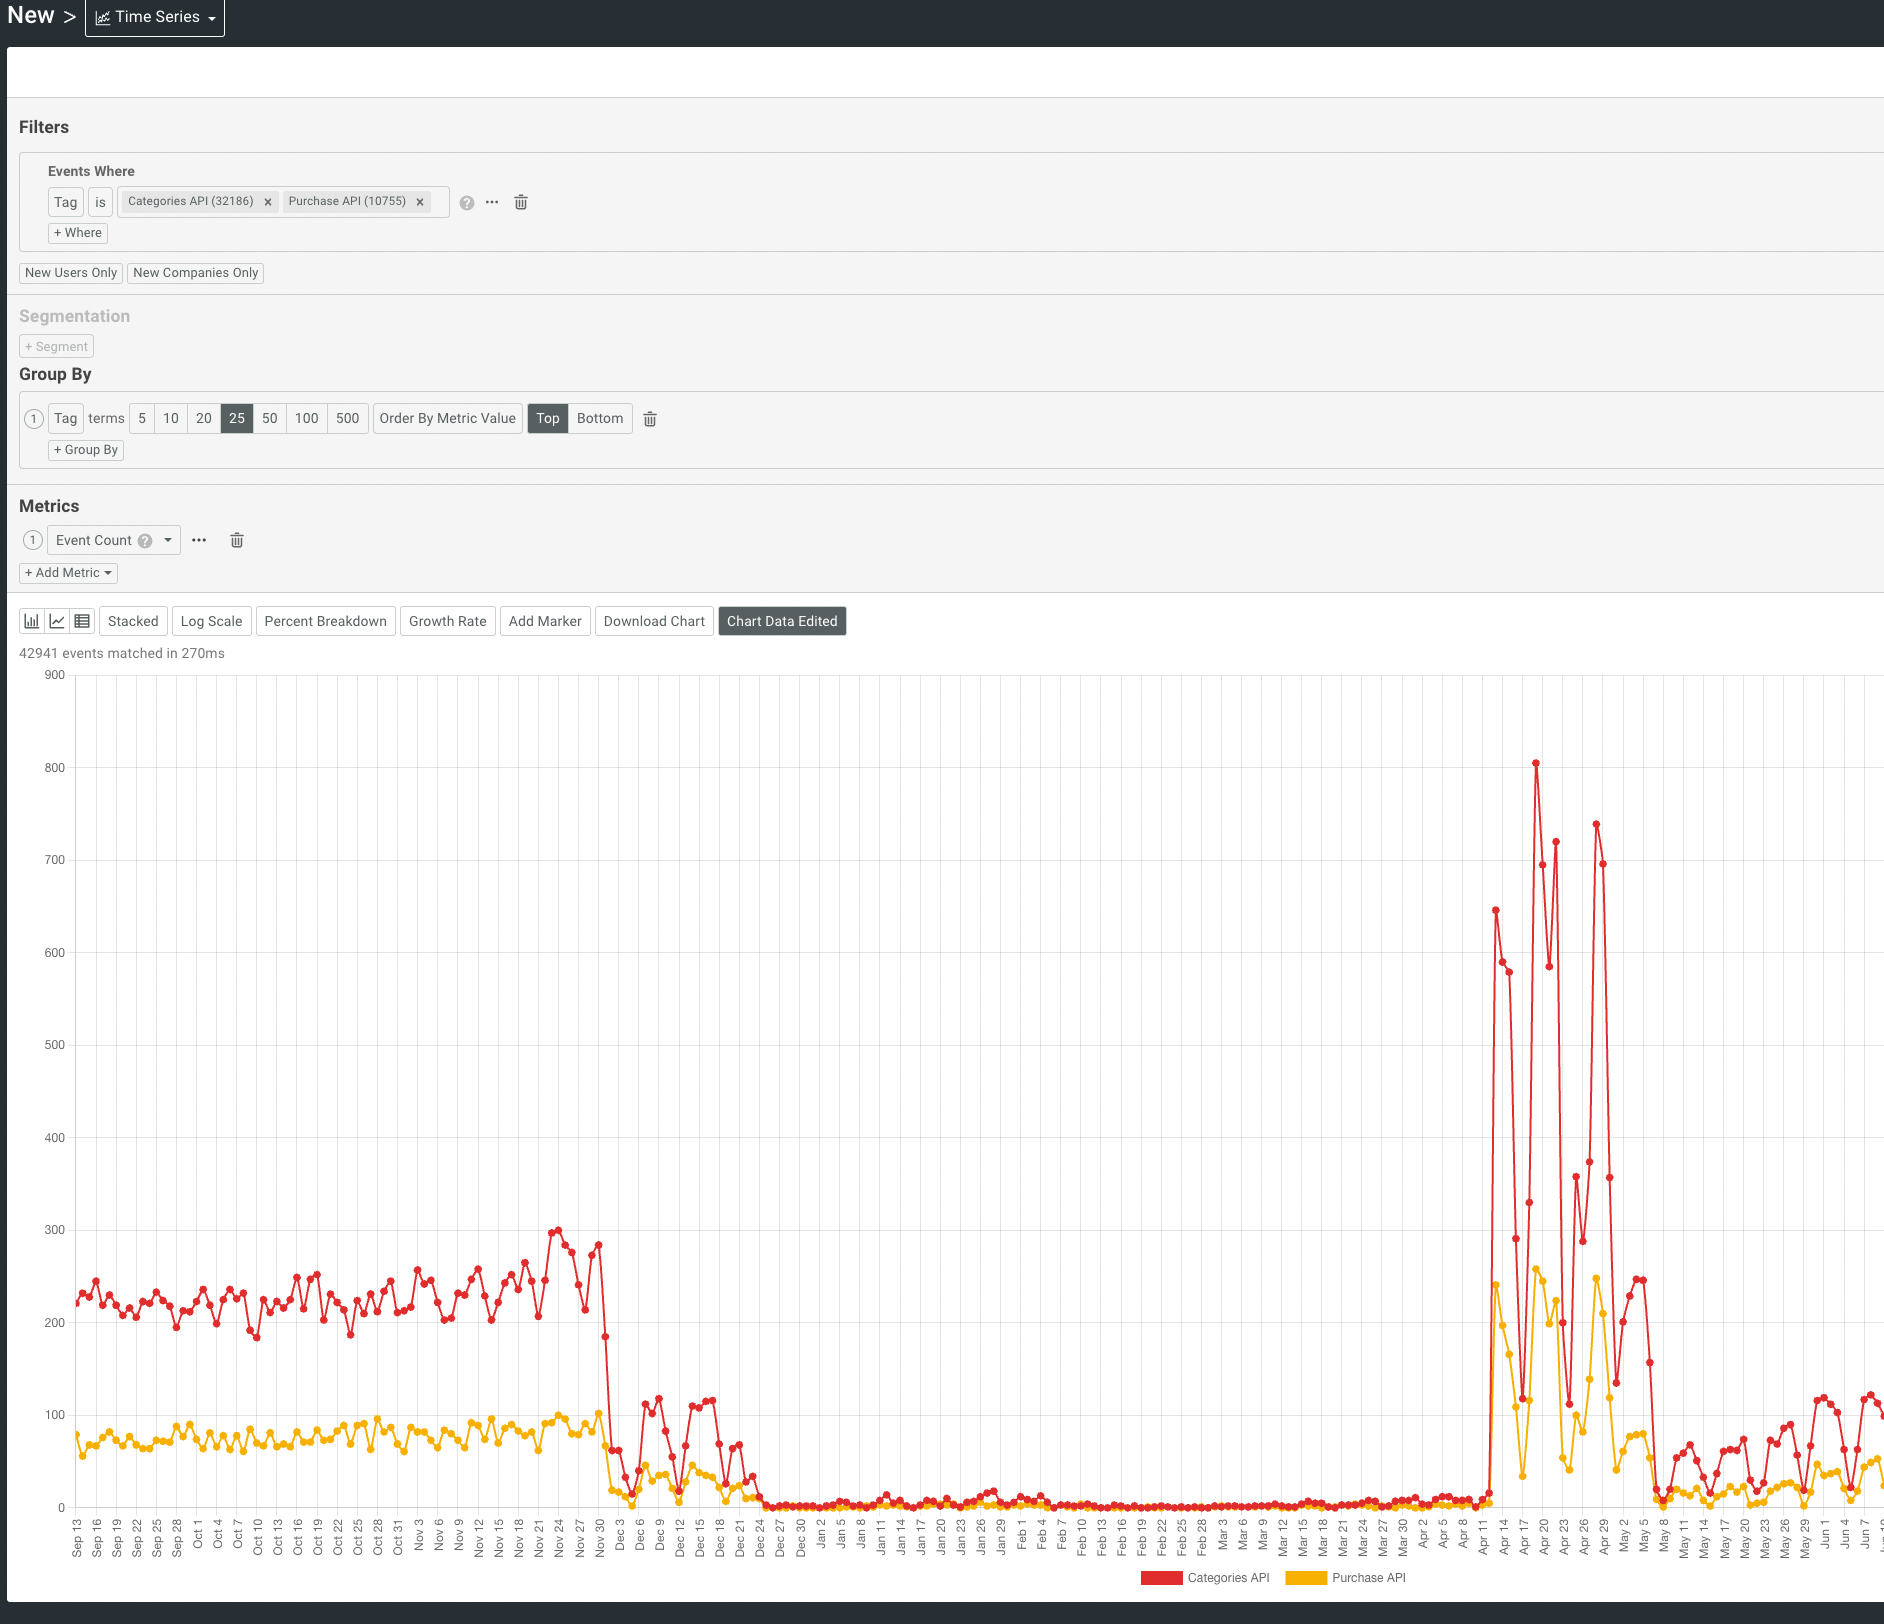
Similarly, you can group by tag names just like any other attribute. The following example shows traffic volume for two APIs represented by the two tags Categories API and Purchase API.
Tags can have many use cases. For example, you can organize endpoints into API products with tags when creating billing meters.