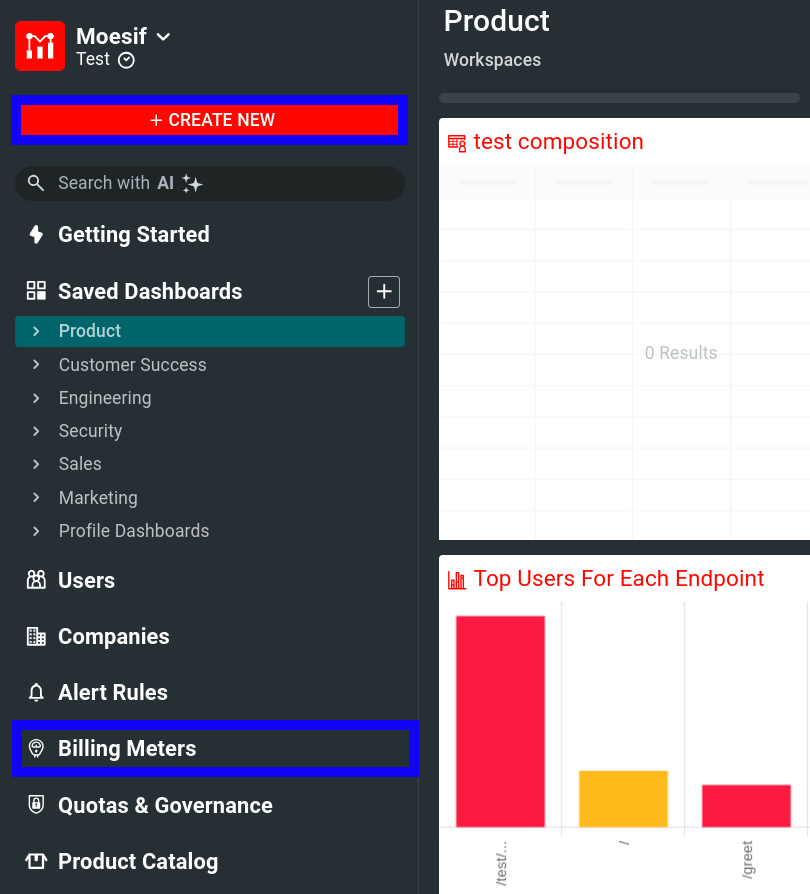
Creating Billing Meters
This page describes how you can create Billing Meters and set them up.
Creating a New Billing Meter
- Select Billing Meters menu item in the navigation menu and then select + Add Billing Meter. Alternatively, select + Create New in the navigation menu and then select Billing Meter from the API Monetization section.
- Fill out the necessary details for your new billing meter.
To create a new Billing Meter, you have to enter the following details:
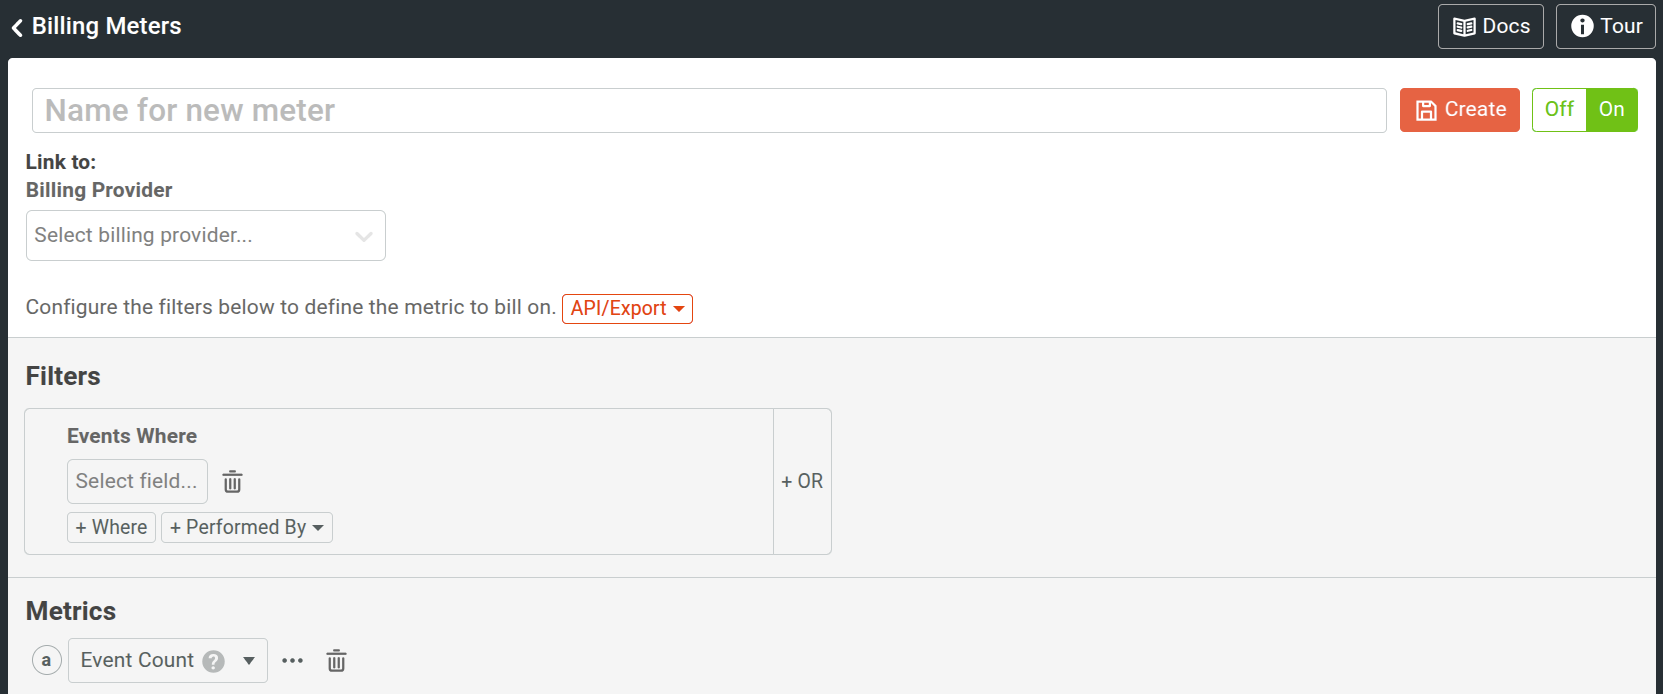
Name
A name for your new billing meter.
Billing Provider Information
Billing provider information covers the following details:
- Your billing provider, for example, Stripe
- The product
- The prices for the product
- The reporting period that specifies how often Moesif syncs with the billing provider
- The credit balance and invoice credit behaviors (for Stripe)
Credit Balance Behavior
Moesif allows you to control when credits are issued in Stripe. You have the following options to choose from:
- Bill Customer (Default)
- This option credits the customer in Stripe if prepaid credit exists for the subscription in Moesif. For a negative subscription balance or if Moesif doesn’t track the balance, it charges customer normally.
- Zero Out Invoices
- Moesif reports the usage to Stripe, but the invoices will be zeroed out with credits. Use this option if you plan to invoice customers manually or through another system.
For more information, see Credit Balance Behavior.
Invoice Credit Behavior
The Invoice Credit Behavior options allow you to specify whether Moesif automatically applies prepaid credits to Stripe invoices. For more information, see Invoice Credit Behavior.
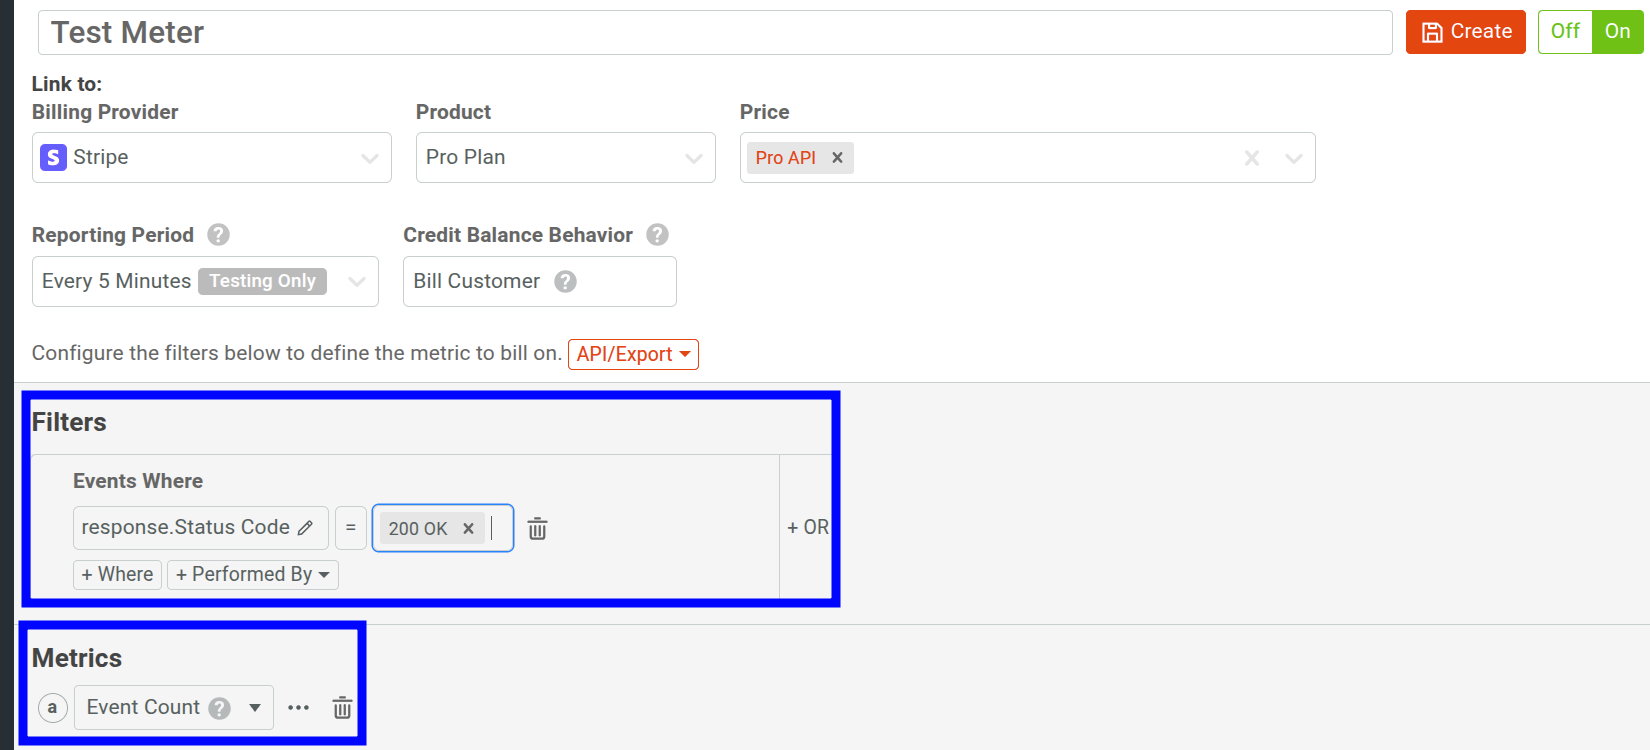
Filters
The filters define the criteria for which Moesif should include API transactions or actions in the metric.
Metric to Charge On
The metric that you charge customers on. Generally, Event Count is common to choose, but other options exist including Unique Users, Unique Companies. You can also formulate your own metric using custom metadata fields such as to track bandwidth consumed or other metrics.
Usage is always grouped by Company Id. The usage totals for each company will be tallied and sent to the billing provider to charge the customer based on plan and add-on billing cycle.
Linking a Billing Meter to a Billing Provider
If you have not set up a billing provider, follow the instructions in Set up Billng Provider. Alternatively, select your profile icon in your Moesif Web Portal to bring up the Settings menu. Then select Extensions. Then find your billing provider in the extensions list and follow the instructions.
When you create a new billing meter, you first select your billing provider. Based on the billing provider you select, you’ll have options to select other billing details like the plan or product, and add-ons or prices that Moesif should count the usage data towards and link to. The dropdown menus will retrieve the necessary data from the products and plans you’ve created in your billing provider. This happens seamlessly and automatically since you’ve already configured the billing provider with Moesif.
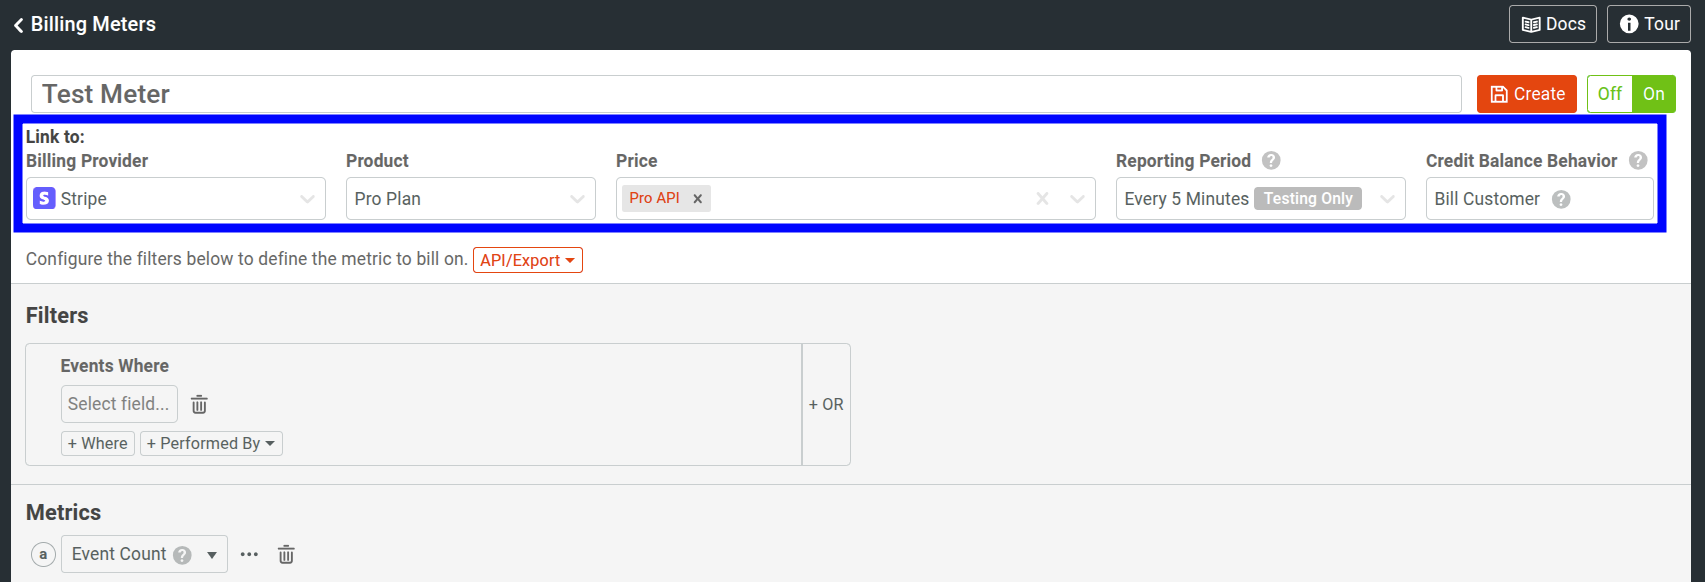
Setting up a Usage Multiplier/Tiering
If required, you can optionally multiply your usage by a ratio in your selected billing provider. Depending on the billing provider chosen, this can be done in a few ways. For instance, you may want to charge a set rate per 100 API calls. One of the most common ways to do this is to set up tiered pricing or volume pricing.
Depending on the billing provider you’re using, each offer their own mechanisms for implementing such a pricing model. Below are the corresponding links for common billing providers that work with Moesif:
Adding Billing Criteria
When you create a Billing Meter, you must establish what criteria you want to bill on. To do so, specify your criteria using the filters in the Filters pain and the metrics in the Metric pane.
For example, the following meter bills on all API calls that return an HTTP 200 OK status code.
Adding a Custom or Scripted Field
If a field does not exist in your request or response that you want to bill on, you can compute and create the field using a script. For more information, see Scripted Fields for Billing Meters.
Usage Reporting
For most integrations, the usage is synced to the provider at an optimal rate. Typically, this is every 15 minutes. However, some providers require syncing at a slower rate like daily to ensure API and data limits are not breached.