Integrating with Chargebee
This page assumes that you already have a Chargebee account created, have metered billing enabled, and are able to create plans. To sign-up and create a Chargebee account, visit the Chargebee website.
If you can’t enable metered billing, contact support@chargebee.com to enable the feature on your Chargebee site.
How it works
A billing meter is created via the Moesif UI for a specific metric and filter criteria that you want to charge for.
- The filter criteria defines what the meter should include such as specific endpoints, certain customers, or other filter criteria.
- The metric is what is metered. It could be number of API calls, unique users, an aggregation on a header or body field, or any other metric trackable by Moesif.
Once the billing meter is created, Moesif will automatically meter the usage for each company and charge your customers via Chargebee. Moesif billing meters support a variety of billing models including prepaid, postpaid, Pay As You Go (PAYG) and more. If you have different features or metrics you need to charge on, you can create multiple meters in Moesif, each linked to a different Plans and Prices in Chargebee. The integration also syncs subscription and revenue data from Chargebee to Moesif so you can understand how API usage translates to revenue.

Prerequisites
In order to integrate Chargebee with Moesif, there are a few prerequisites which must be completed. These include:
- Creating an account with Chargebee
- Creating a plan in Chargebee
Make sure the plan has This plan is metered enabled in order for usage to be updated correctly by Moesif. We also recommendd that you set Process charges for shared usage data by option to Sum of all usages.

Configuring the Chargebee integration
Moesif’s connection with Chargebee involves 2-way communication. Moesif has created a simple way to get all the info you need and to configure certain variables for Chargebee in a single screen. To access the Chargebee setup details screen, you can follow one of these methods:
Access From Account Settings Menu
- Select your account icon to bring up the settings menu.
- Select Extensions.
- Search and select Chargebee.
Access From Billing Meters Page
- Select Billing Meters in the navigation menu to open the Billing Meters screen.
- Select Edit Billing Providers dropdown
- Select Chargebee.
Access From New Billing Meter Creation Page
- Select Billing Meters in the navigation menu to open the Billing Meters screen.
- Select + Add Billing Meter.
- Select Set up Chargebee from the Select Billing Provider dropdown.
Once you’ve opened the configuration screen through one of the routes above, you can get the info needed to add the Moesif Webhook to Chargebee, inputs to plug the Chargebee API into Moesif, and customize your Customer ID source in a single place.
Adding the Moesif Webhook to Chargebee
In Chargebee, you need to add Moesif webhook through which Chargebee can send subscription updates to Moesif. Follow these steps to add the webhook after logging into your Chargebee account:
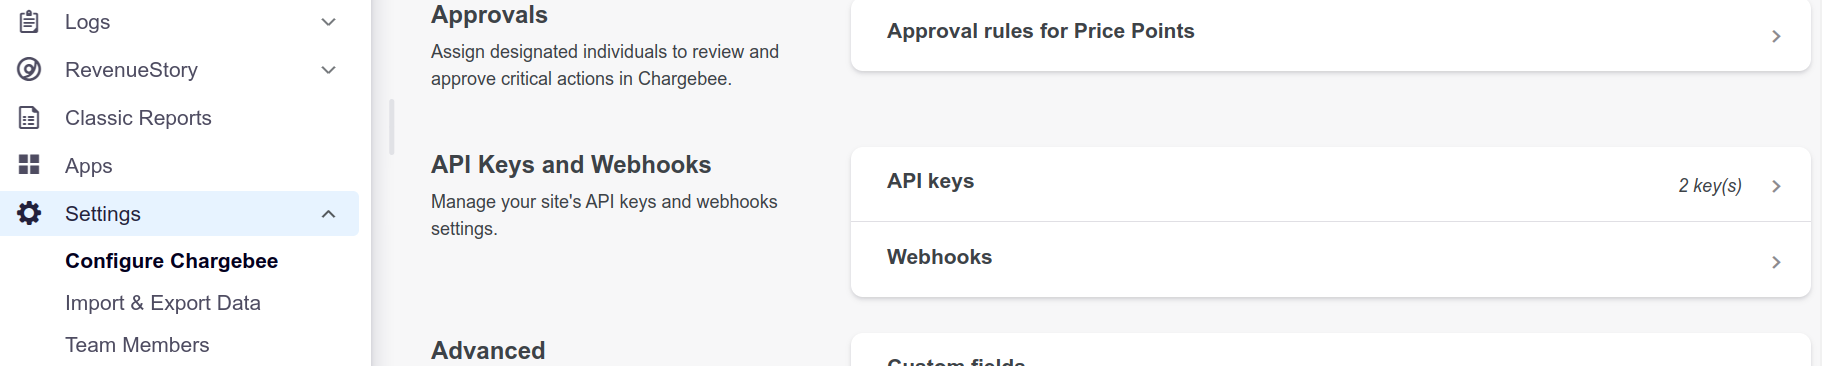
- Select Settings and then select Configure Chargebee in the navigation pane.
![Example]()
- In the API Keys and Webhooks section, select Webhooks and then select + Add Webhook.
![Example]()
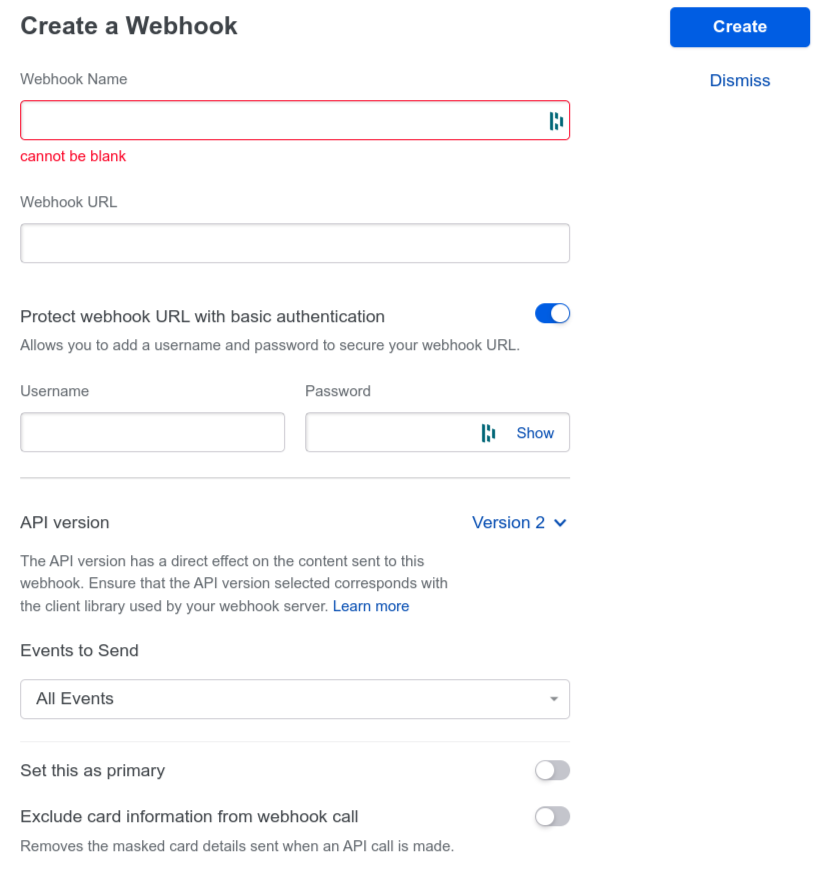
- In the Create a Webhook dialog, enter the webhook details.
- Enter a name for the webhook.
- Select the Protect webhook URL with basic authentication toggle to the on position.
- Add the Moesif Webhook URL into the Webhook URL field and the Moesif Application ID into the Username field.
- Select Create.

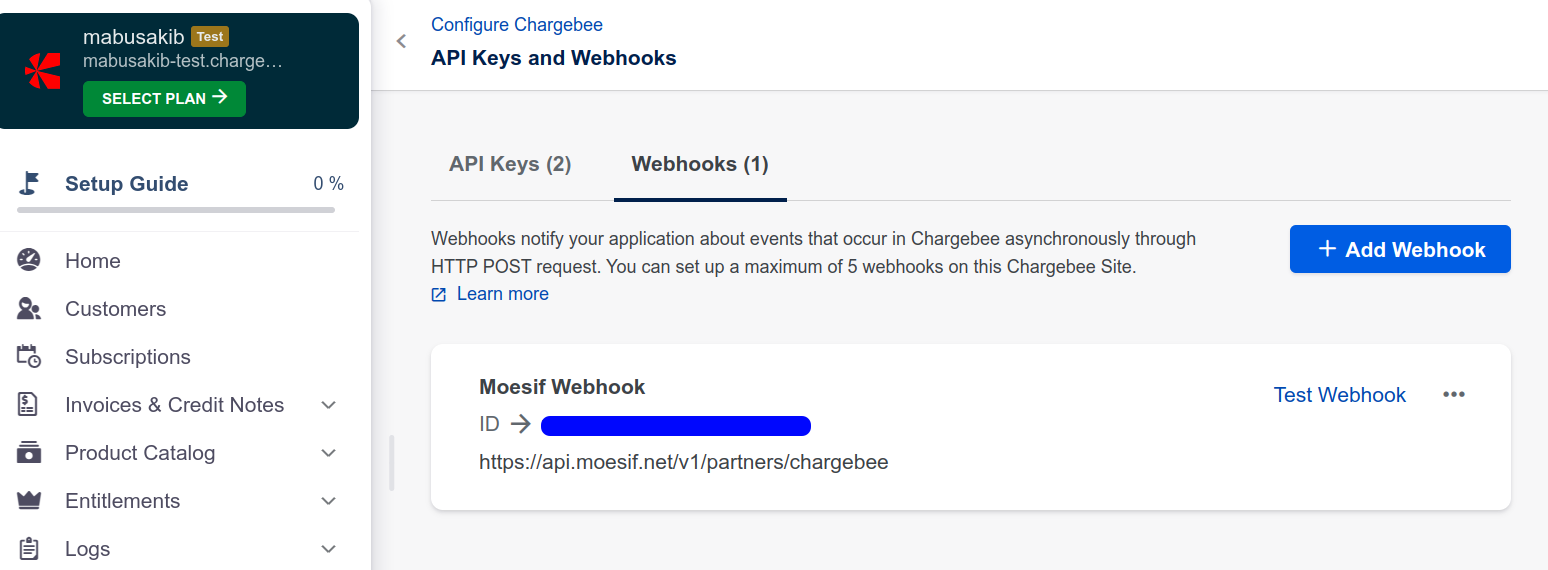
After you create the webhook succesfully, it appears in the API Keys and Webhooks screen. From here, you can also test the webhook by selecting Test Webhook.
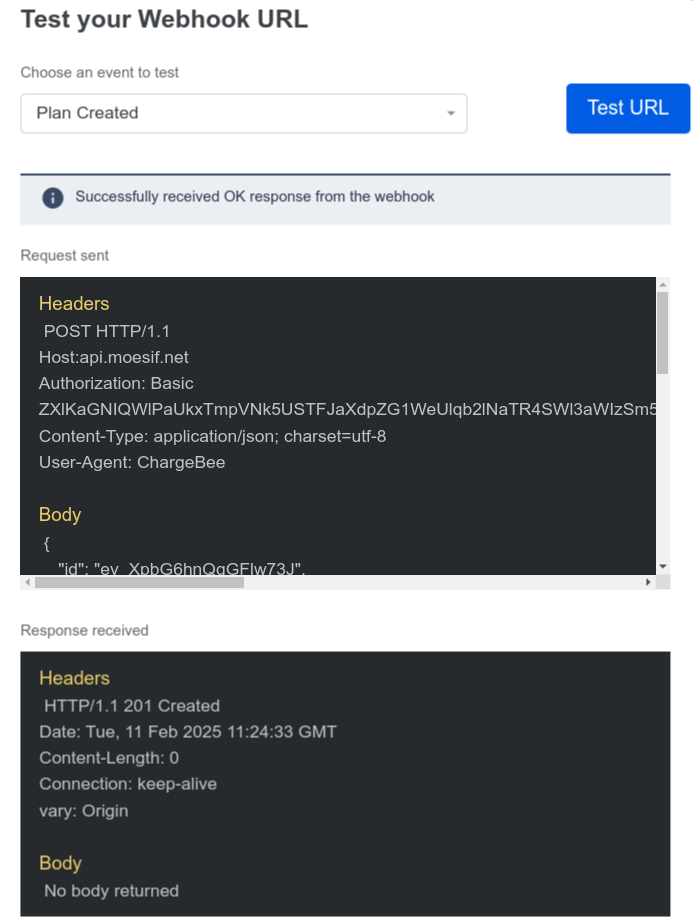
Then select Test URL. The results show a Successfully received OK response from the webhook message with the request details.
Configuring the Chargebee extension in Moesif
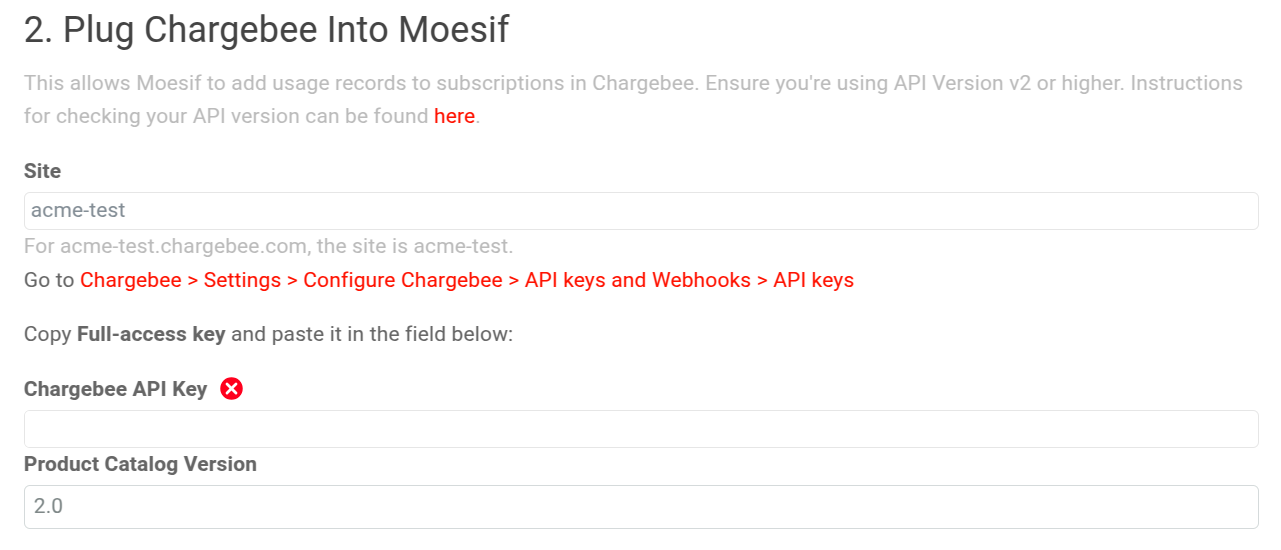
In Moesif, you will need to plug in the Chargebee API details so that Moesif can post usage details to Chargebee to bill upon. These details can be entered into the Chargebee API Key, and Site fields on the Chargebee Setup Details screen. Make sure you’re using Chargebee API Version v2 or higher.
Moesif supports Chargebee API v2 or higher.
To get the Chargebee API key, follow these steps:
- Select Settings and then select Configure Chargebee in the navigation pane.
![Example]()
- In the API Keys and Webhooks screen, select the API Keys tab and copy the full access key.
- Paste the key in the Chargebee API Key field of the Chargebee setup details dialog in Moesif.
Lastly, grab the Site name from your URL bar in your browser and paste it into the Site field.

The filled out entries will look similar to this.
Once completed, be sure to click Save.
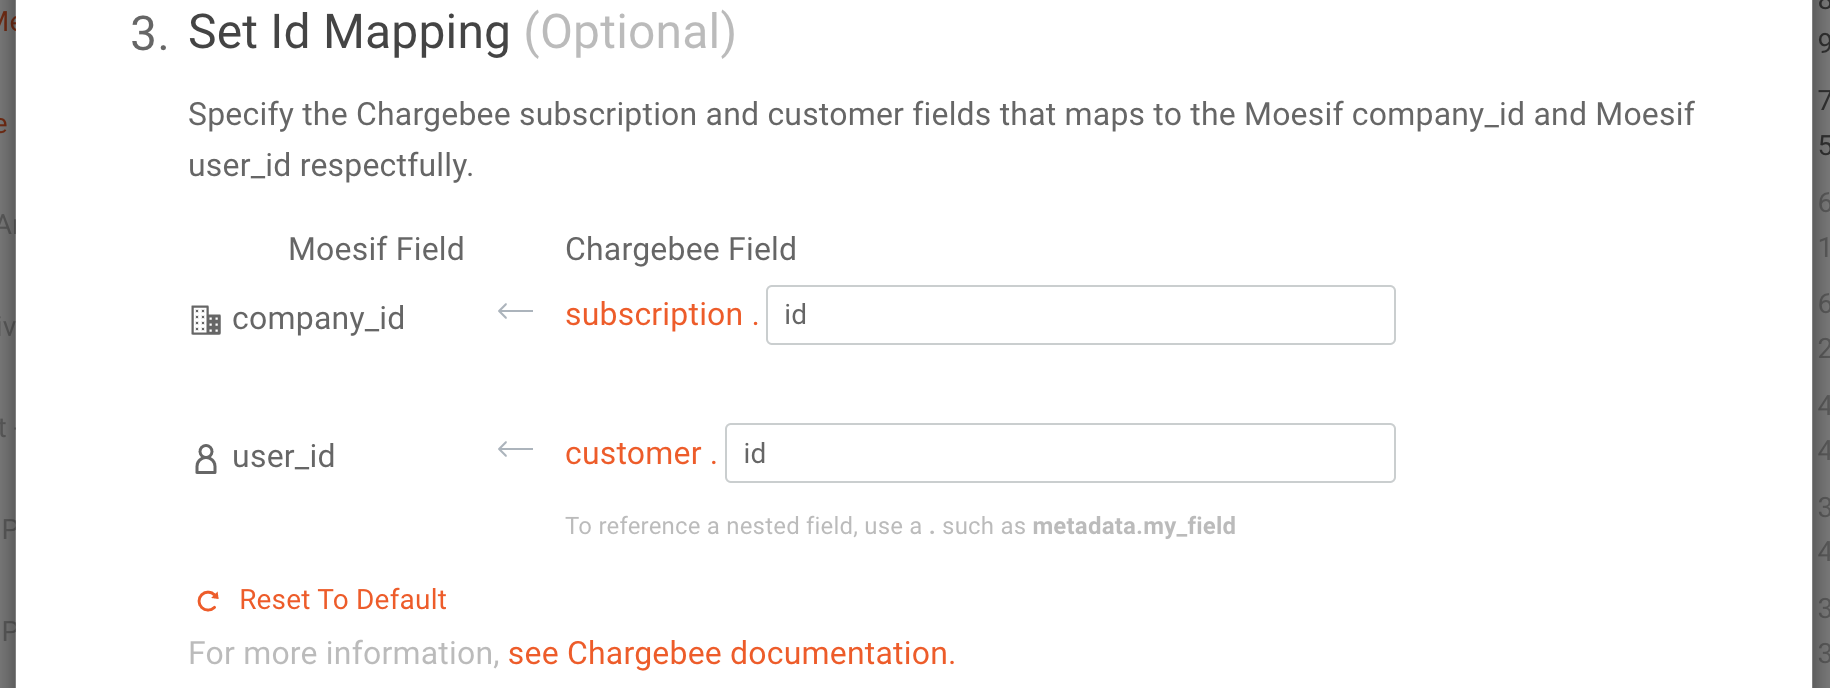
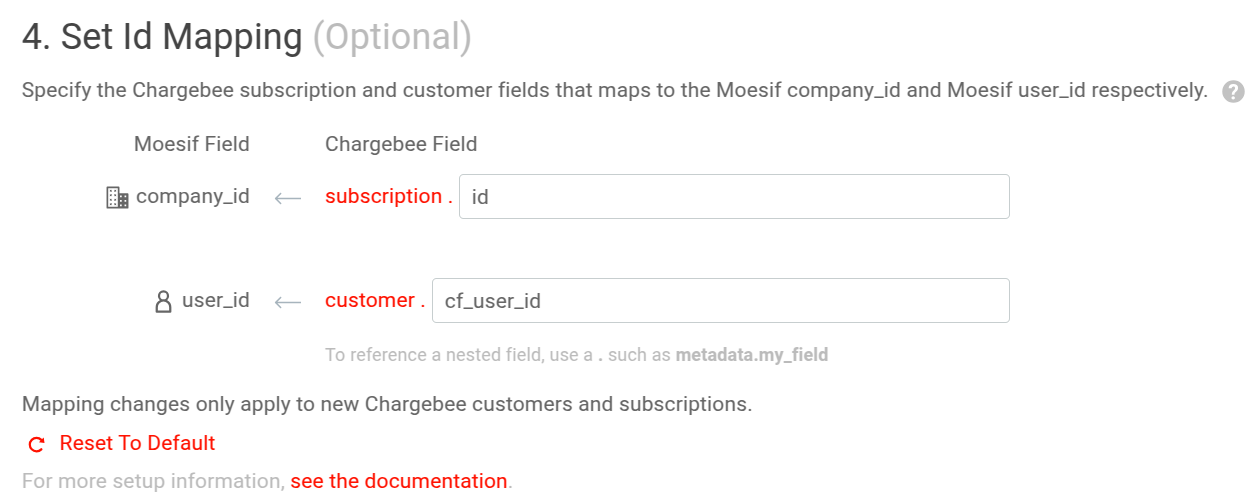
Set the Id Mapping
The Id Mapping Configuration enables you to specify the correct Chargebee subscription field that contains the Moesif Company Id. Moesif will use this to link your Subscriptions in Chargebee with Companies in Moesif. By default this is subscription.id, but you’ll likely need to modify this unless you use Chargebee’s default subscription IDs to identify customers on your API. Typically, this is a metadata field or Custom Field added to the Chargebee Subscription object like company_id or tenant_id.
Correct linking of Moesif companies to Chargebee subscriptions is required for metered billing to function.
While not required, you can also link Chargebee Customers to Moesif User Objects. By default, this is customer.id, but can be changed to any field present on the Customer object in Chargebee such as a metadata field or custom field.
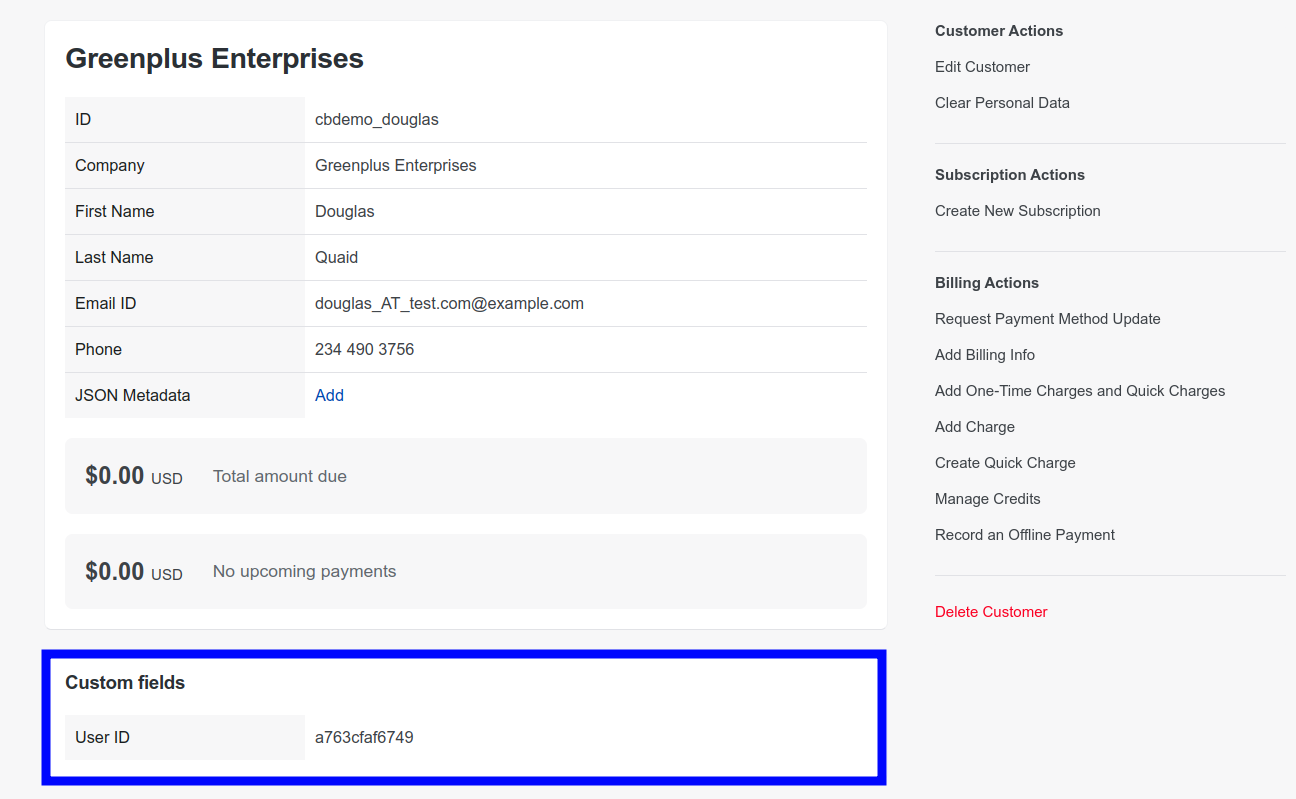
An example of how to do this is through Custom Fields and Metadata in Chargebee. For instance, both the Customer and Subscription objects could have Custom fields that enable you to attach custom fields and metadata in Chargebee. Once you add a Custom Field through the Chargebee APIs or through the Chargebee UI, you will see the value populated in the in the UI. For example, we can add our own user identifier for a Customer:
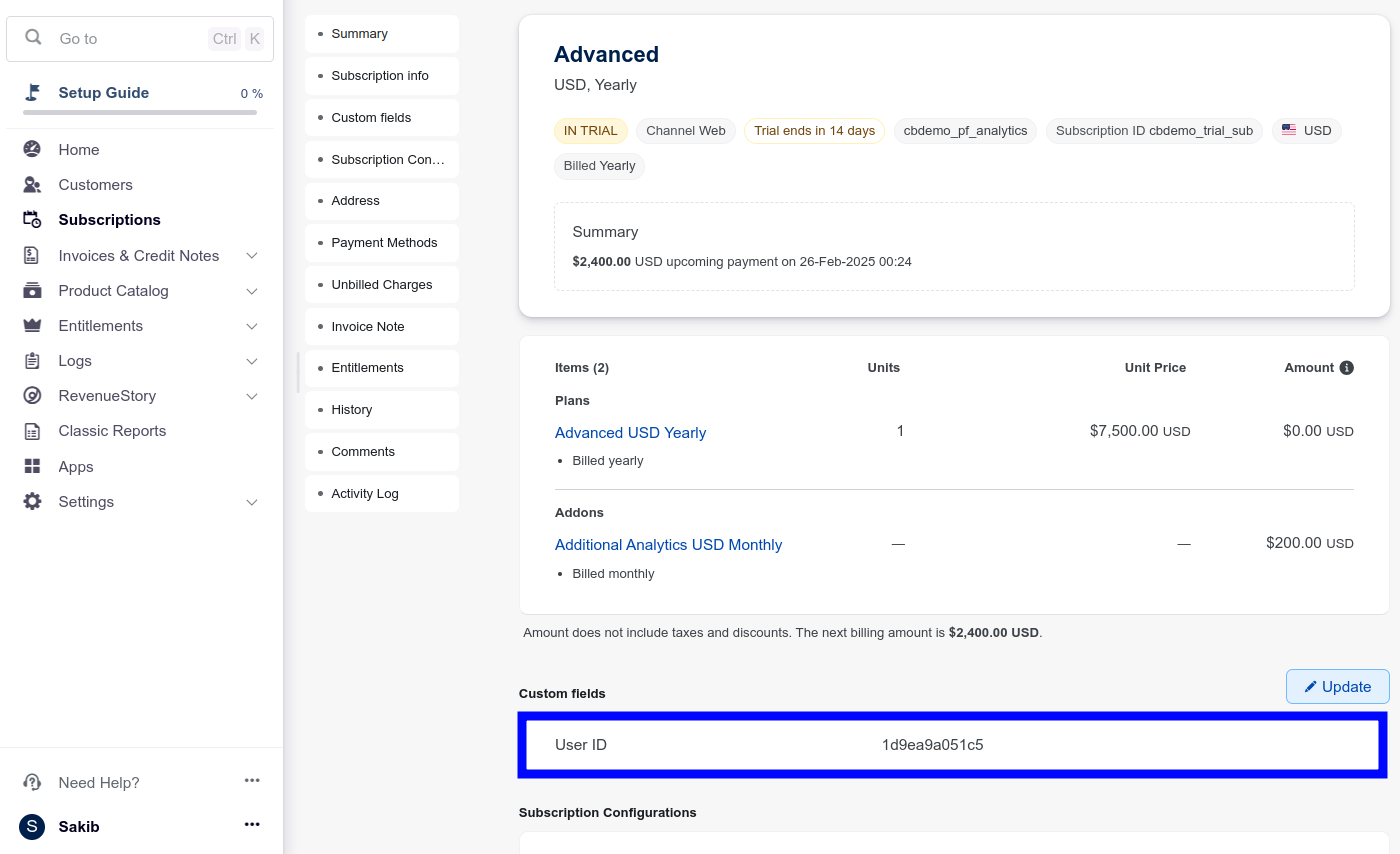
The same can be seen for the Subscription object as well.
Now, you’d want to make sure that the data you enter into the Custom Fields match whatever value you have in the Moesif UserId and/or CompanyId fields. Based on the custom fields above, we could map the values into Moesif by going to the Chargebee configuration screen and changing the values in the Set Id Mapping fields to match.
If you are using Metadata fields, the configuration will look like this.
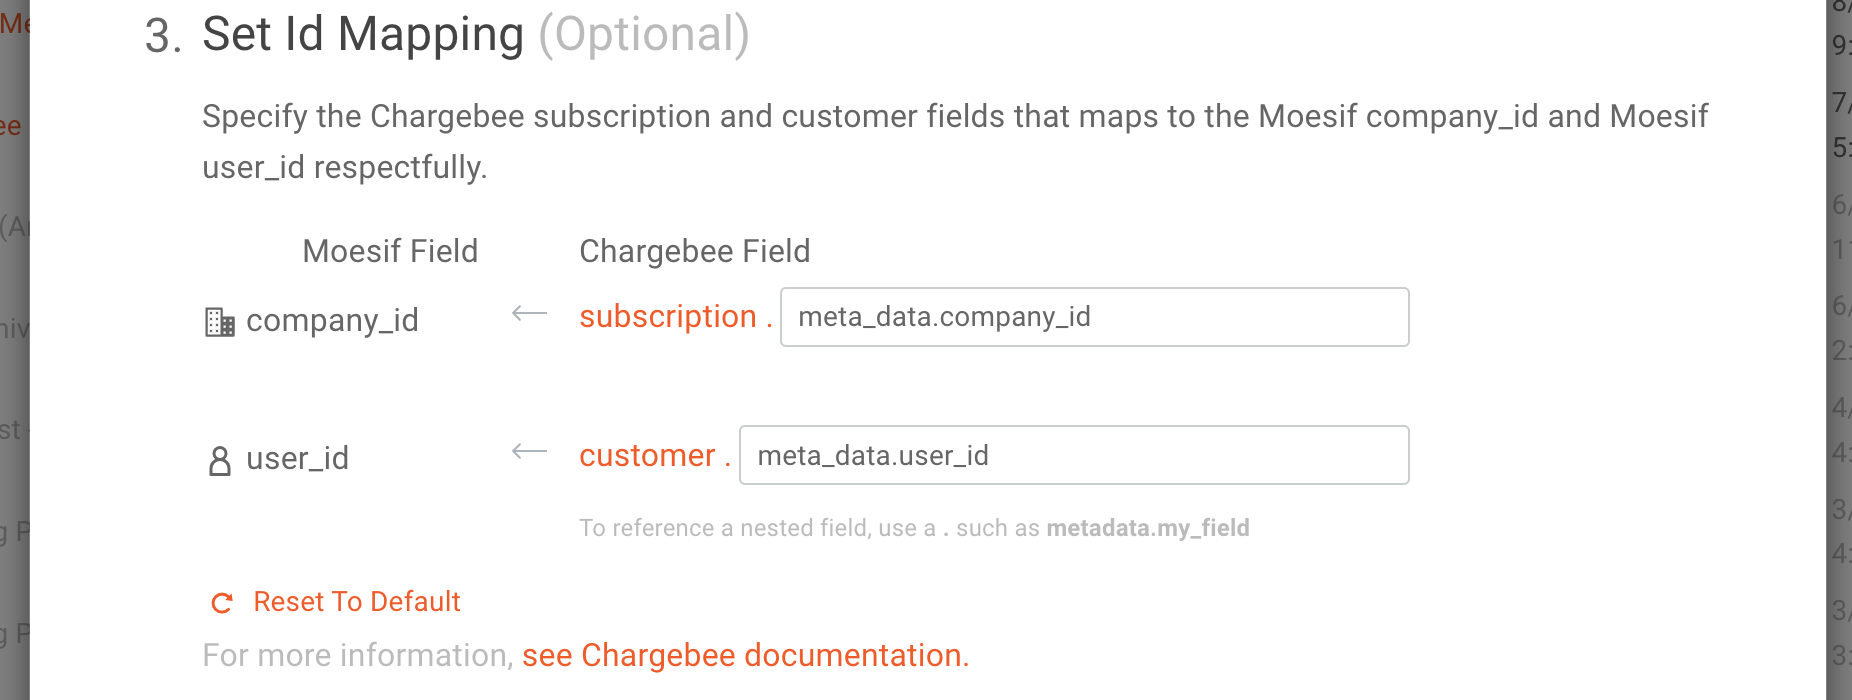
It’s important to remember that the values you see under the Moesif CompanyId and UserId should be what you are mapping to in Chargebee through this configuration. This is how usage is synced for the user/company.
Linking a plan in Chargebee to a billing meter
When creating a new billing meter, in the Link To section you can specify Chargebee as the Billing Provider and then select the Item Plan and Item Price you’d like the usage to be linked to.
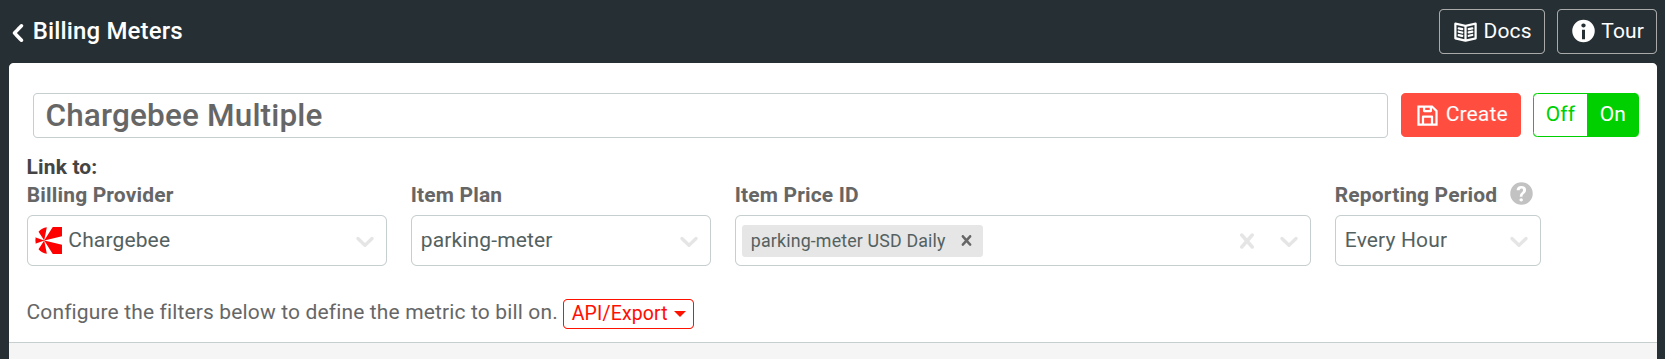
When creating a billing meter linked to Chargebee, you can select the reporting period. You can select “hourly” for testing purposes. However for production, we recommend daily reporting as Chargebee has a limit of 50k usage records for the lifetime of each subscription.