Moesif Azure Web App Extension
Introduction
The Moesif Azure Web App Extension logs and monitors API calls hitting your Web App. It can be installed using the Azure Portal UI without code changes and can be used in lieu of the Moesif server integrations.
How to Install
1. Install Moesif Extension
Installation is done entirely within the Azure Portal UI.
Within Azure portal, go to your web app, and then select the Extensions sub panel. Select + Add and scroll down to Moesif API Insights.
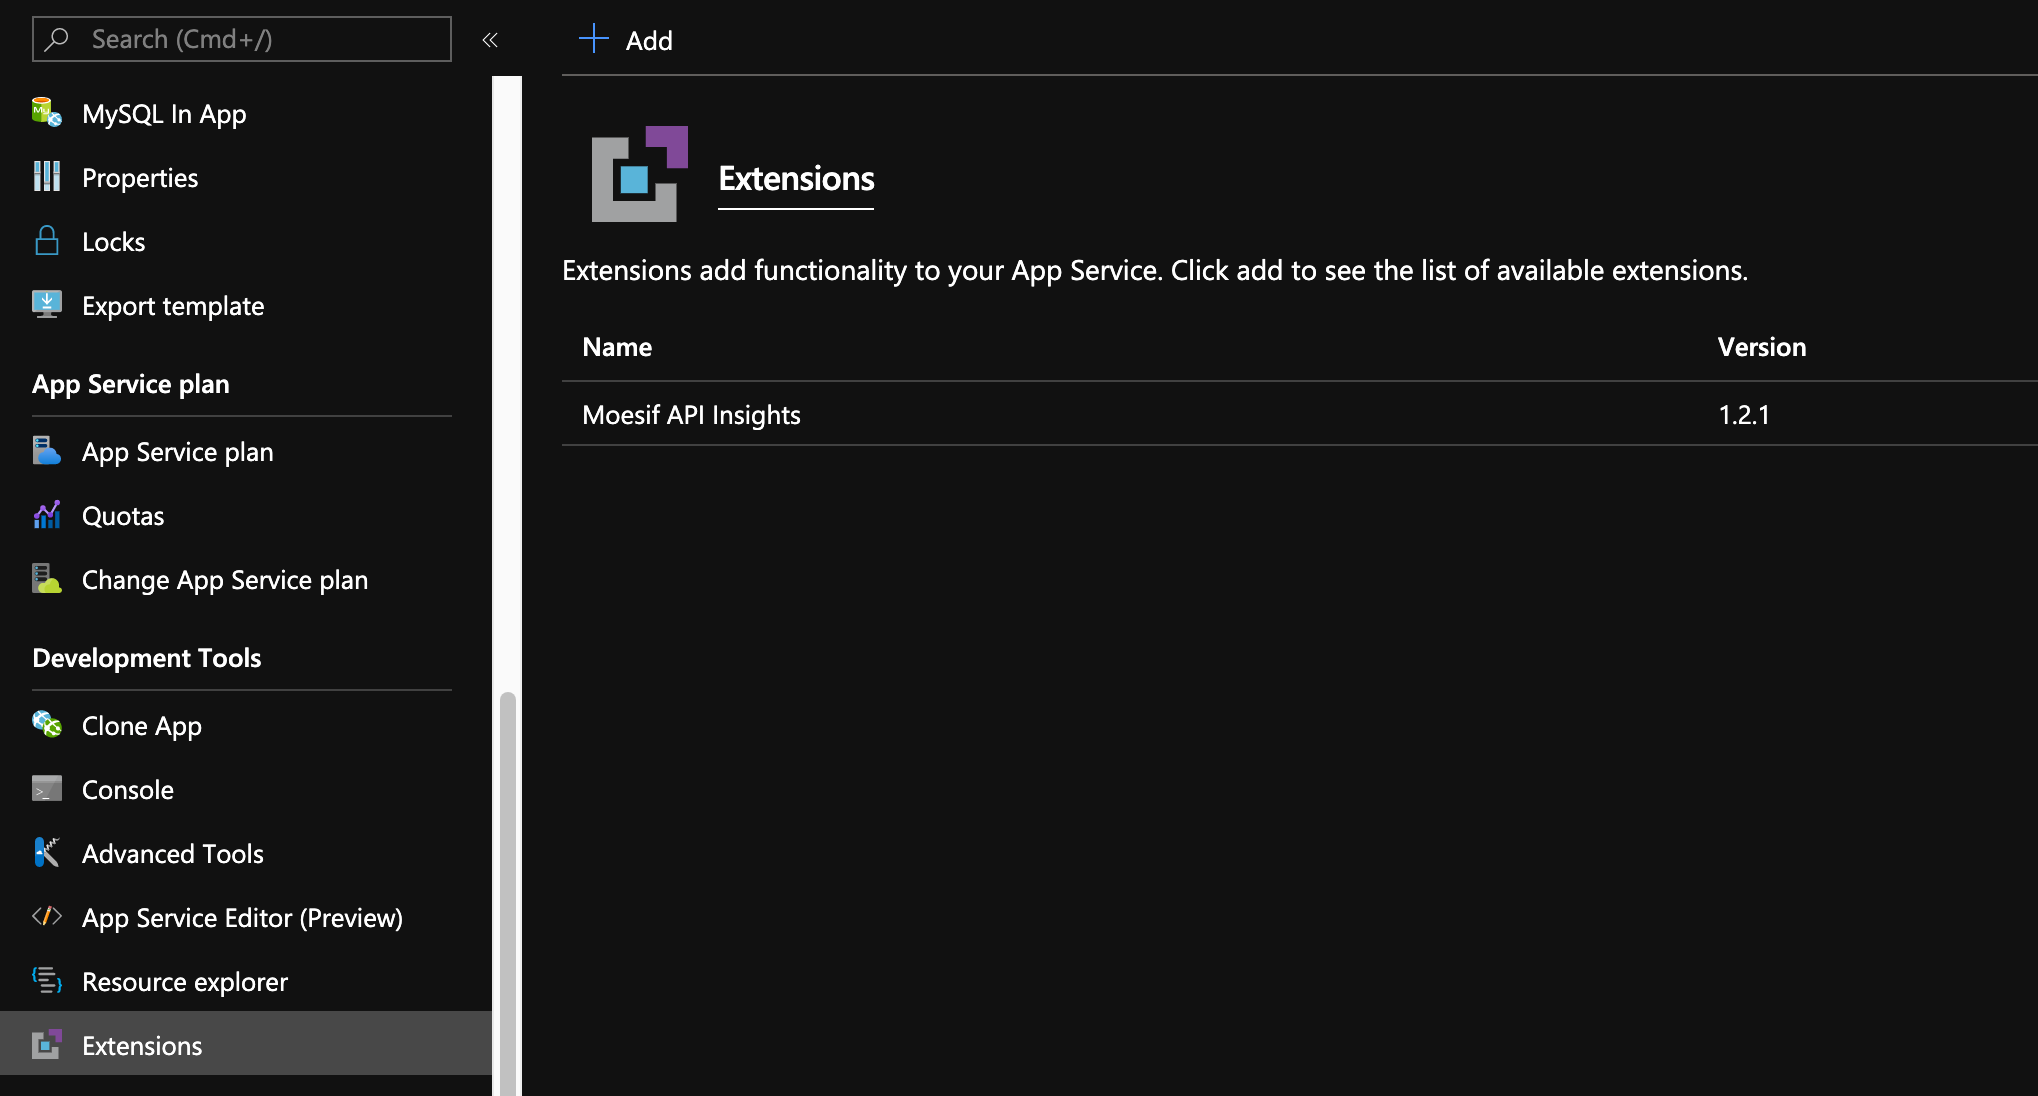
After selecting Moesif API Insights, you will need to agree to the terms and then select OK.
2. Add the MOESIF_APPLICATION_ID setting
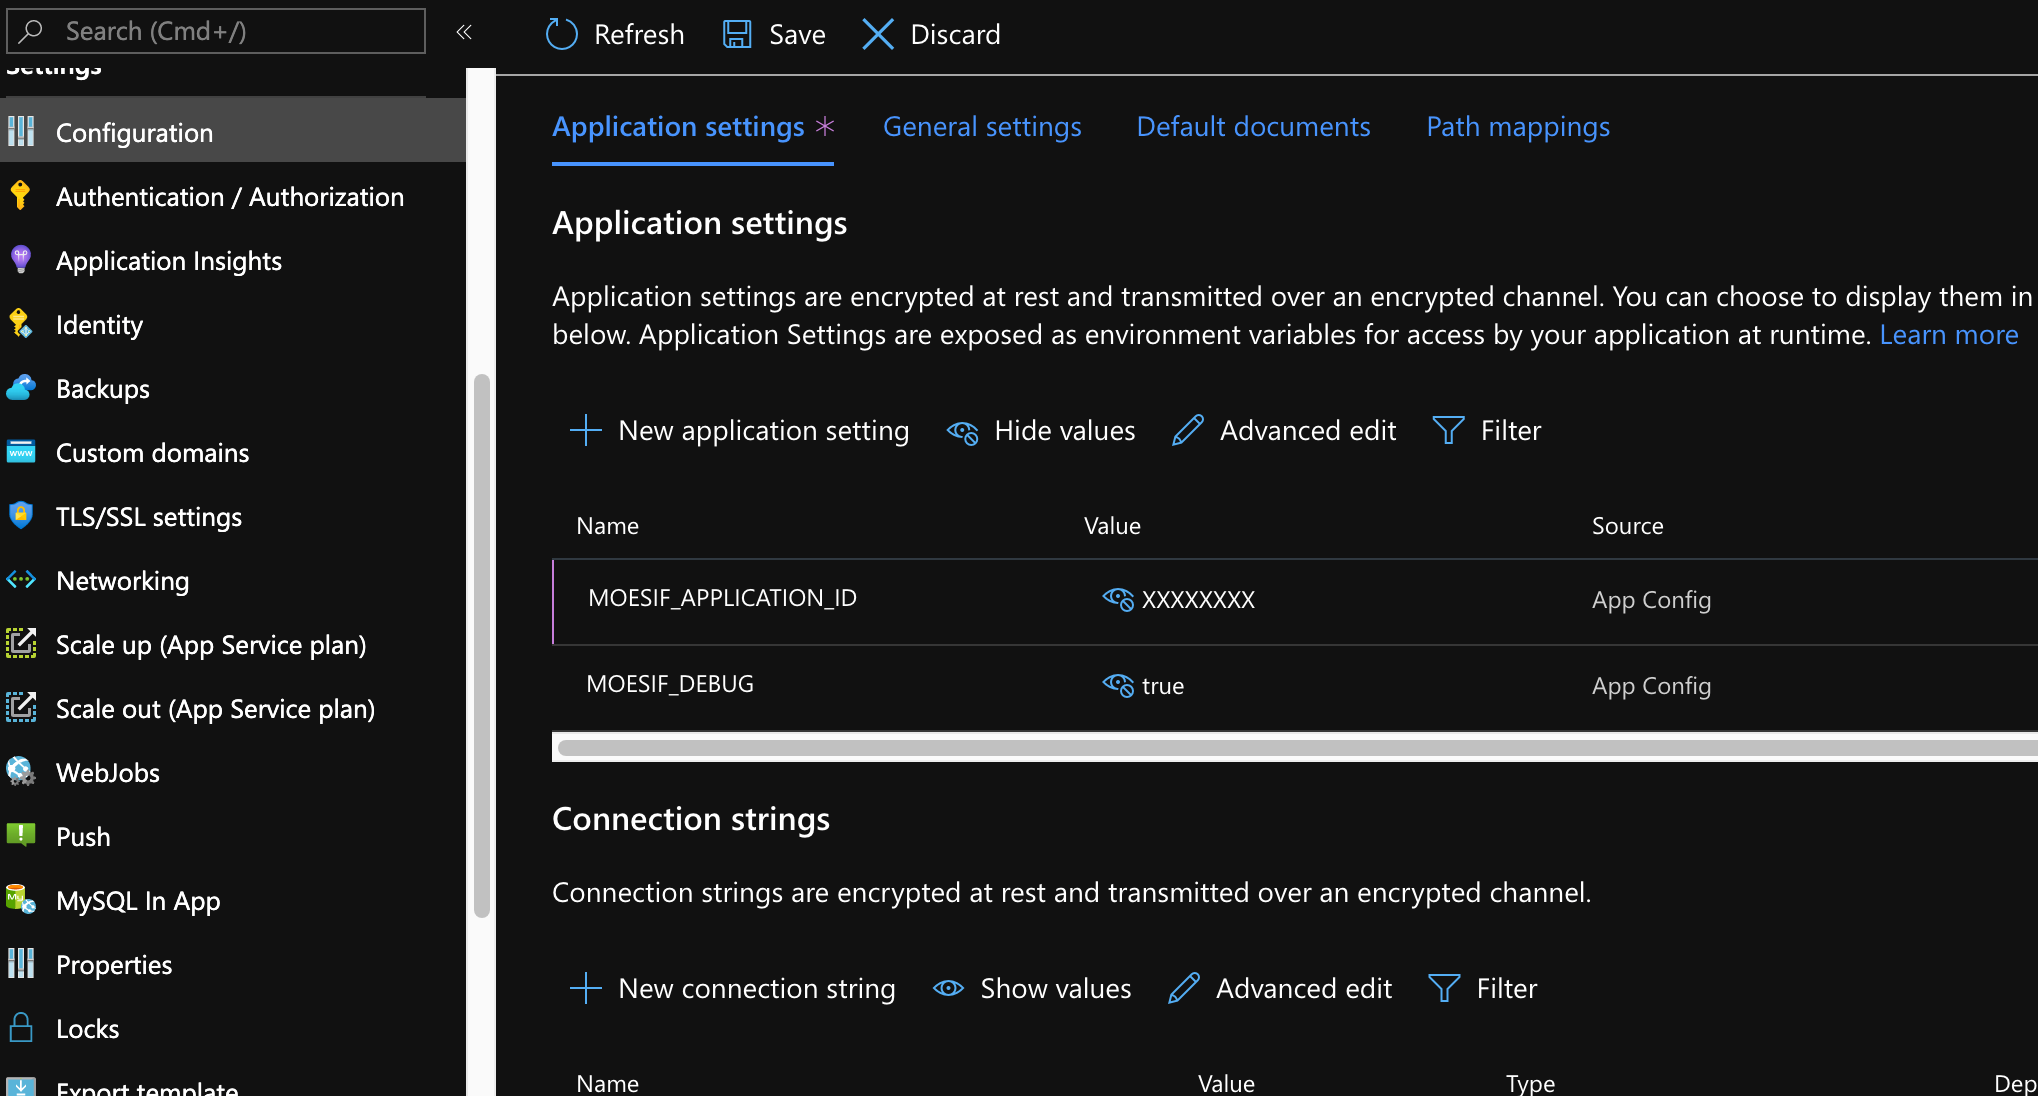
Within the Azure portal, go to the Configuration sub panel.
Under Application settings, add a new Application setting with the key name MOESIF_APPLICATION_ID and the value to your actual Moesif Application Id which can be found within the Moesif Dashboard -> Bottom Left Menu -> Installation -> Azure WebApp
3. Restart the Azure Web App
You will need to restart the Azure web app, as Azure does not transform applicationHost until after the web app is restarted.
If you’re not seeing any data or get an error regarding an incorrect web.config, stop and restart the web app.
Configuration options
The extension supports the following Application settings
| Setting Name | Required | Description | Example |
|---|---|---|---|
| MOESIF_APPLICATION_ID | true | Your Application Id from your Moesif’s Account to authorize this app with Moesif | XXXXXXXX |
| MOESIF_DISABLED | false | Disables Moesif Logging | true |
| MOESIF_SESSION_TOKEN_HEADER | false | The Request Header that contains the session token/API key | Authorization |
| MOESIF_USER_ID_HEADER | false | The Request or Response Header that contains the user id | X-User-Id |
| MOESIF_COMPANY_ID_HEADER | false | The Request or Response Header that contains the company id | X-Account-Id |
| MOESIF_DEBUG | false | Prints debug messages to standard output. (Useful for debugging integration issues) | true |
You can also add these settings in your web.config or as an environment variable.
Checkout: https://[MY_SITE].scm.azurewebsites.net/MoesifDebugger
for more info on extension configuration where [MY_SITE] is your Azure App service name found in the Azure Portal.
Troubleshooting
My app is returning 500 errors or have errors on missing DLLs
First, make sure you restarted your web app. It’s possible your Azure permissions or web app configuration is preventing extensions from having write access to D:\home\site\wwwroot. You can verify this by checking if Moesif.Azure.Web.Logging.dll is missing in the D:\home\site\wwwroot\bin directory.
To remedy:
- Using the SCM file explorer, copy the DLL from
D:\home\SiteExtensions\Moesif.Azure.Apps\bin\Moesif.Azure.Web.Logging.dlltoD:\home\site\wwwroot\bin\Moesif.Azure.Web.Logging.dll. - Restart your Azure web app.
The SCM file explorer is accessible at https://[MY_SITE].scm.azurewebsites.net where [MY_SITE] is your Azure App service name.
Nothing is getting logged to Moesif
Sometimes certain files are locked or in-use by the IIS process while installing the extension preventing a successful installation. To remedy, you can disable all Azure extensions to release the process locks, then re-enable all extensions. This can be done as follows:
- With Azure app settings, add a setting
WEBSITE_PRIVATE_EXTENSIONSwith the value0which disables all extensions and click Save. - Re-enable your extensions by setting
WEBSITE_PRIVATE_EXTENSIONSback its default of1(or delete the setting all together) and click Save. - Restart the web app.
Request body is missing from events
Ensure you have updated your extension to 1.2.0 or later which added support for request body logging.
Still having issues
You can view detailed logs by setting the application setting MOESIF_DEBUG to true. You’ll also need to ensure
Application Logging is enabled under the App Service Logs sub panel.
Once done, you will see debug logs printed to the Azure Log Stream.. You can download and send your logs to Moesif support if you need help.