Moesif’s Salesforce Extension
Moesif’s Salesforce integration enables you to have visibility into a customer’s API usage right in Salesforce. Track which pilots get successfully integrated with your platform and prioritize outreach for expansion and retention goals.
Some of the benefits of tracking API usage data in SalesForce
- Ensure pilots had a successful implementation and are growing in usage.
- Reach out to customers that are close to or exceeding their plan quota.
- Set up workflows to nudge customers who didn’t integrate yet.
How it works
Any field that is part of a user profile in Moesif can be synced to a SalesForce field. This sync occurs regularly and may take up to 30 minutes for an update to be reflected in SalesForce.
Mapping Moesif to SalesForce
- A user in Moesif corresponds to a contact in Salesforce.
- A company in Moesif corresponds to an account in Salesforce.
Moesif supports mapping any field to your Salesforce object including when customers first integrated with your platform, their first API call, and how much API usage have they used up.
Besides user fields, this extension can also sync behavioral cohorts which is a dynamic list of users that match specific behavior in Moesif. An example would be Users who are exceeding their rate limits or Users with multiple 400 errors in last 24 hrs.
Step 1 Install Moesif in SalesForce
Log into your Moesif account and select Extensions from the bottom left menu. Within the extensions gallery, find the SalesForce extension (which is under the Sales & Marketing category) and click the orange Install button. Follow the installation link in the popup which will open a SalesForce web page like below.
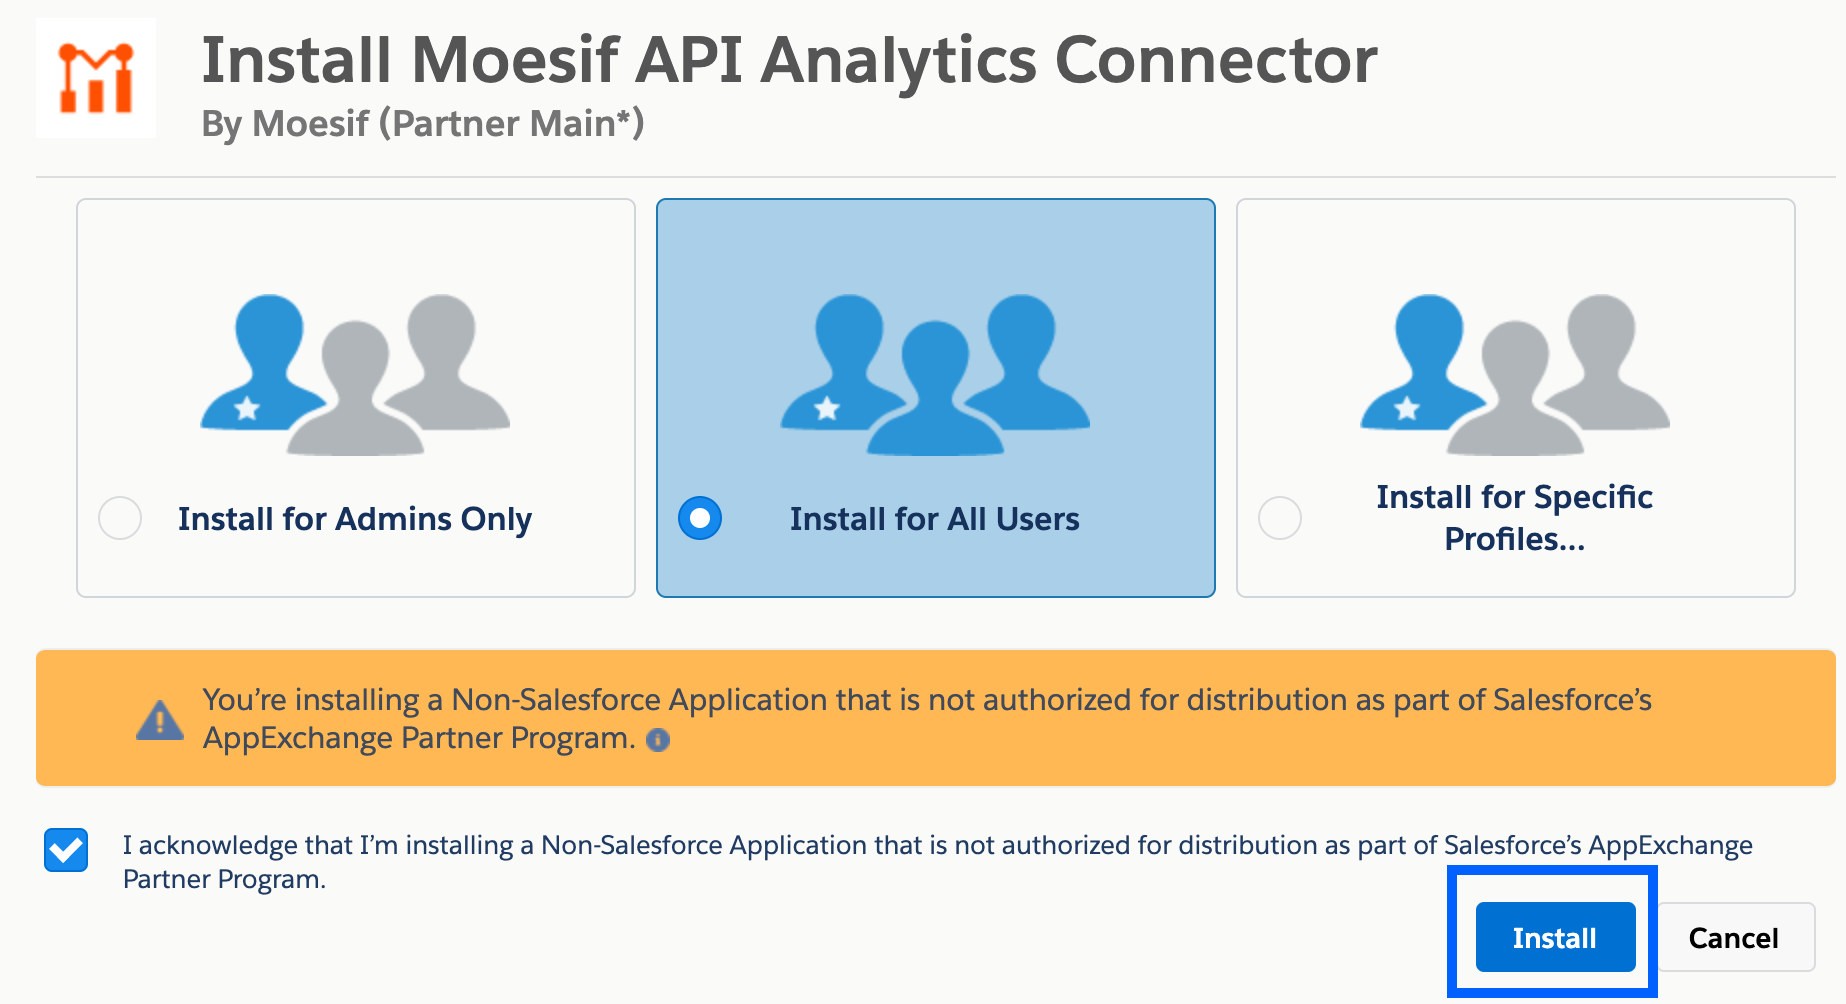
We recommend installing for all users, but you can also install for specific SalesForce user profiles. Proceed to install the Moesif connector in your SalesForce tenant.
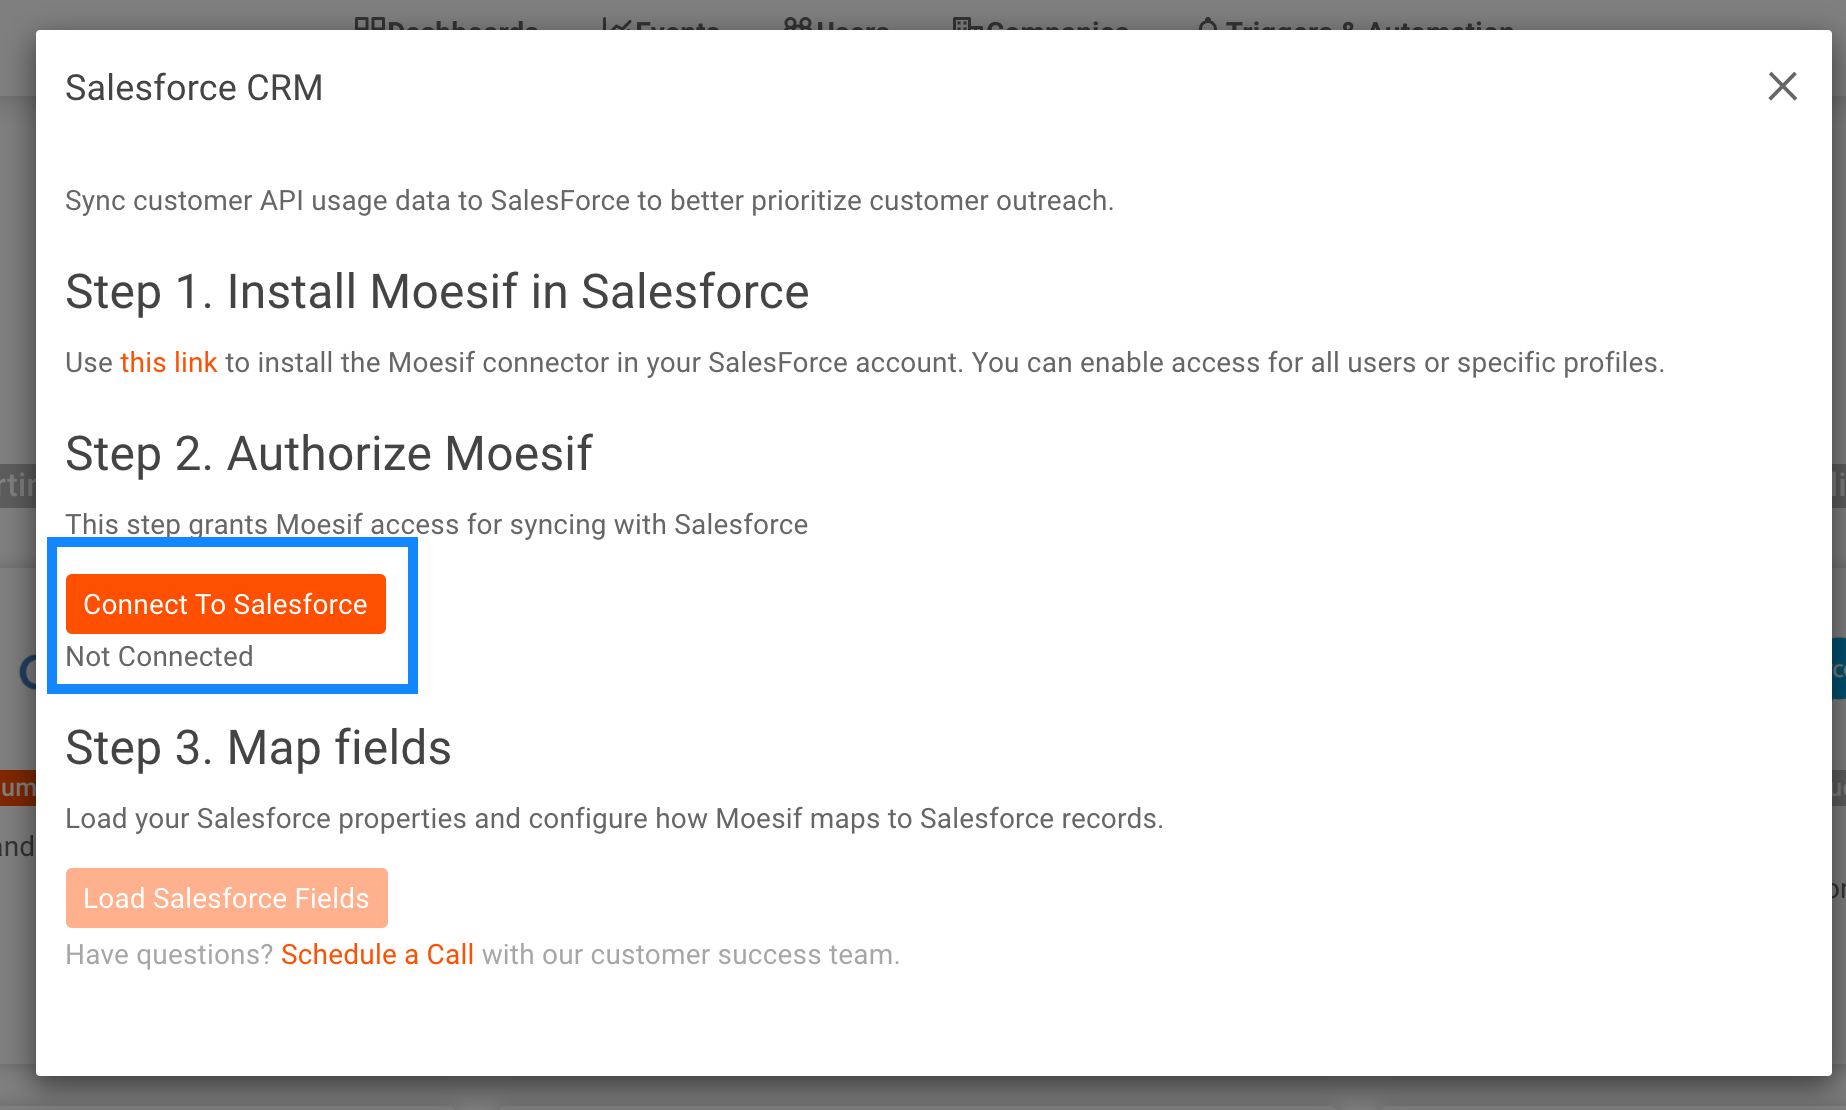
Step 2. Authorize Moesif with SalesForce
After the Moesif connector is installed in your SalesForce account, go back to the installation popup in the Moesif portal and click the orange Connect To SalesForce button.
Step 3. Map your SalesForce fields
Once your account is connected, click the Load Fields. This will populate all the fields found in your SalesForce account. Add each field you would like to sync to SalesForce. It’s highly recommended for fields to be of the same type (such as a string, a number, or a date). Any fields not added will not be synced.
SalesForce’s API requires an External Id field to update the right contact SalesForce. This field should contain the same value you use for Moesif User Id.

If you haven’t created your SalesForce fields yet, create them within your SalesForce account. Once done, you can refresh the fields by clicking Load Fields again.
Tips
- We recommend creating a SalesForce Field set such as “Moesif” or “API Analytics” which can help better organize them.
- Null values are skipped. This means if a field is “cleared” in Moesif, it will not clear the corresponding field in SalesForce.
- It’s better to created dedicated fields set by each tool like Moesif vs fields that can be set by many sources.
For questions, reach out to your dedicated account manager or email support.